Before and After
In this section, I will talk about fossil preparation. The various tools I use for fossil preparation will be discussed and then I will show some examples of fossils before
and after preparation.
All photographs on these web pages are not to be copied or used for any purpose without my written permission.
Click on image to enlarge.
Tools
The use of hammer and chisel in fossil preparation is ancient history. Today, there are a number of power tools available to the fossil preparator. First and most important is the
gas powered, diamond bladed saw for removal of the fossil from the field. Once the fossil has been cut out, it can easily be transported to the lab where the real work of preparation begins.
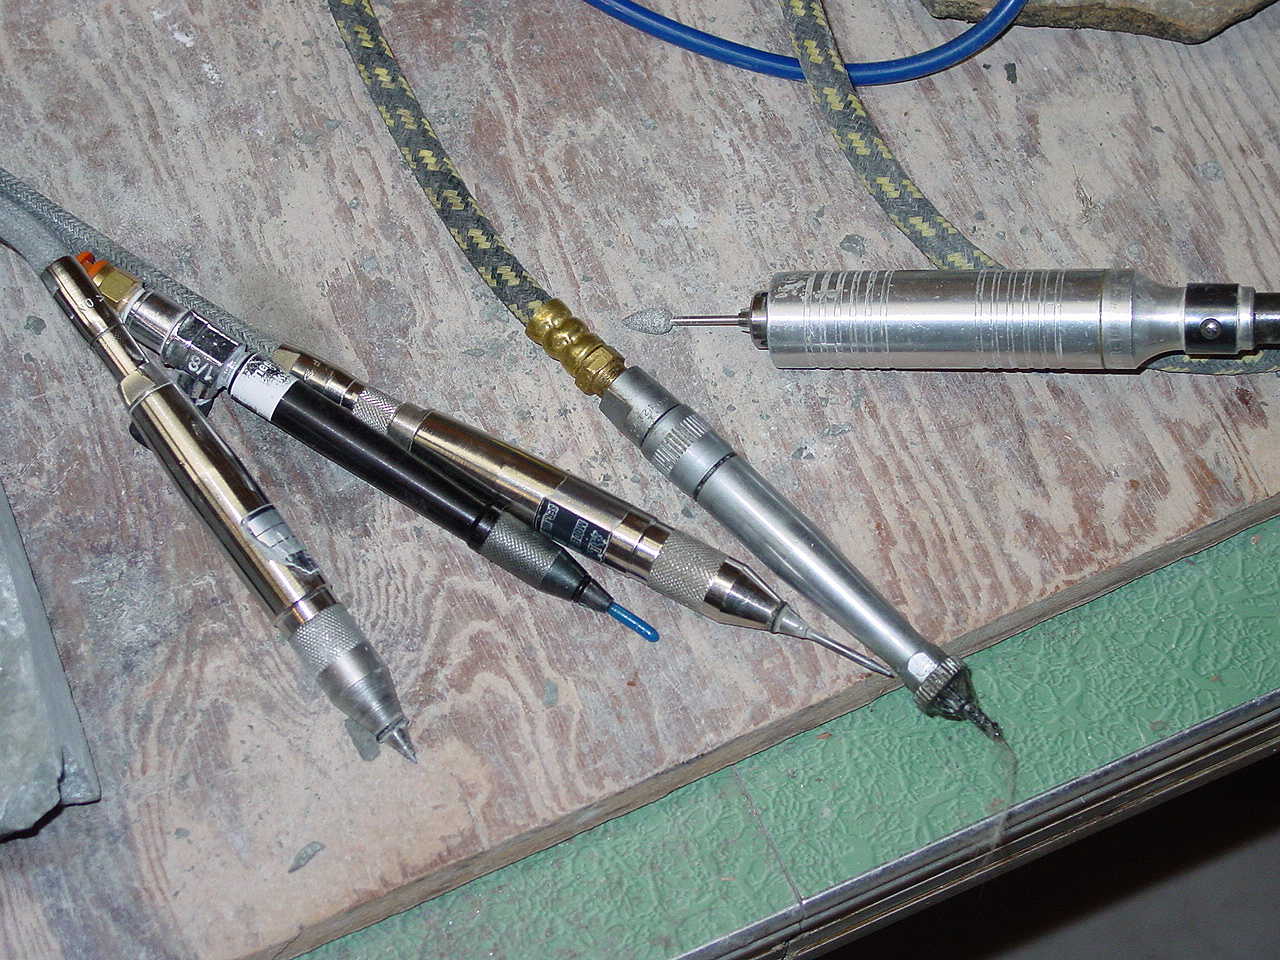
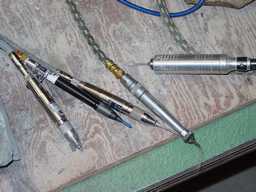
A number of pneumatic tools are available for removal of the matrix (rock) from the fossil. I have four different air scribes that I use. These tools are pictured below.
Fourth from the left is a tool commonly called the Chicago Pneumatic. This tool is used for bulk removal of the rock. It should not be used near the fossil as its main function is to
break off large pieces of rock. The first and third scribes are referred to as ARO tools. The names come from the original manufacturer of the tools and are carried over to clones of the same tools.
The ARO is used for removal of rock near the fossil. There are modified versions of the ARO that have longer, girthier tips that help in reaching difficult spots. My main tool is the
ARO with the standard tip (far left). It works well both in and out of the air abrasive box. When using a scribe in the box under a microscope, the longer tips are difficult
to use due to the limited space and depth of field. The Micro Jack #3 (second from left) is for very fine work right next to the fossil specimen. I find it to be the least useful of all the
scribes. Generally the ARO works well to a point and then I switch to the air abrasive unit.
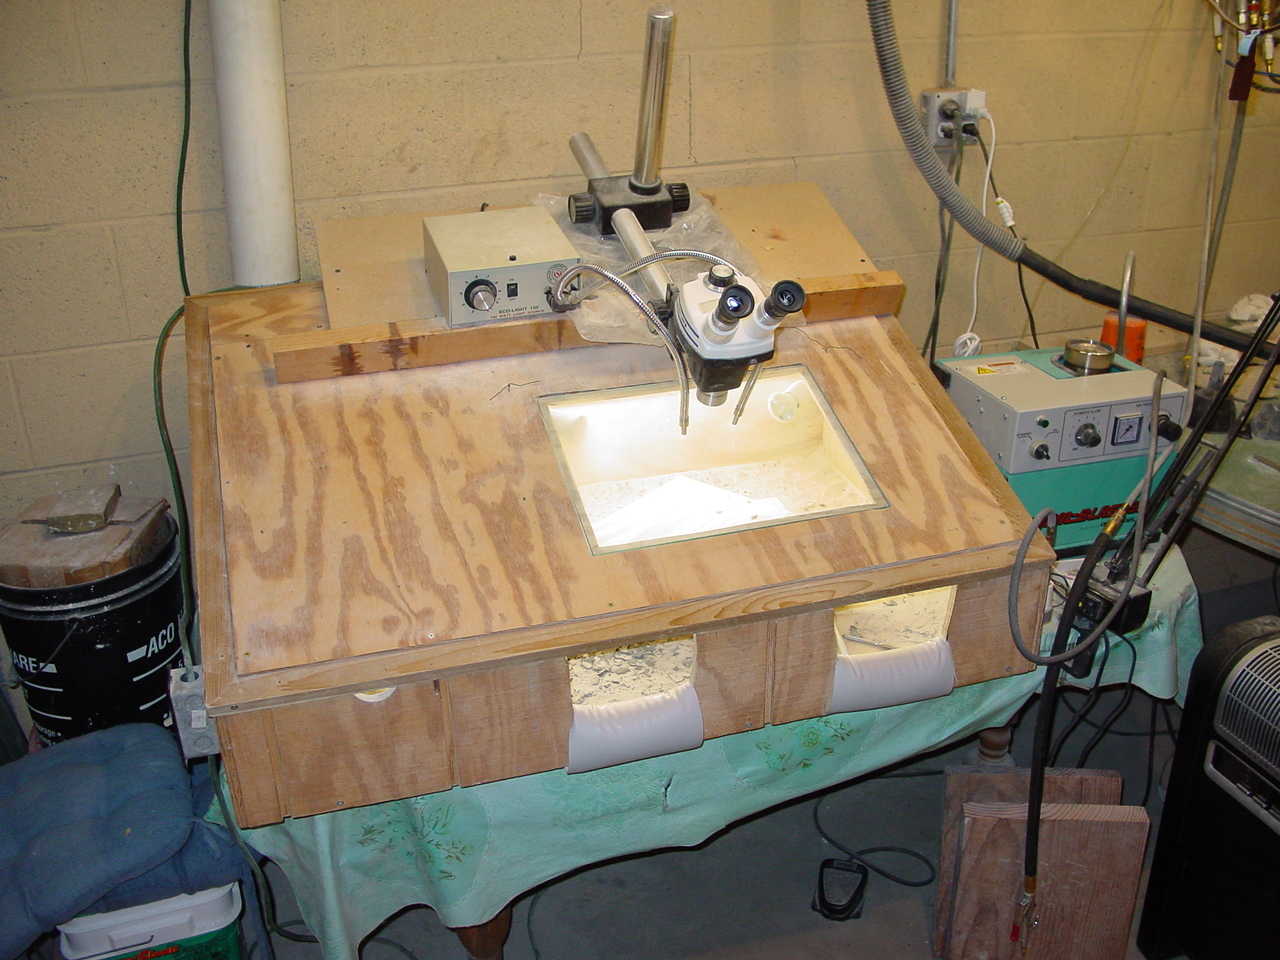
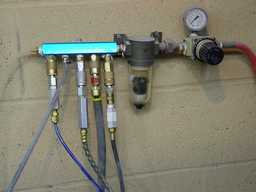
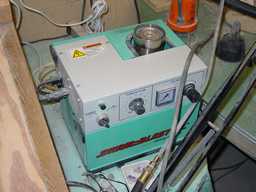
The air abrasive unit (pictured below) is a fine sand blaster. It is used to abrade the rock away. Most of the fine detailed work is carried out with this device. It can remove rock around
the fossil and if used carefully remove the fine cemented dust covering the fossil specimen. Since this device is a sand blaster, you will need a box that is equipped with a dust removal system.
It also helps to have a stereo microscope mounted on top of the box. Use of a microscope makes for a day and night difference with respect to detail in fossil prep. I once did all of my prep work
without a microscope until a friend loaned me one to try. The difference was so dramatic that by the end of the week I owned a microscope. When using the box and microscope, lighting becomes extremely important.
I have three different source of lighting in my box. I have a simple flourescent light unit and two halogen spot lights inside the box and a flexible lighting unit that sits on top of the box.
Once the fossil has been cleaned, the matrix will need some work to remove unsightly scribe marks. This process is known among fossil preparators as landscaping. It requires a tool for
grinding the rock around the fossil to remove scribe marks and smooth out the matrix. The grinding tool I use is shown with the airscribes on the far right. If you click on the image, you can see a diamond grinding wheel at
the tip. The tip comes in a variety of grits so that you can control the fineness of the finish. I use a Foredom tool as my grinder, but there are other lower cost tools available.
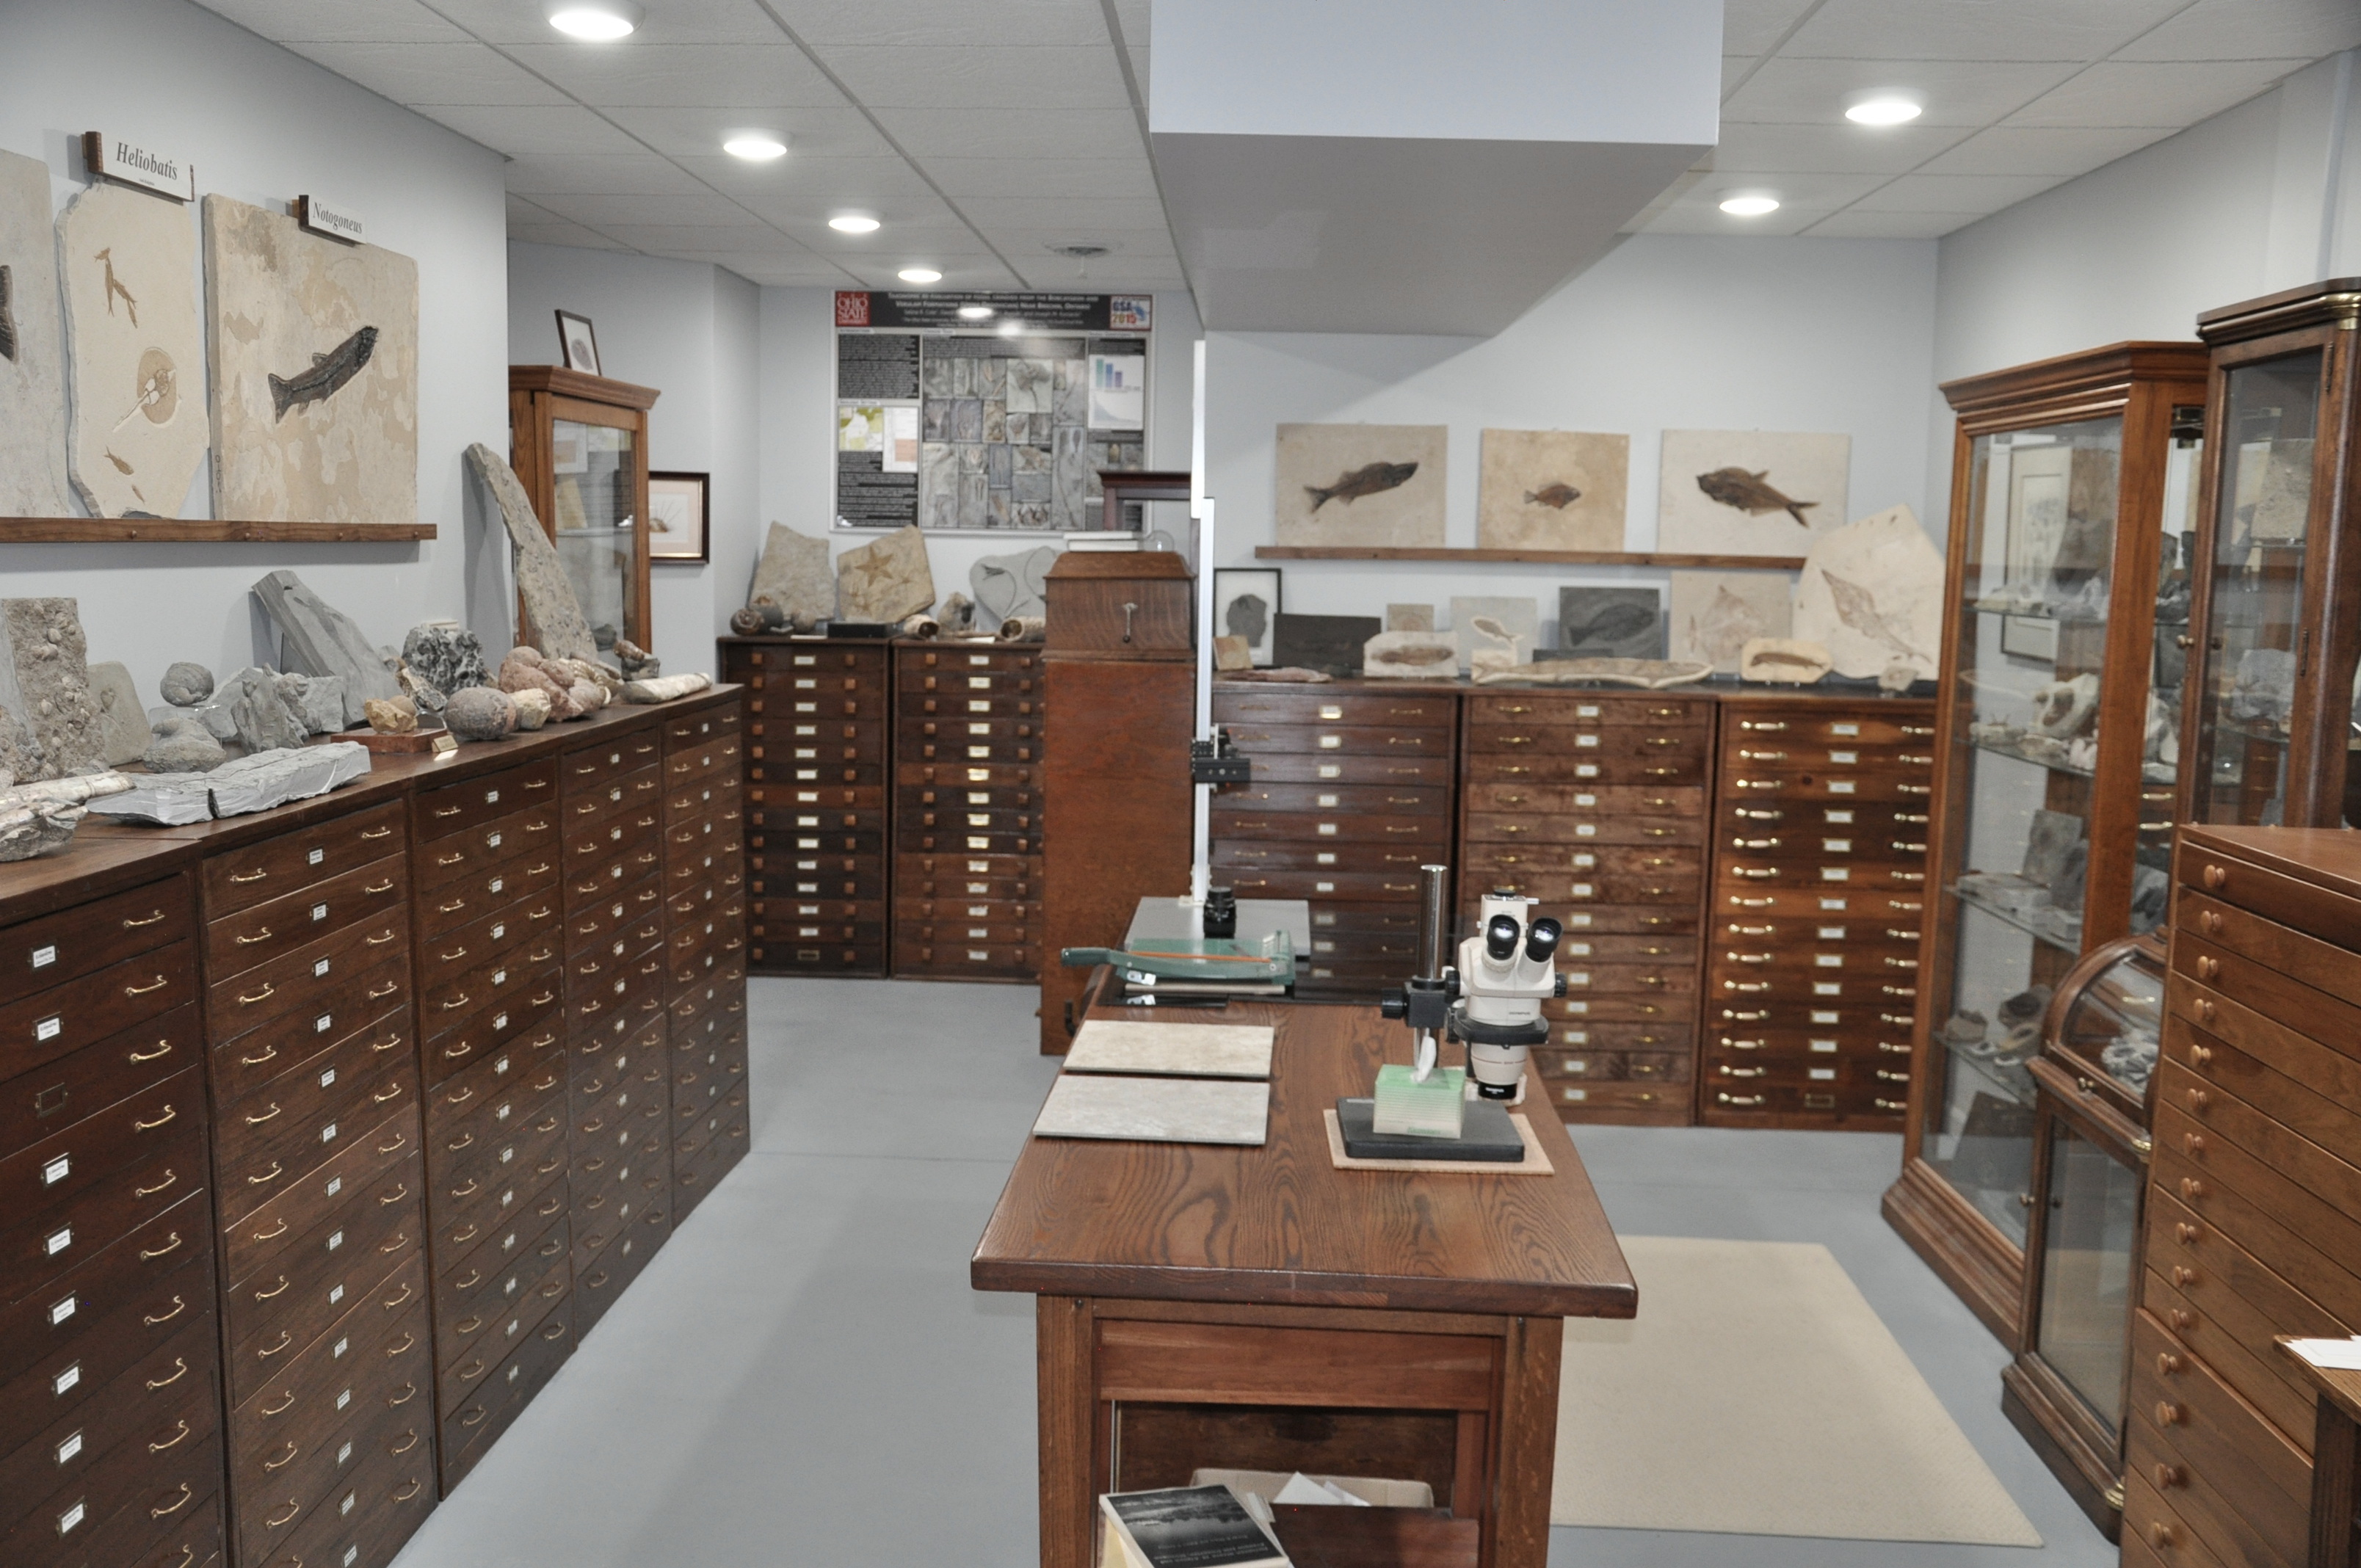
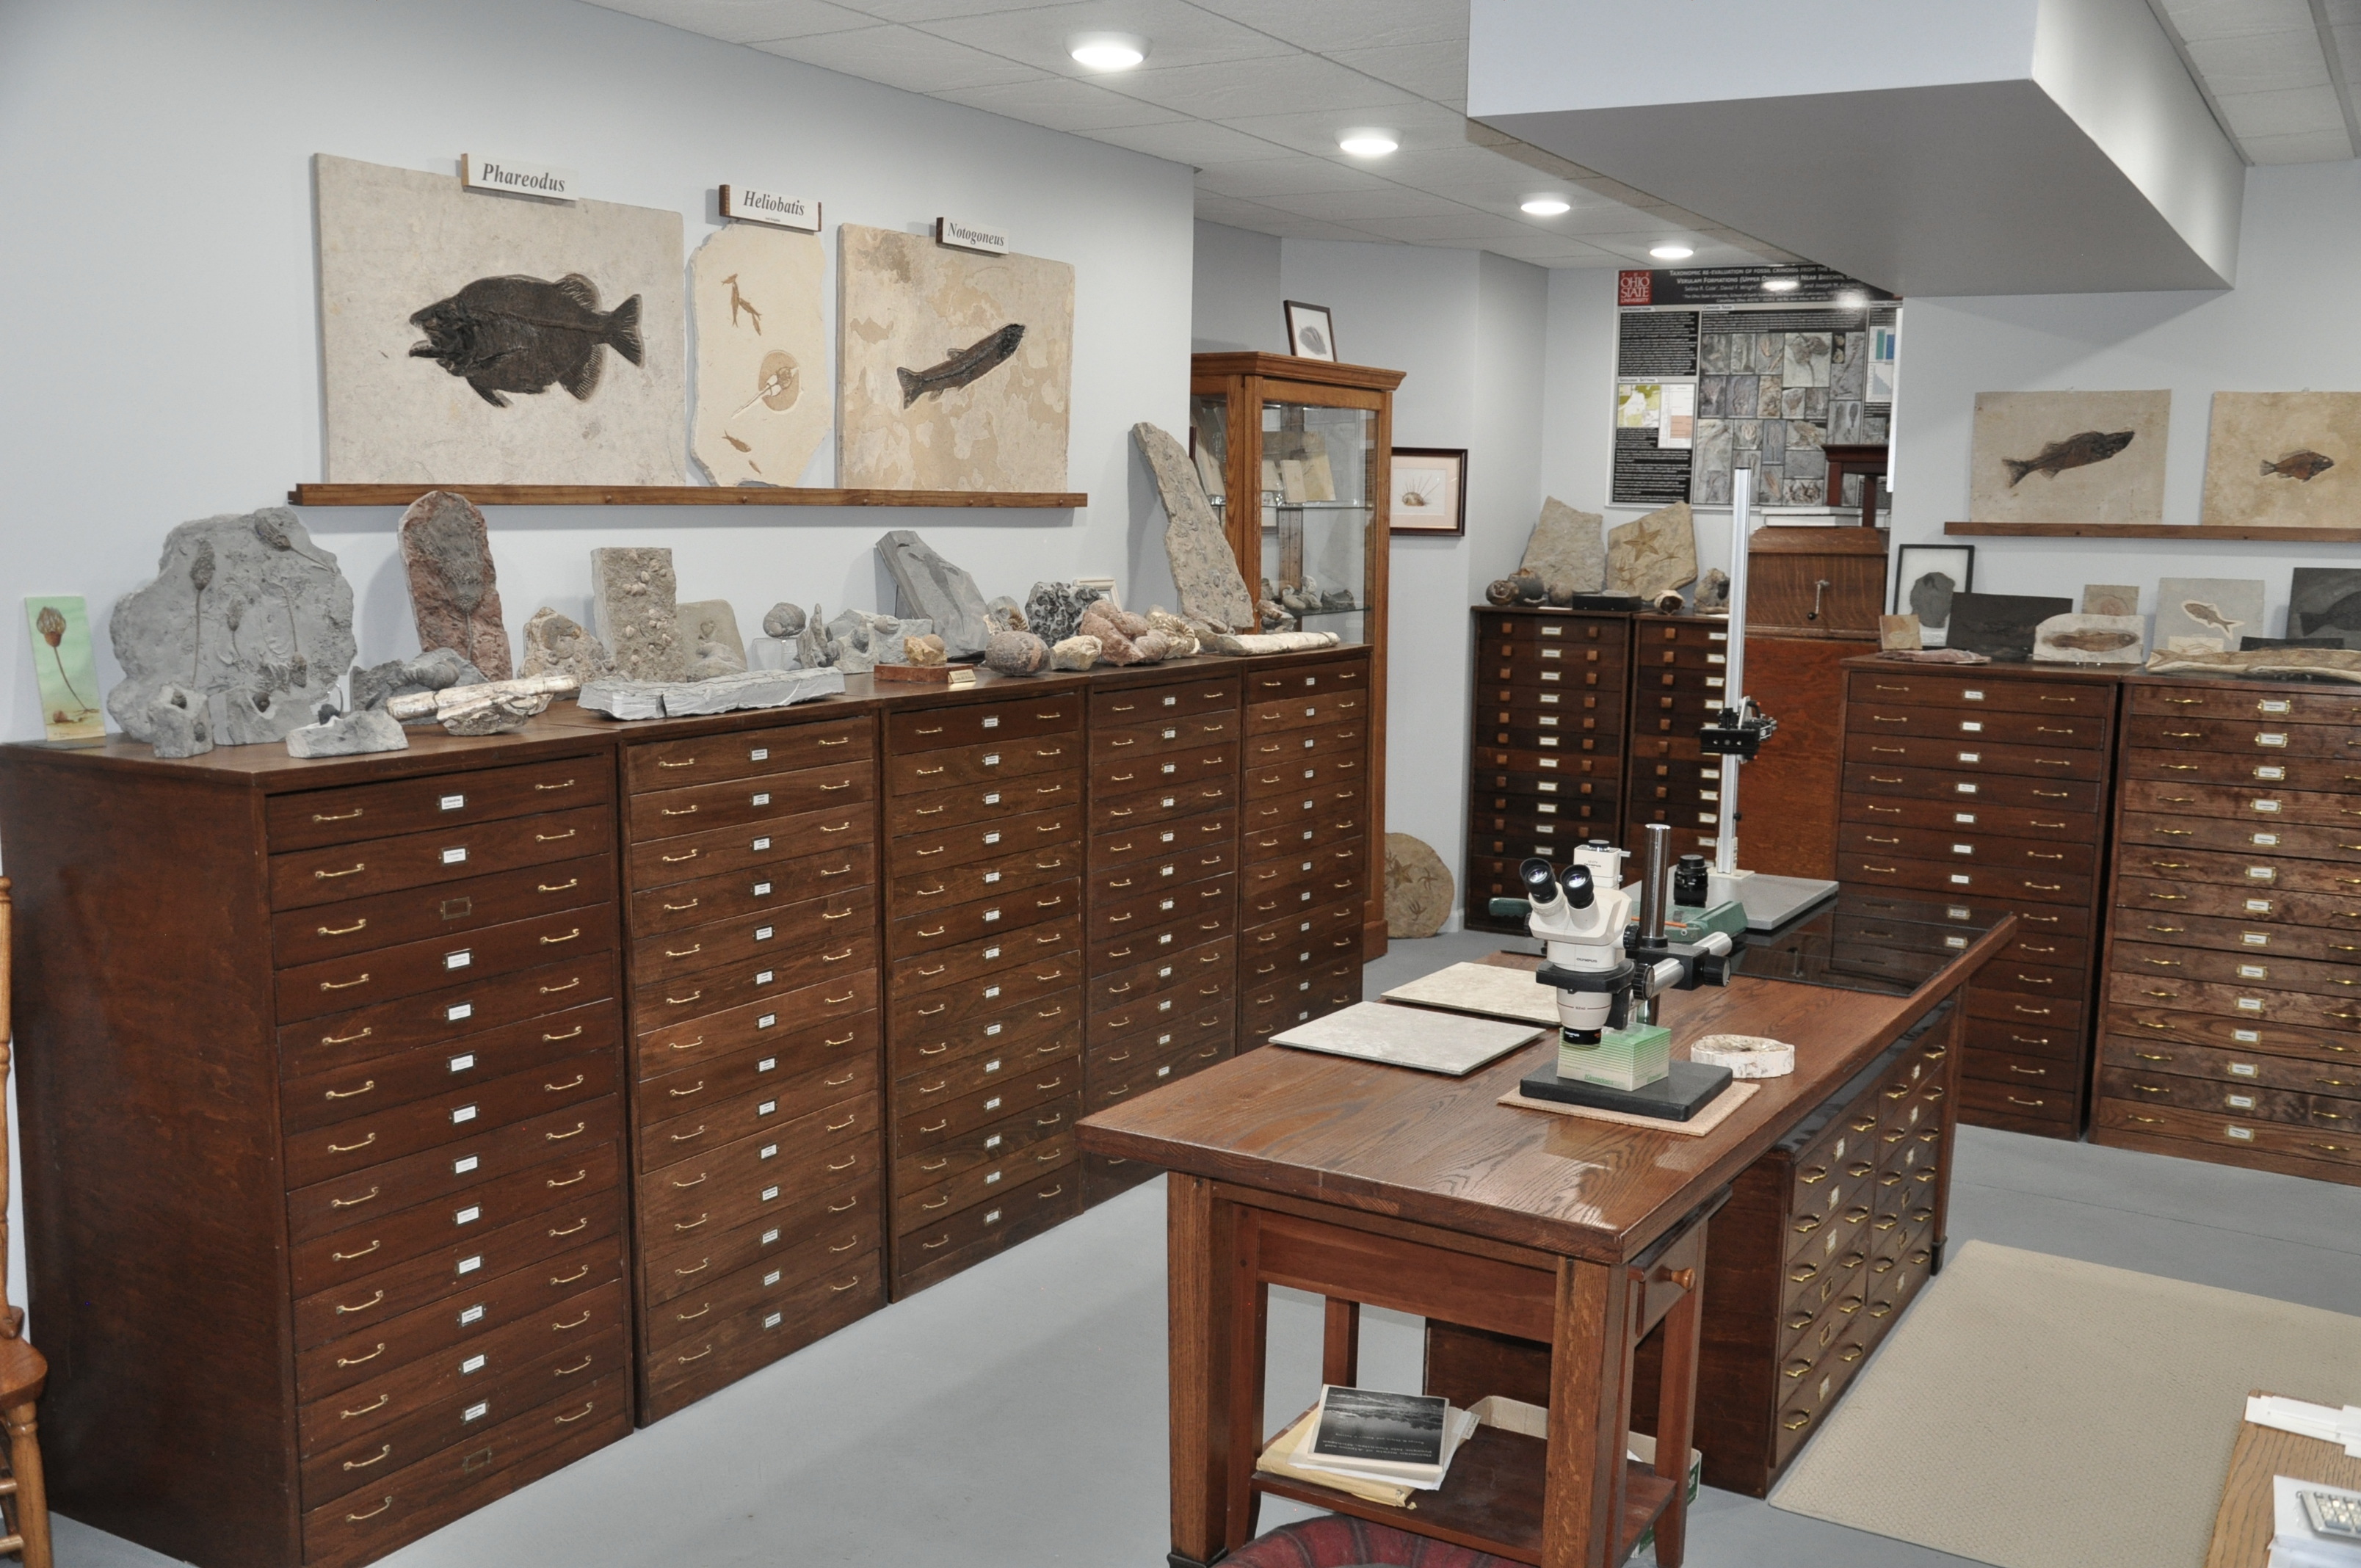
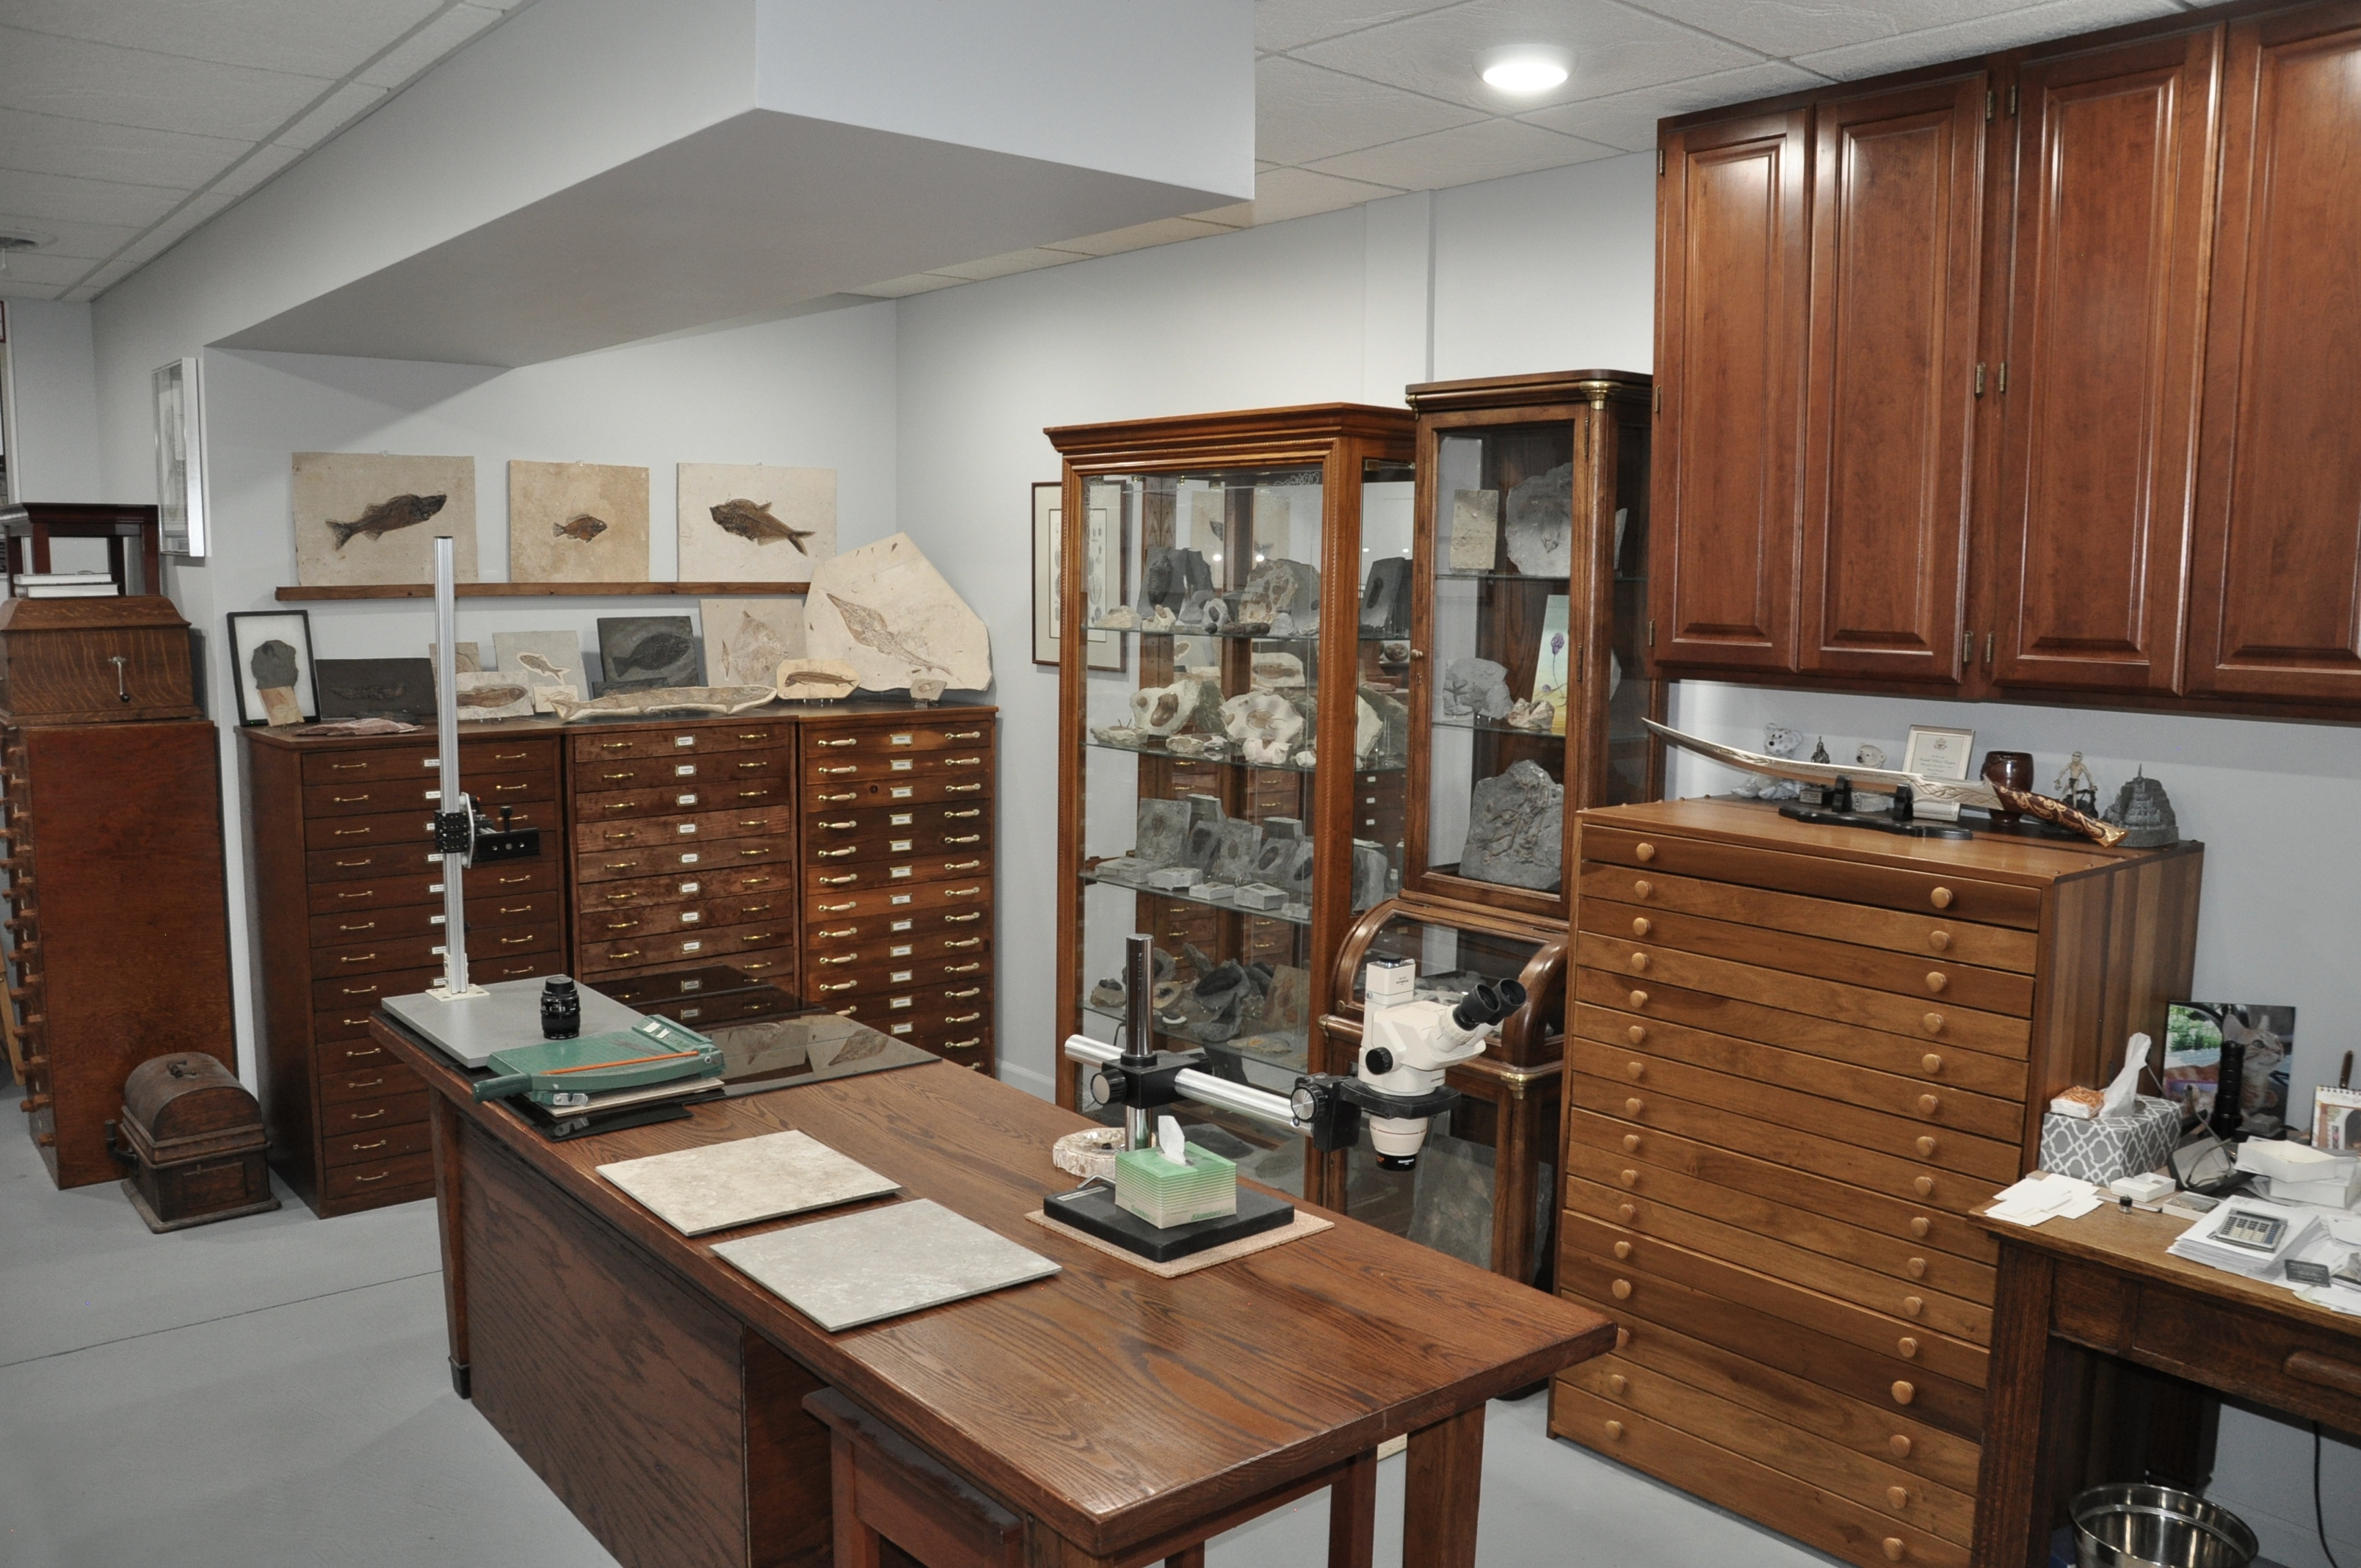
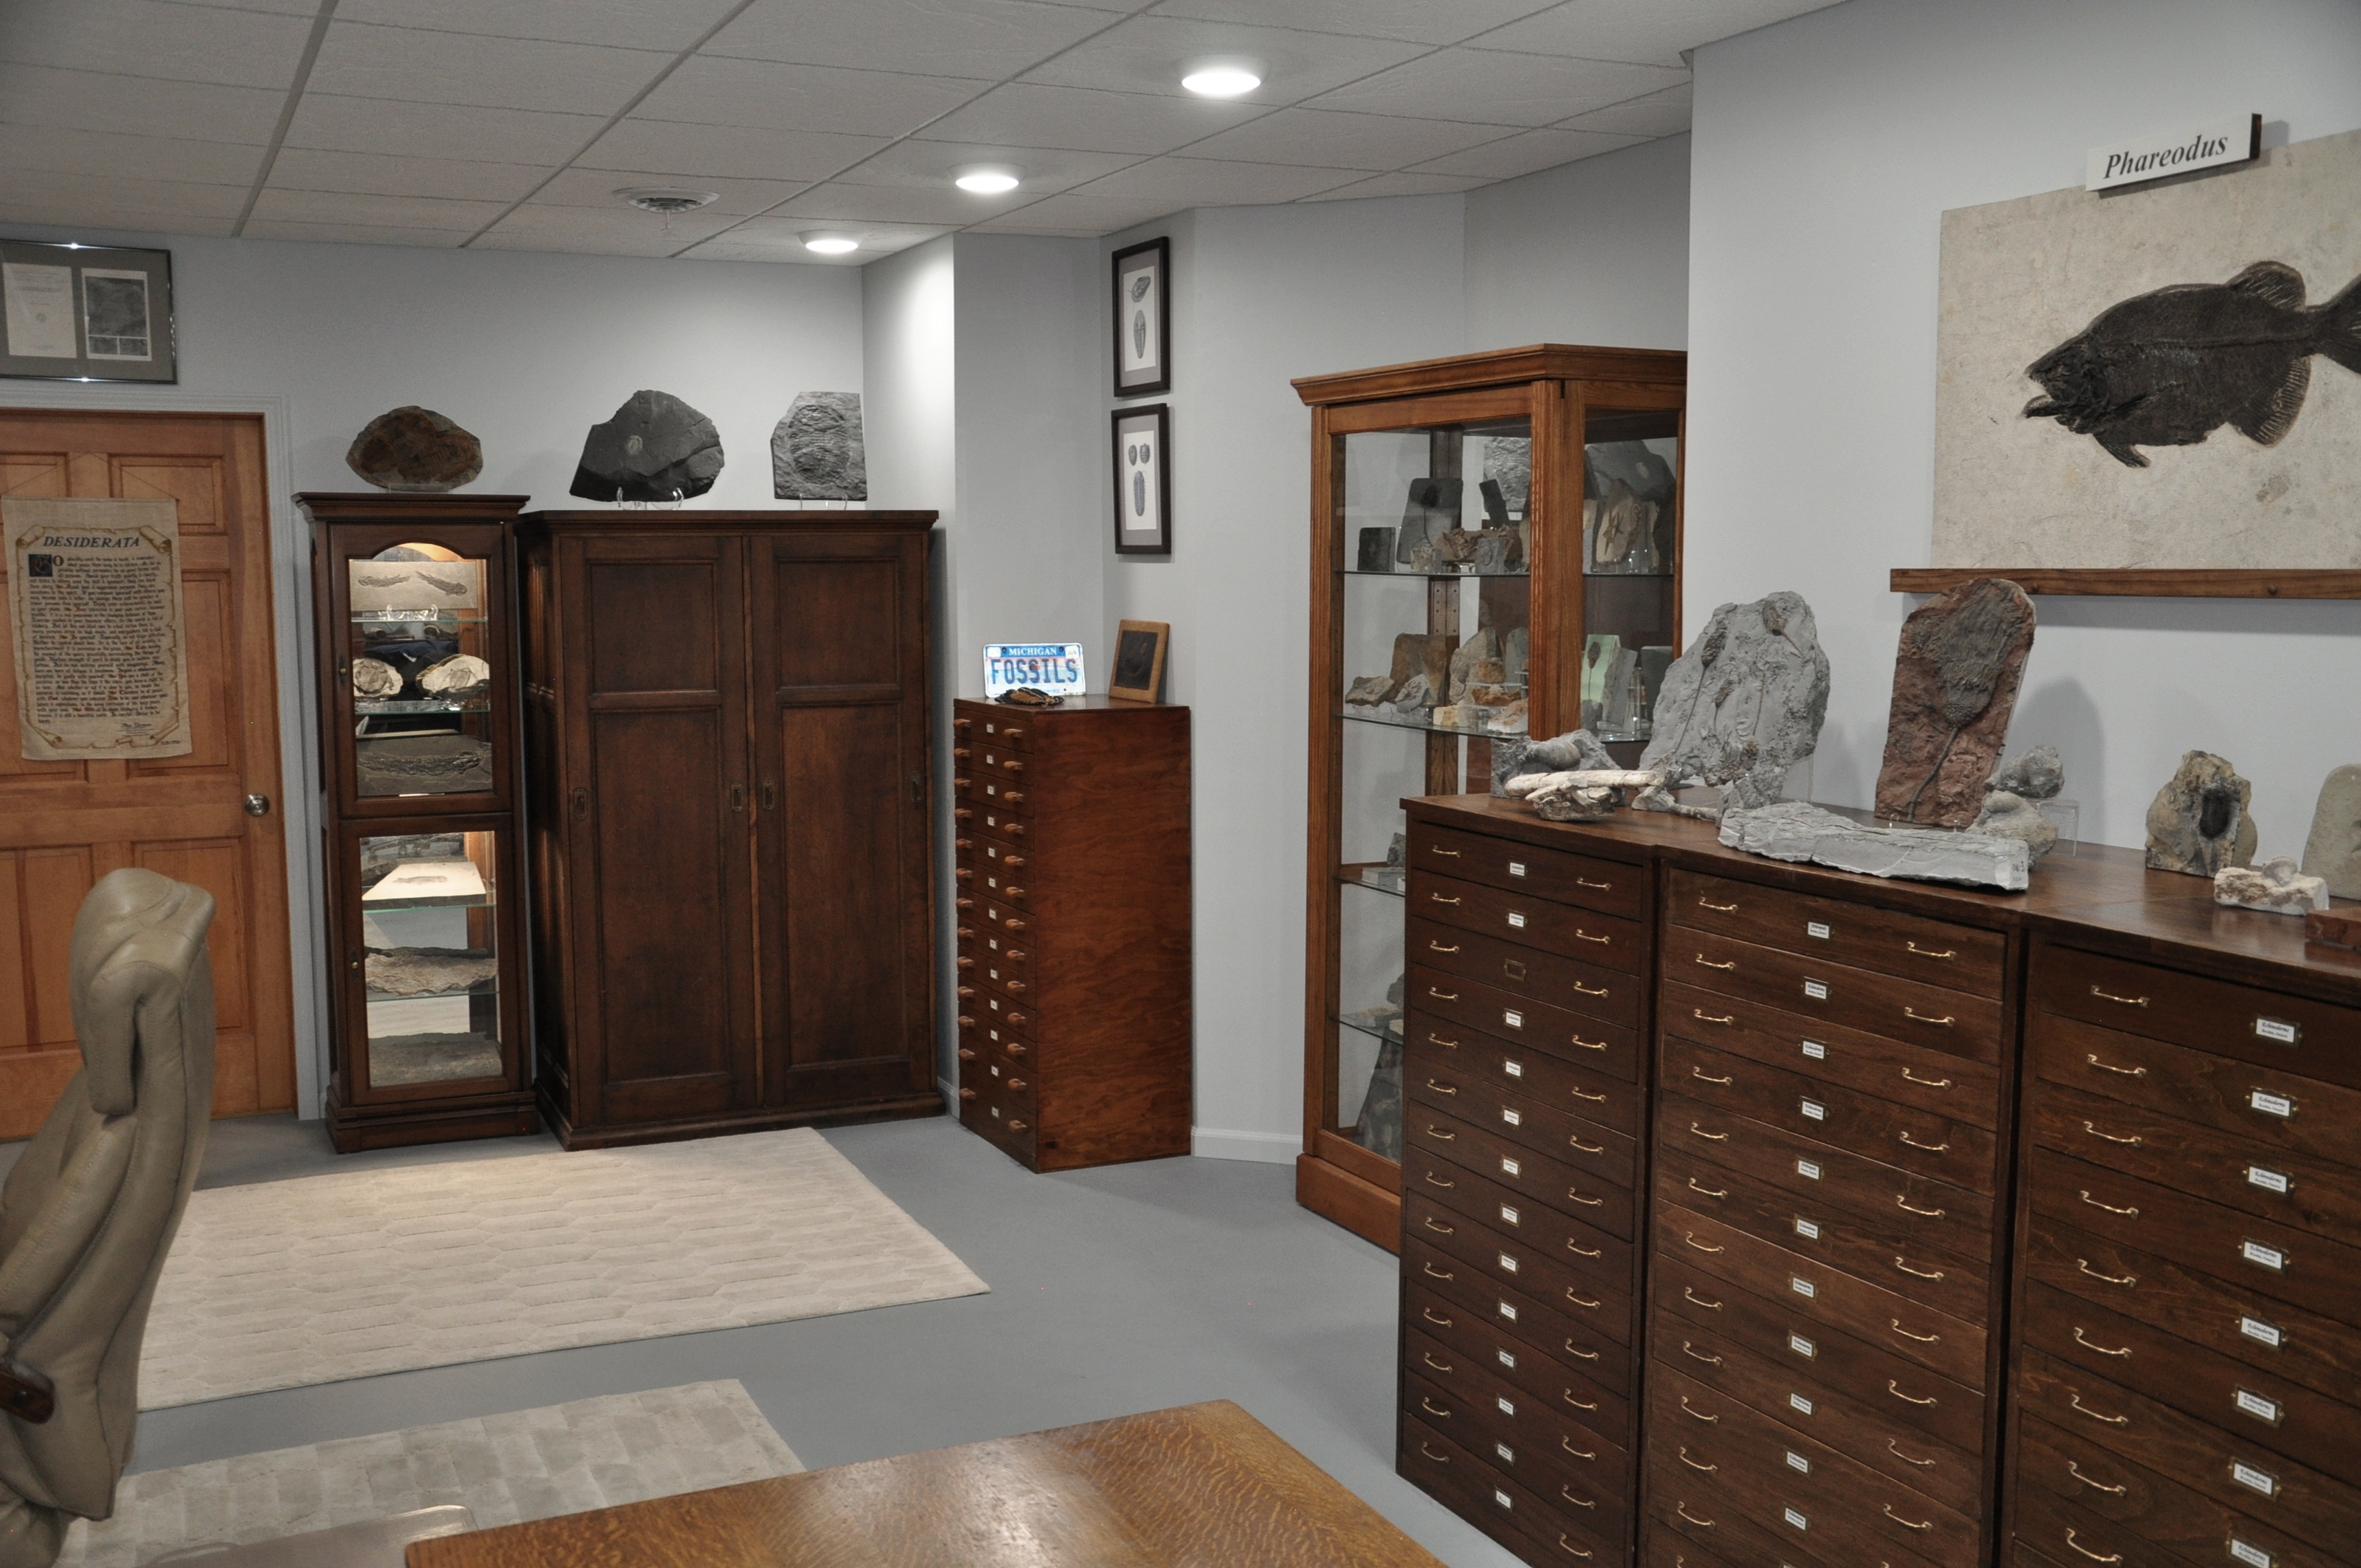
Now your fossil is ready for display or storage into a collection cabinet. The cabinets pictured below have evolved over time. They are custom made by me (with some help from
friends).

| | | |
| Air Scribes |
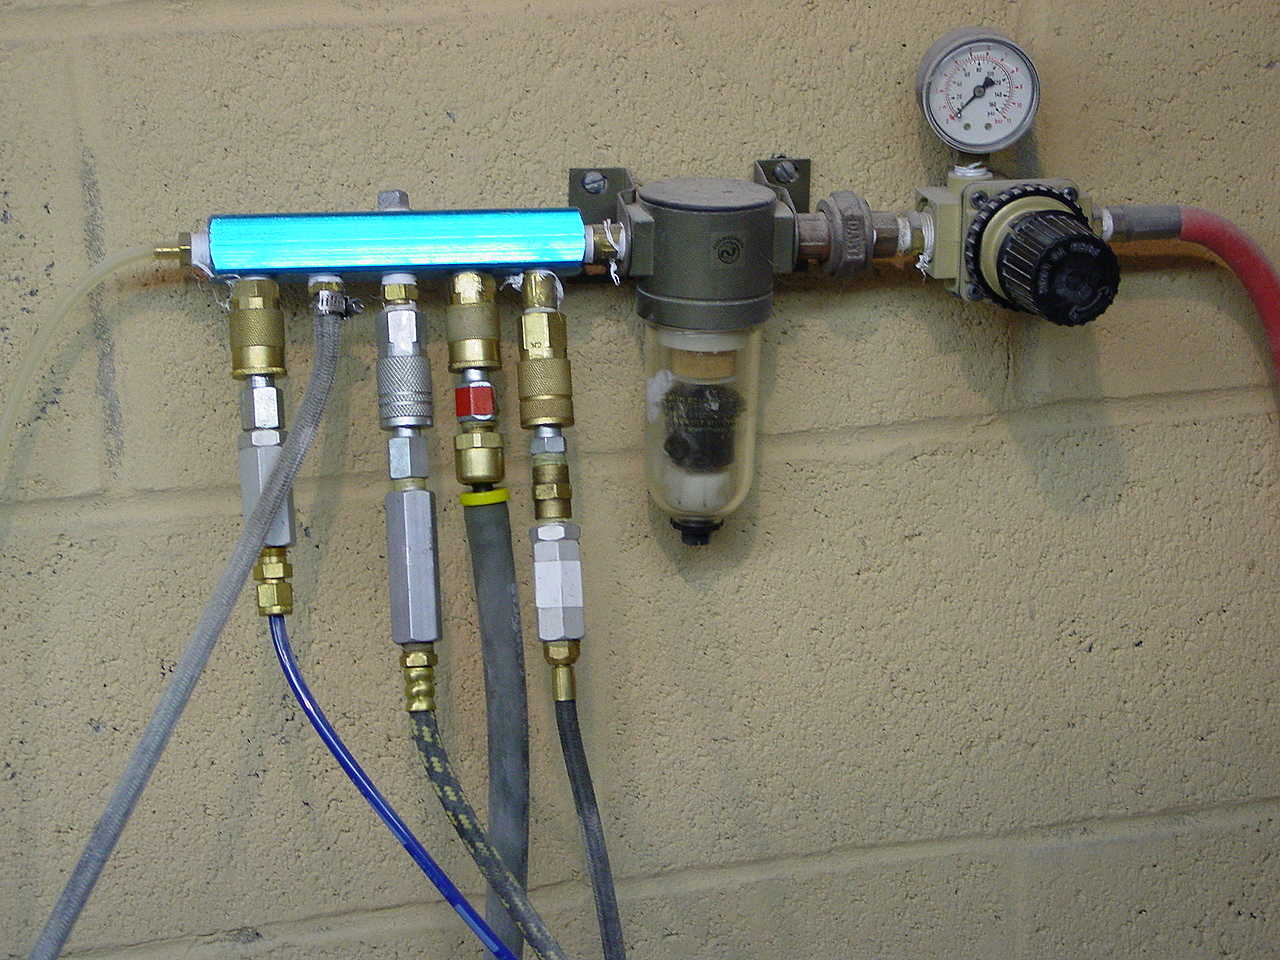
Connection to Air source |
Air Abrasive |
Work Box |
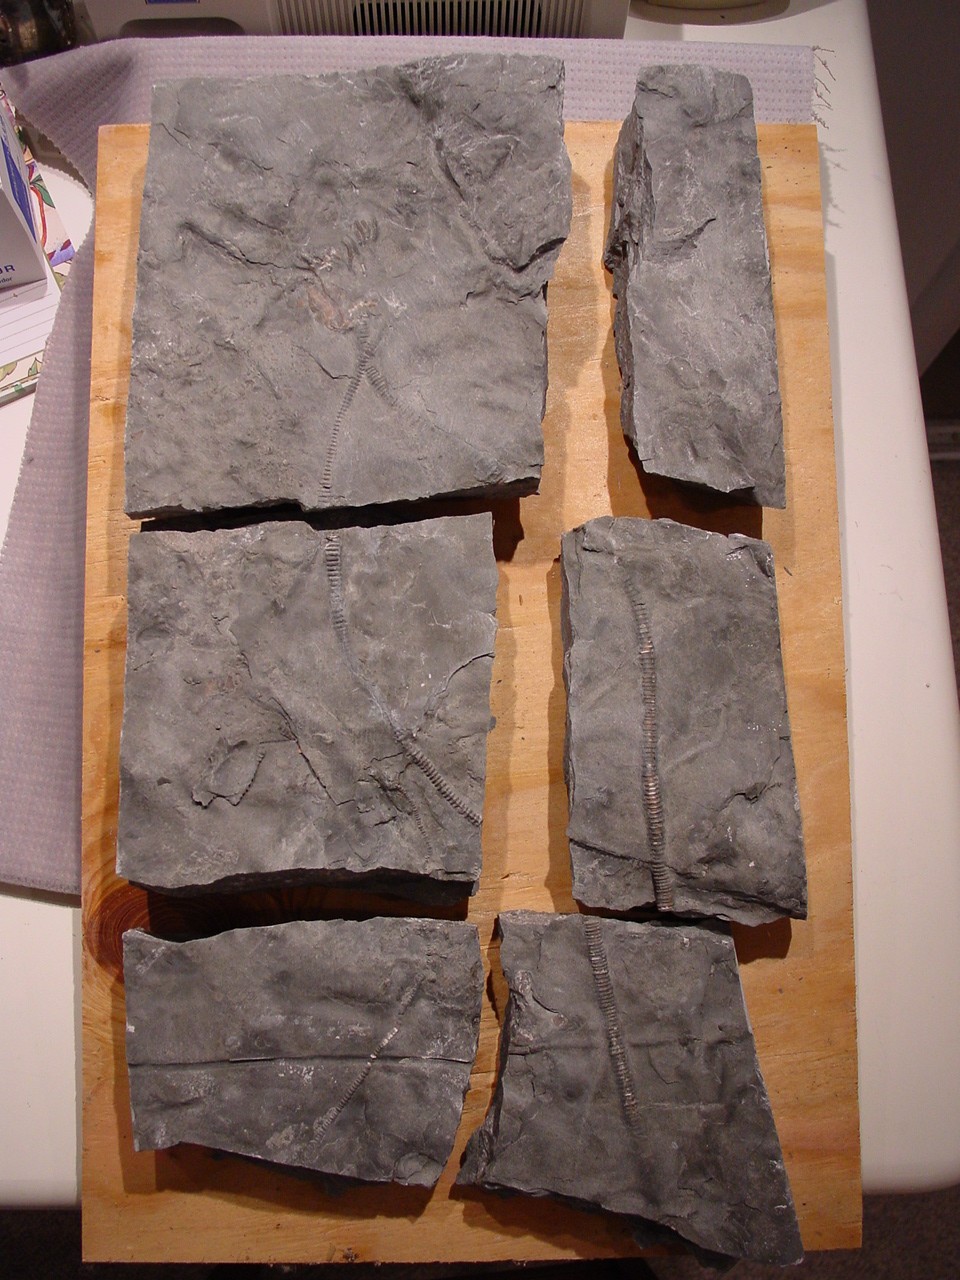
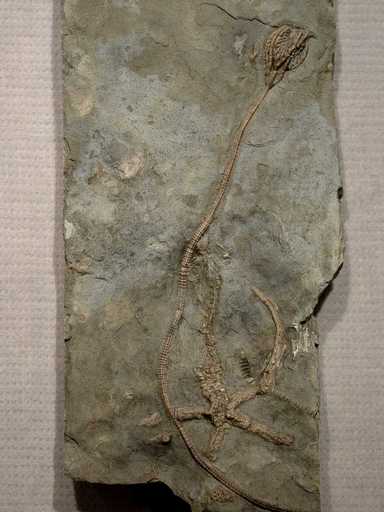
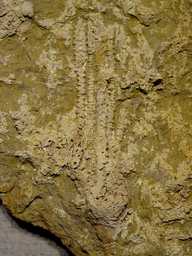
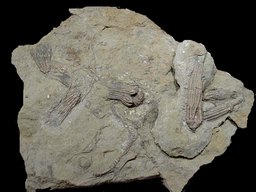
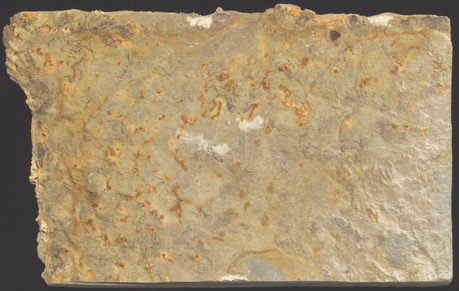
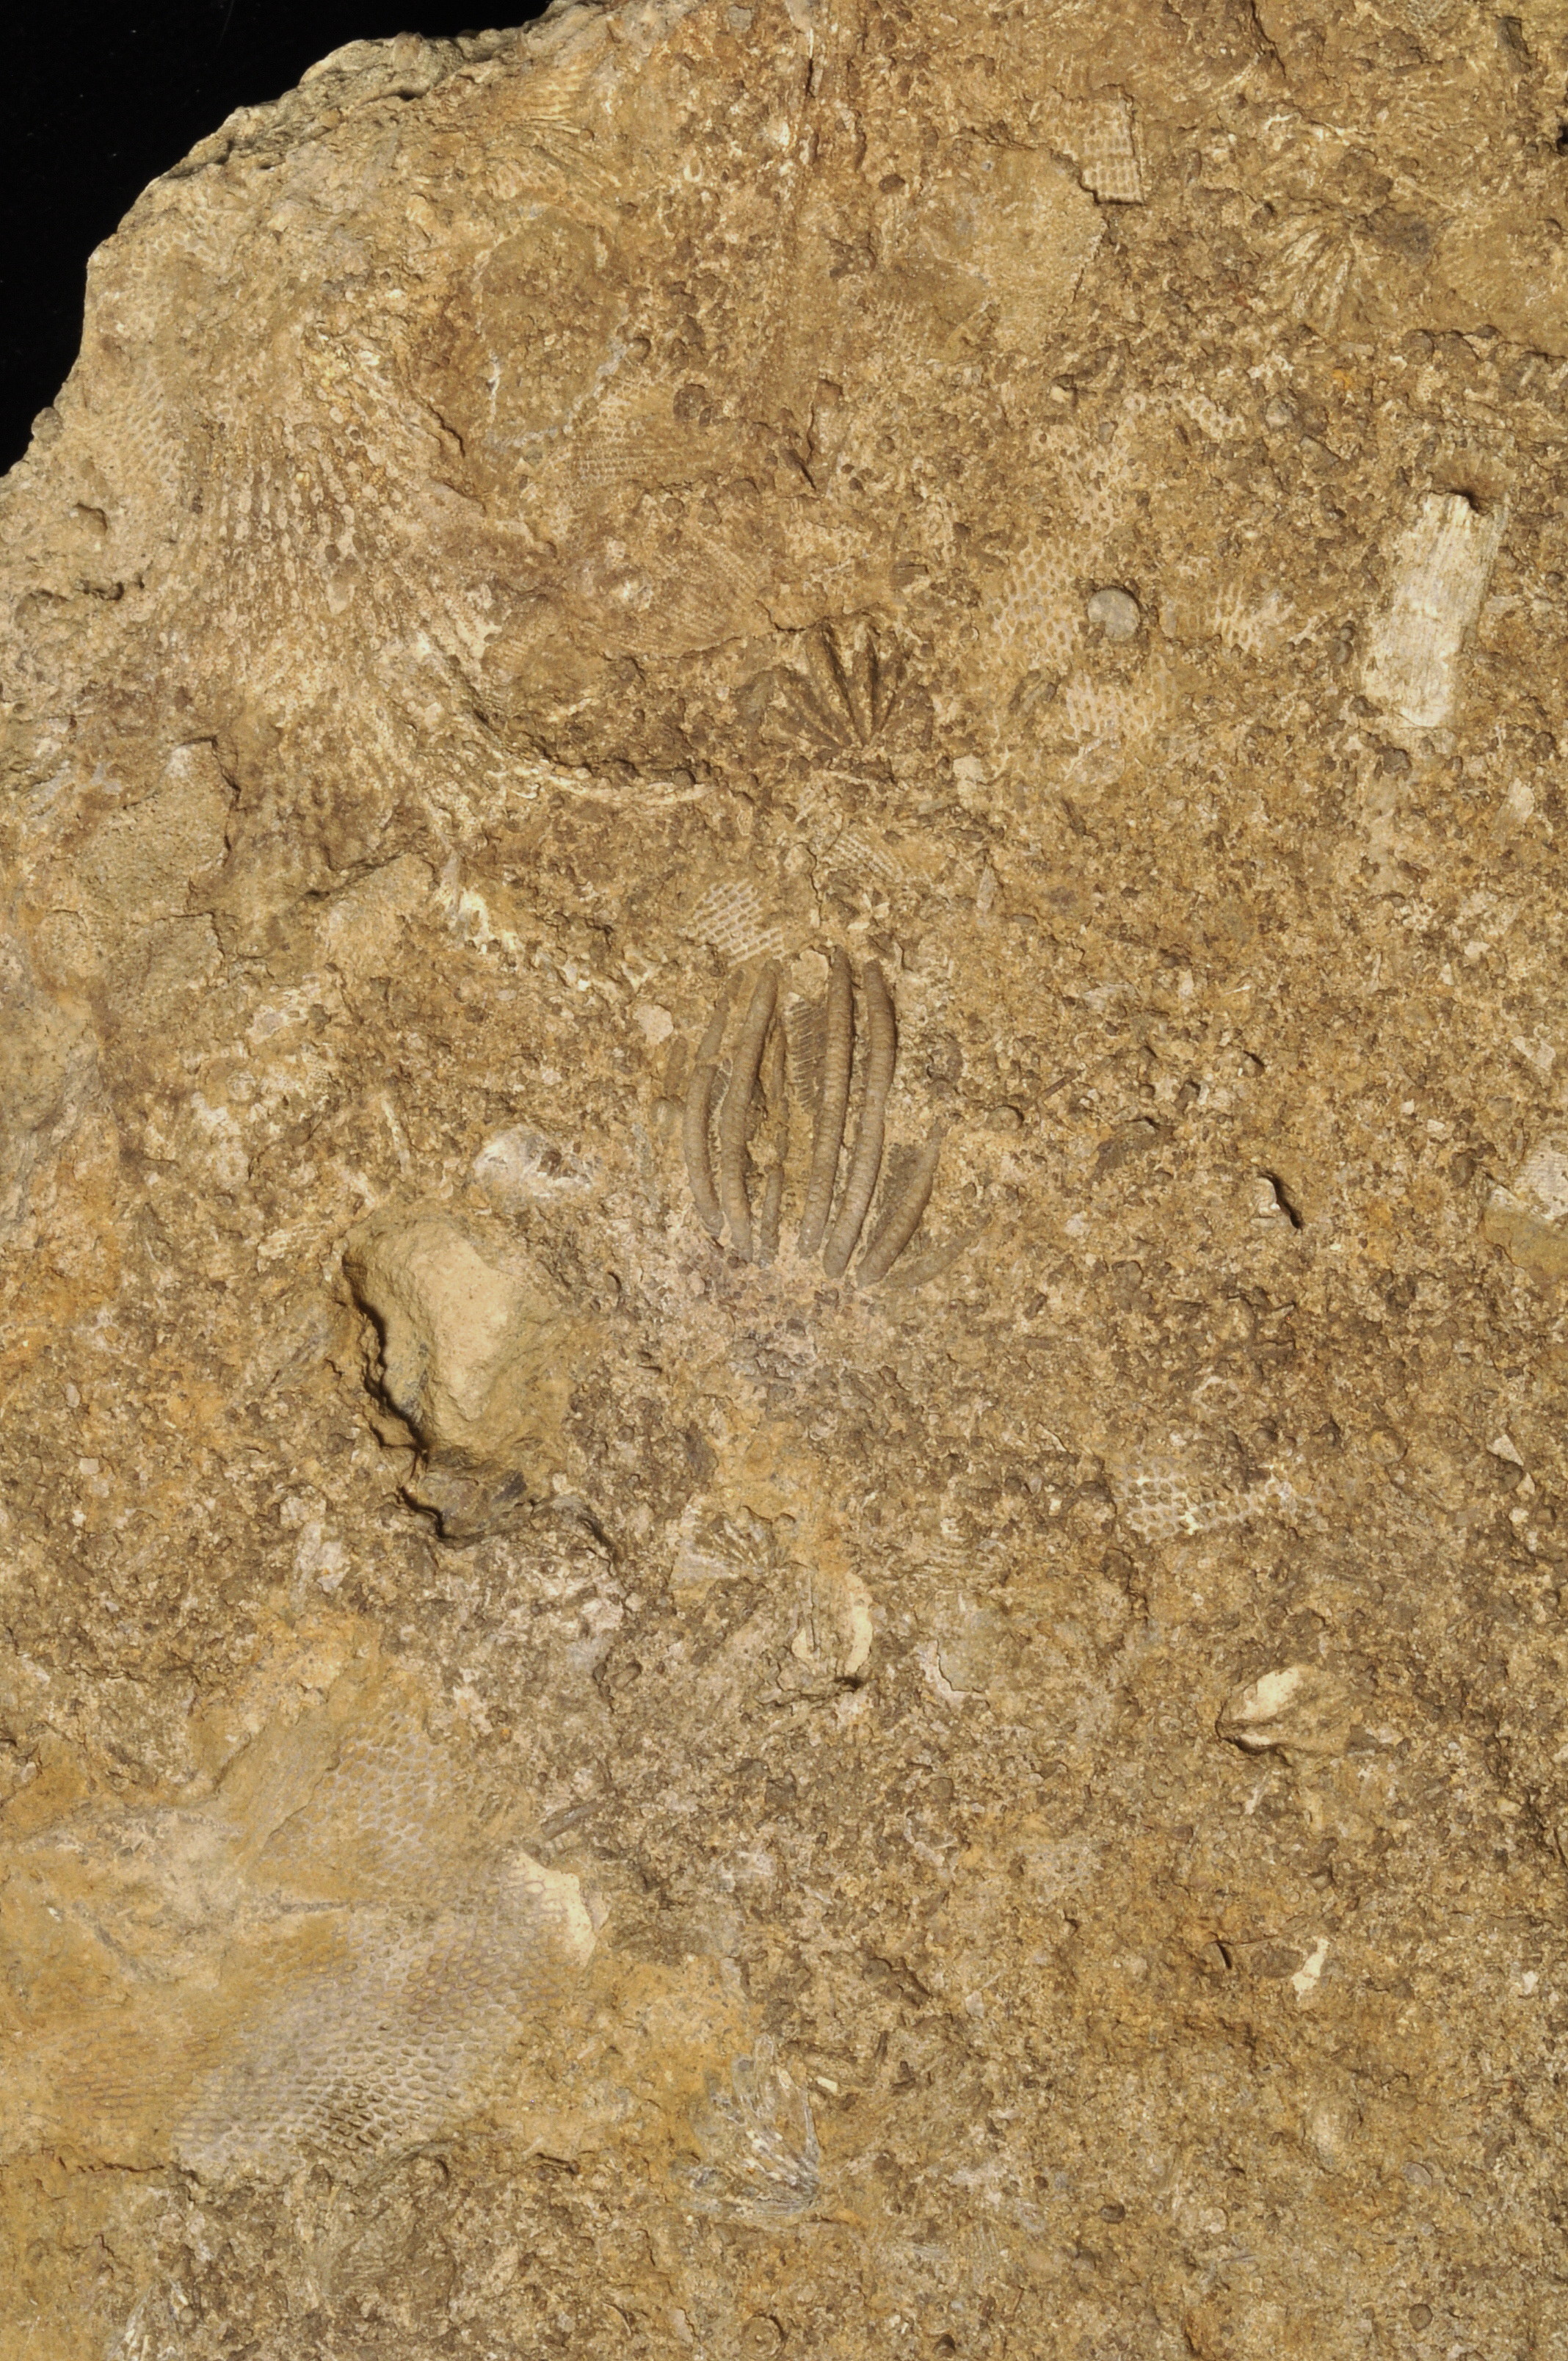
Specimens
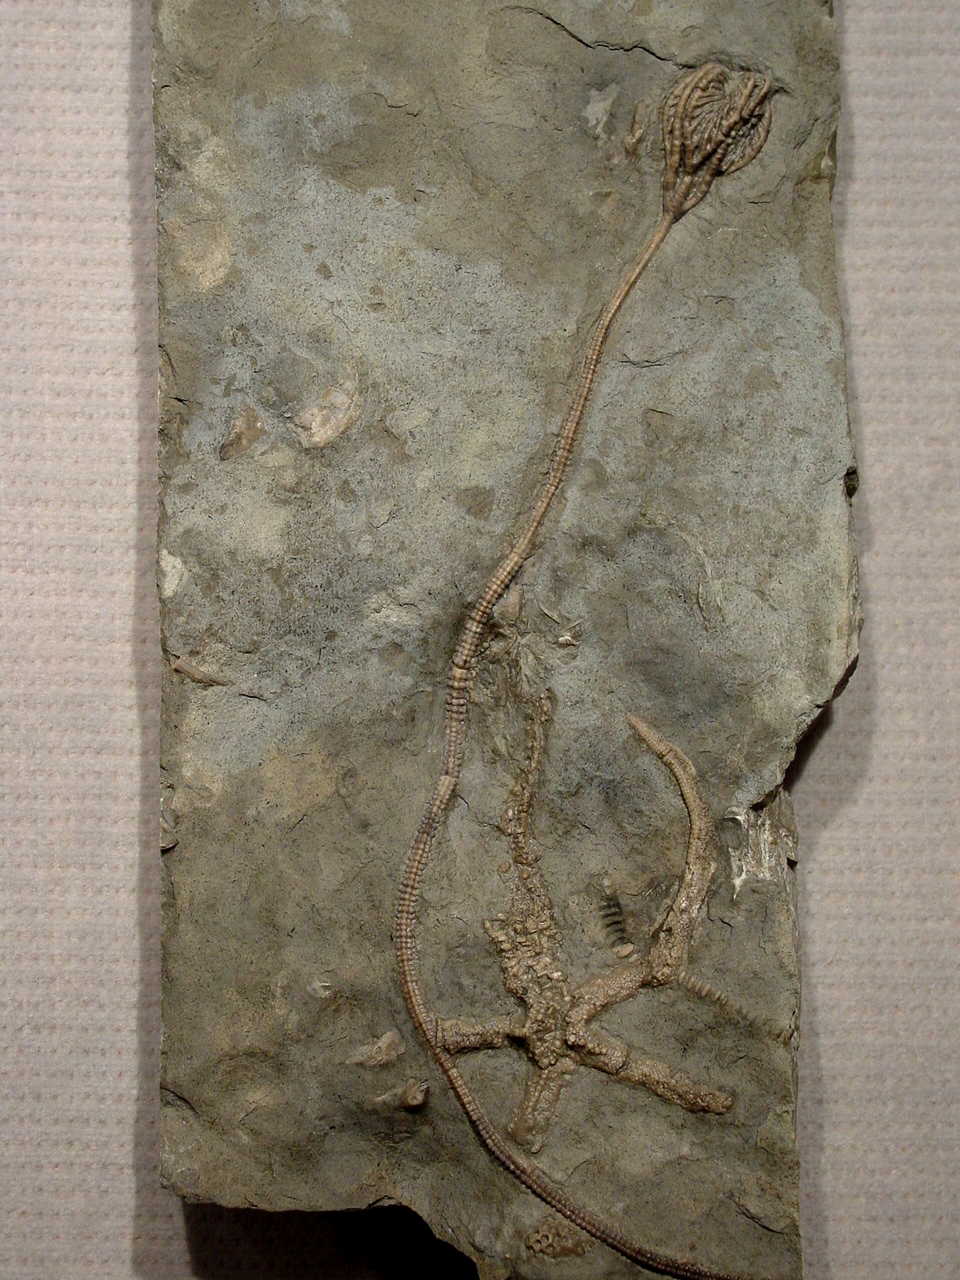
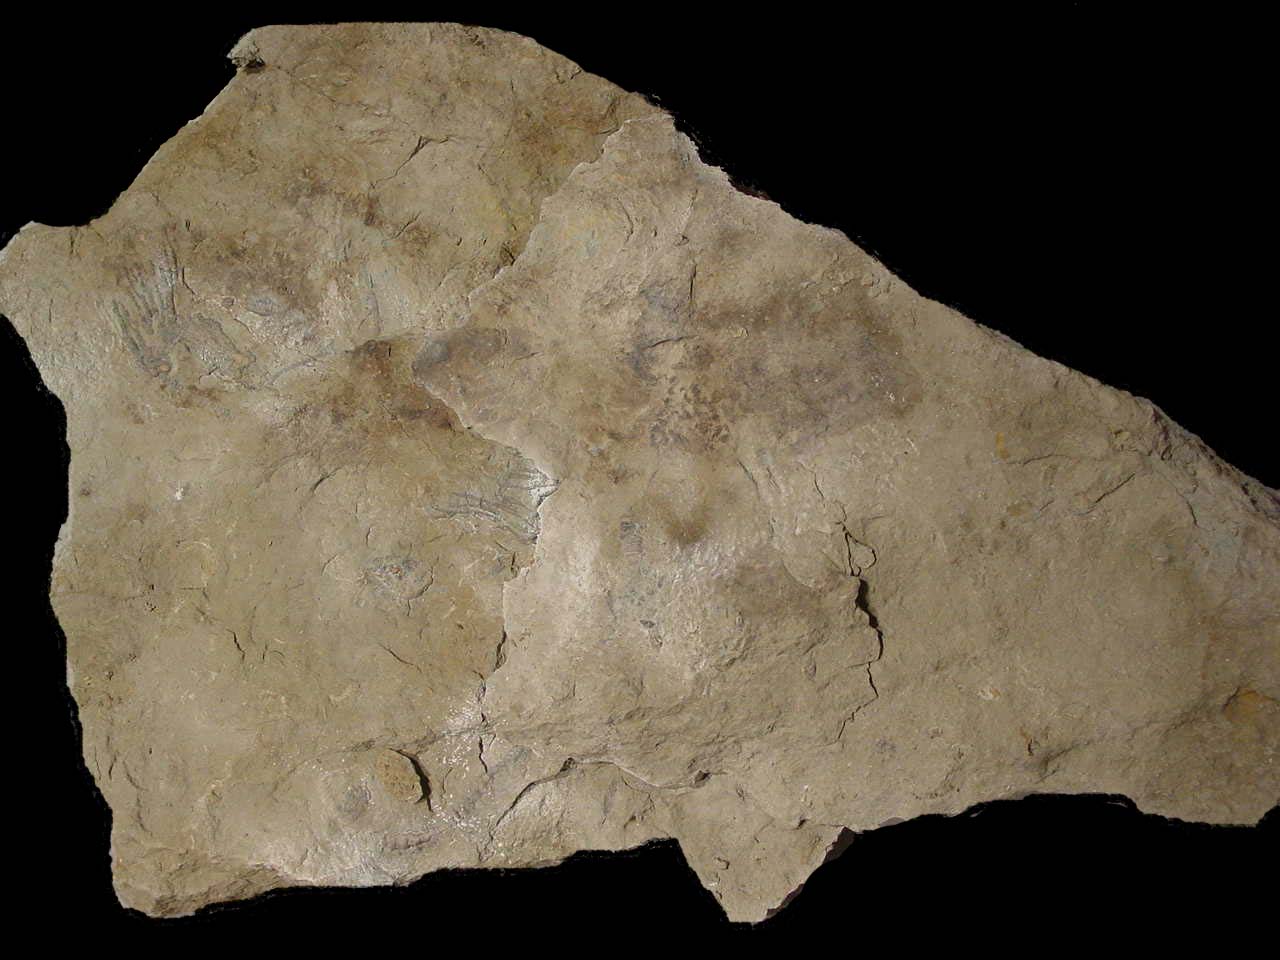
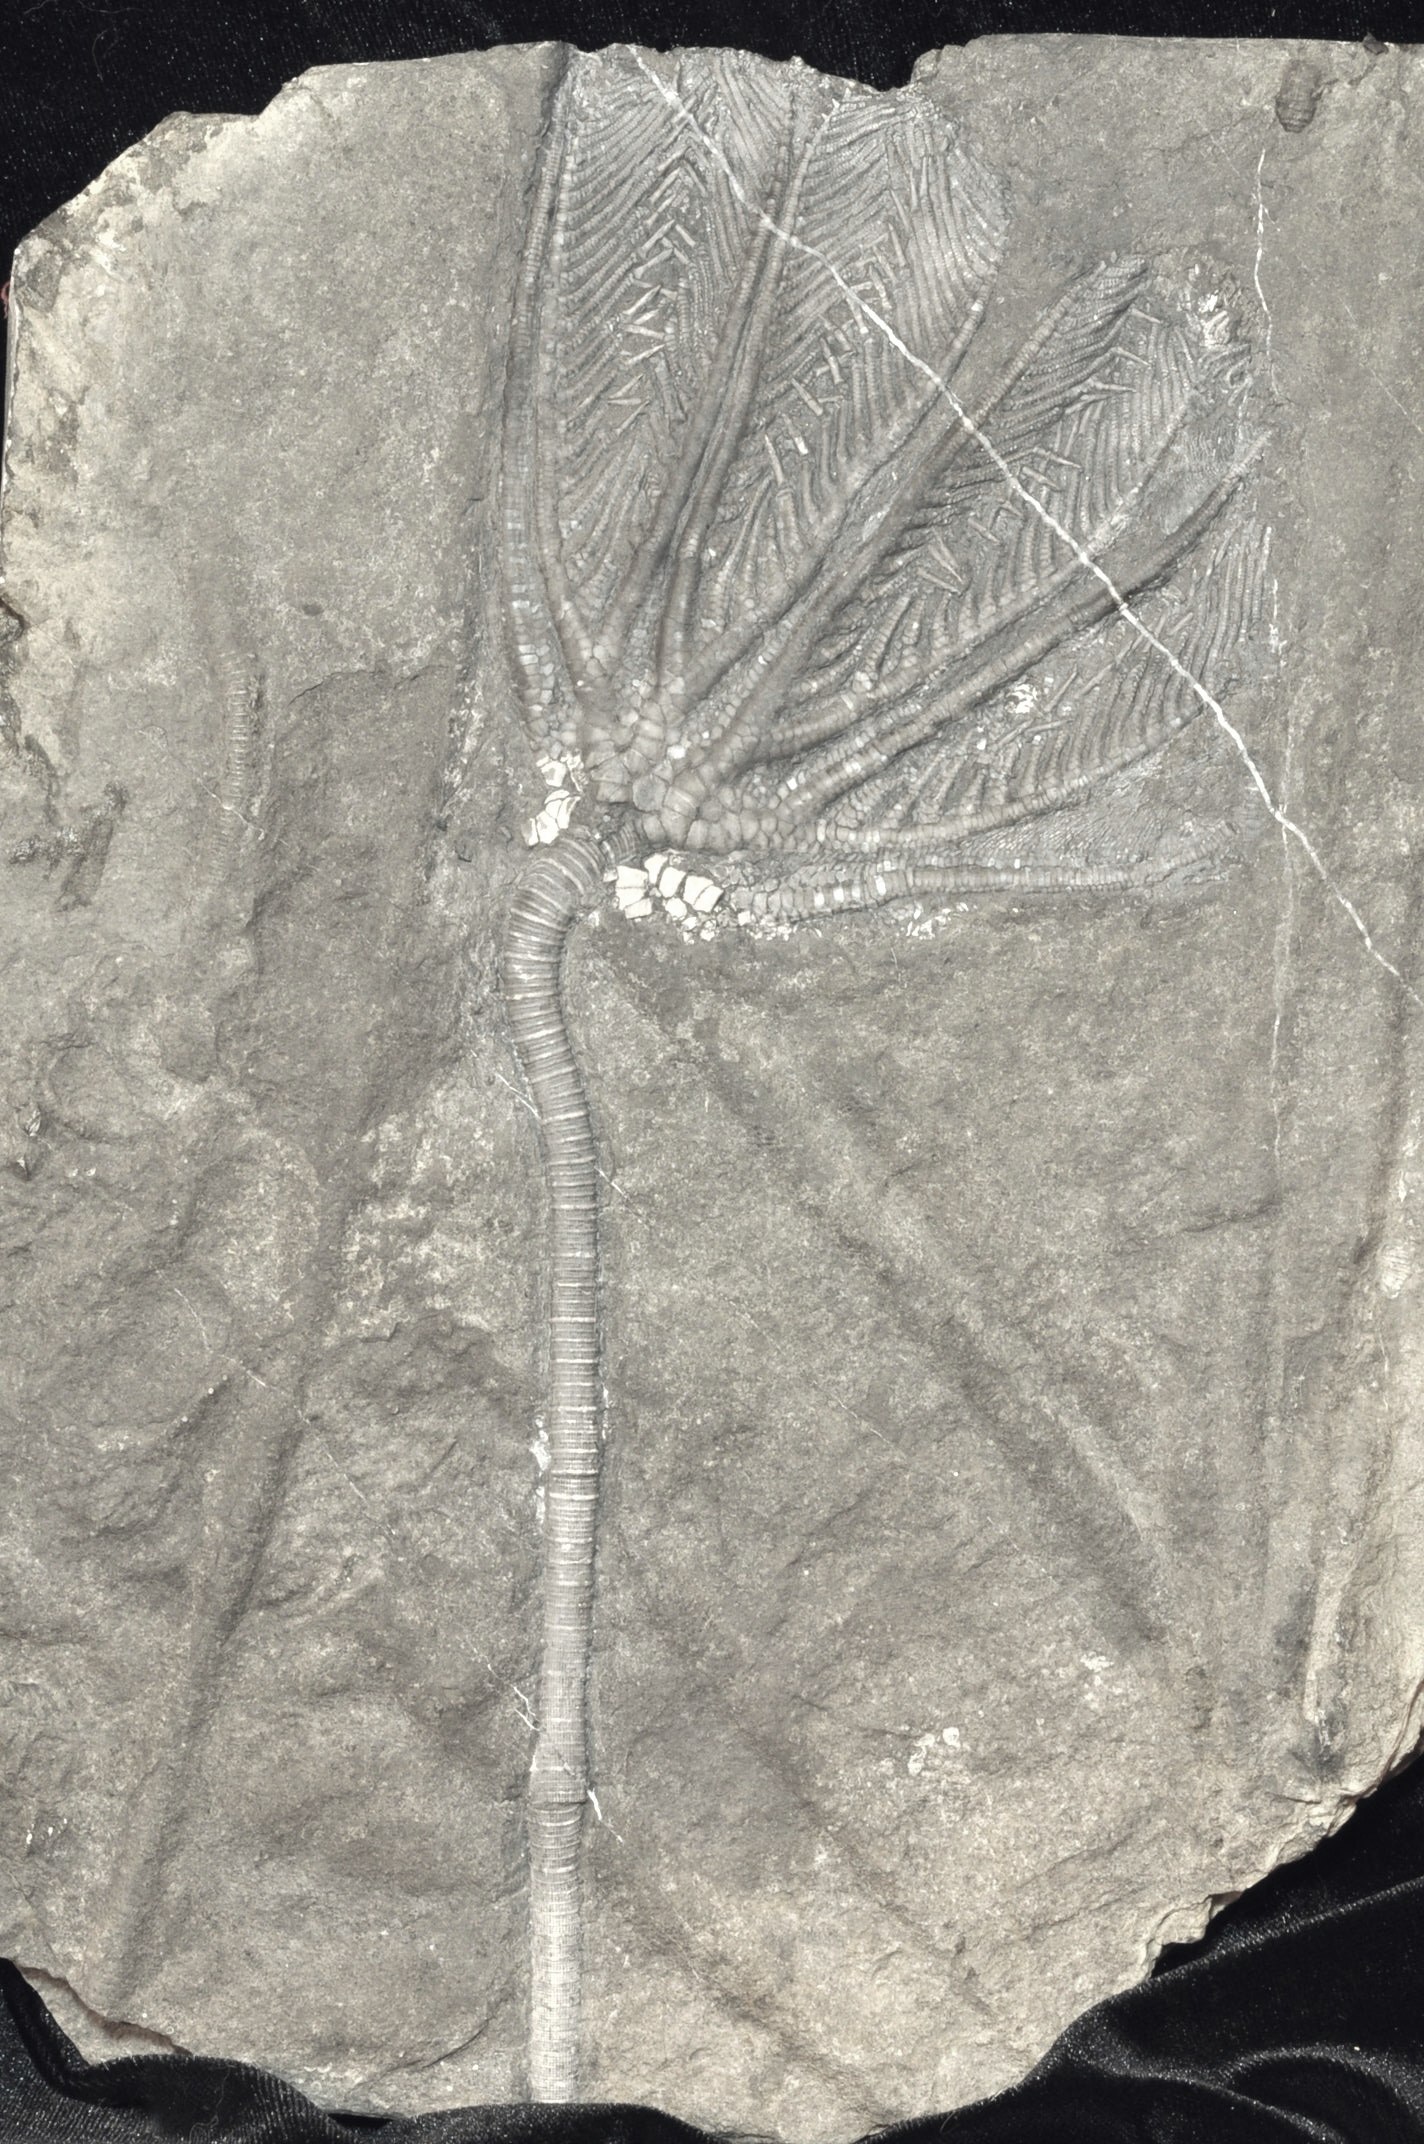
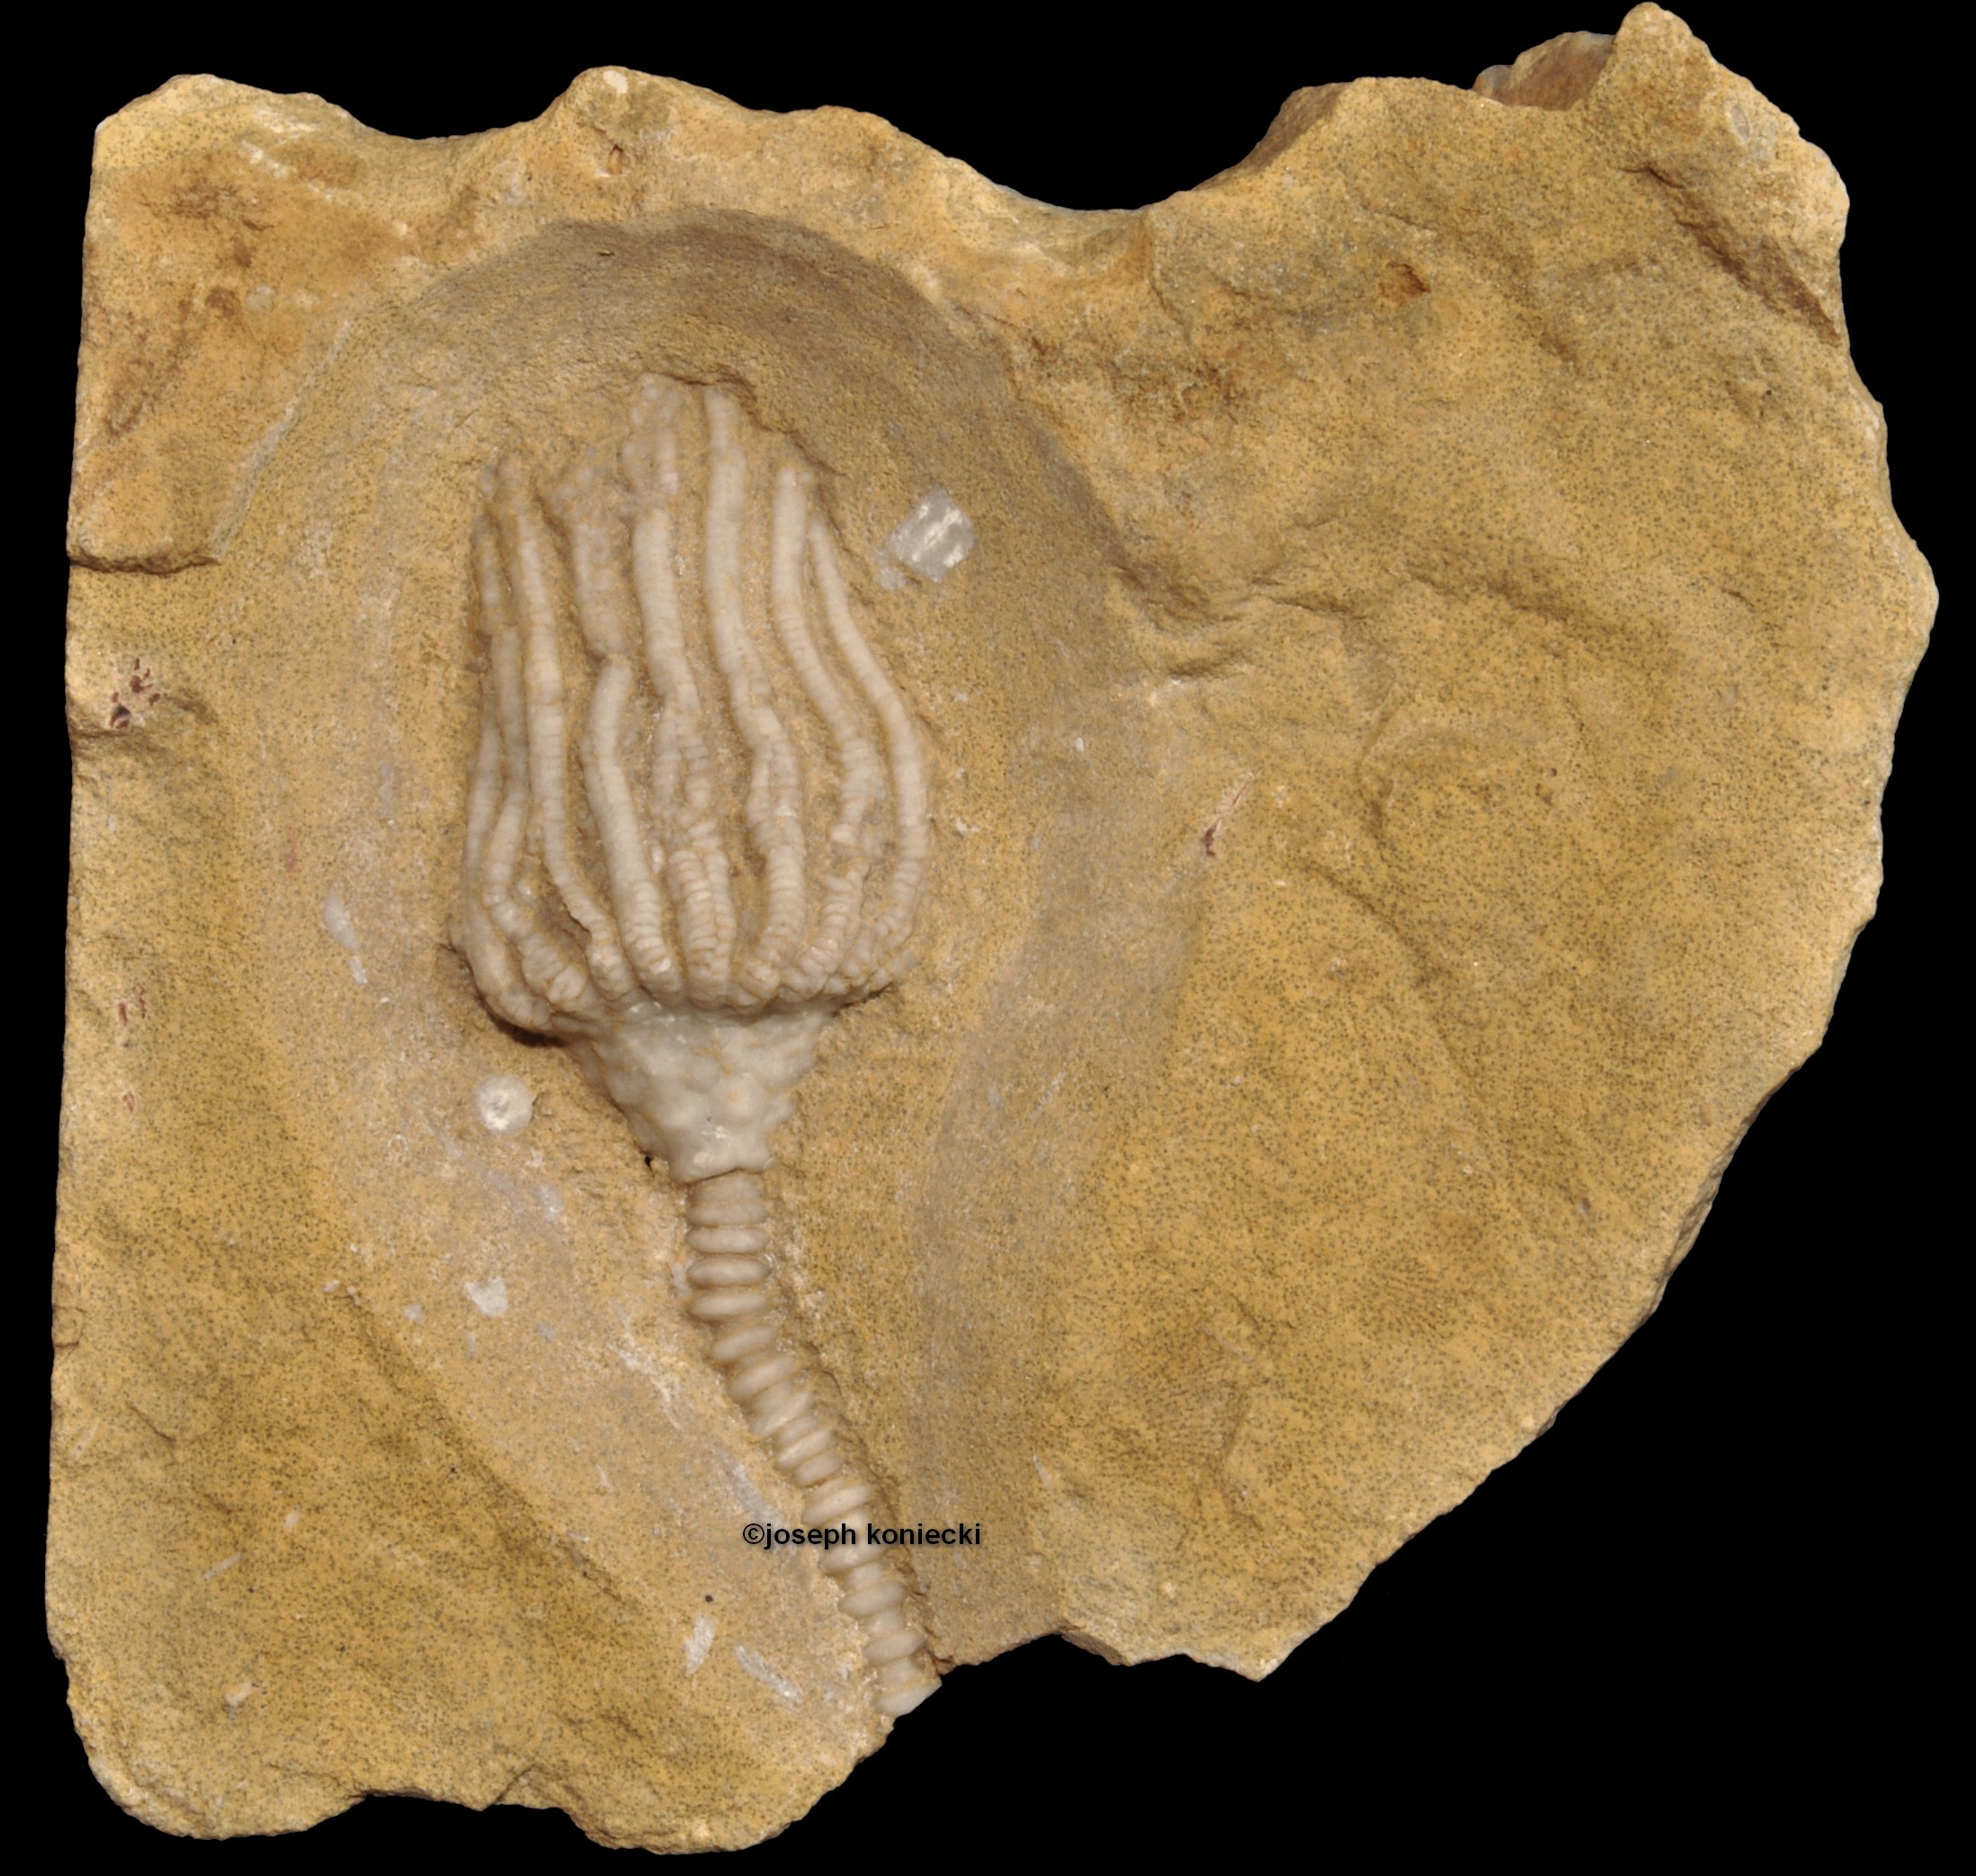
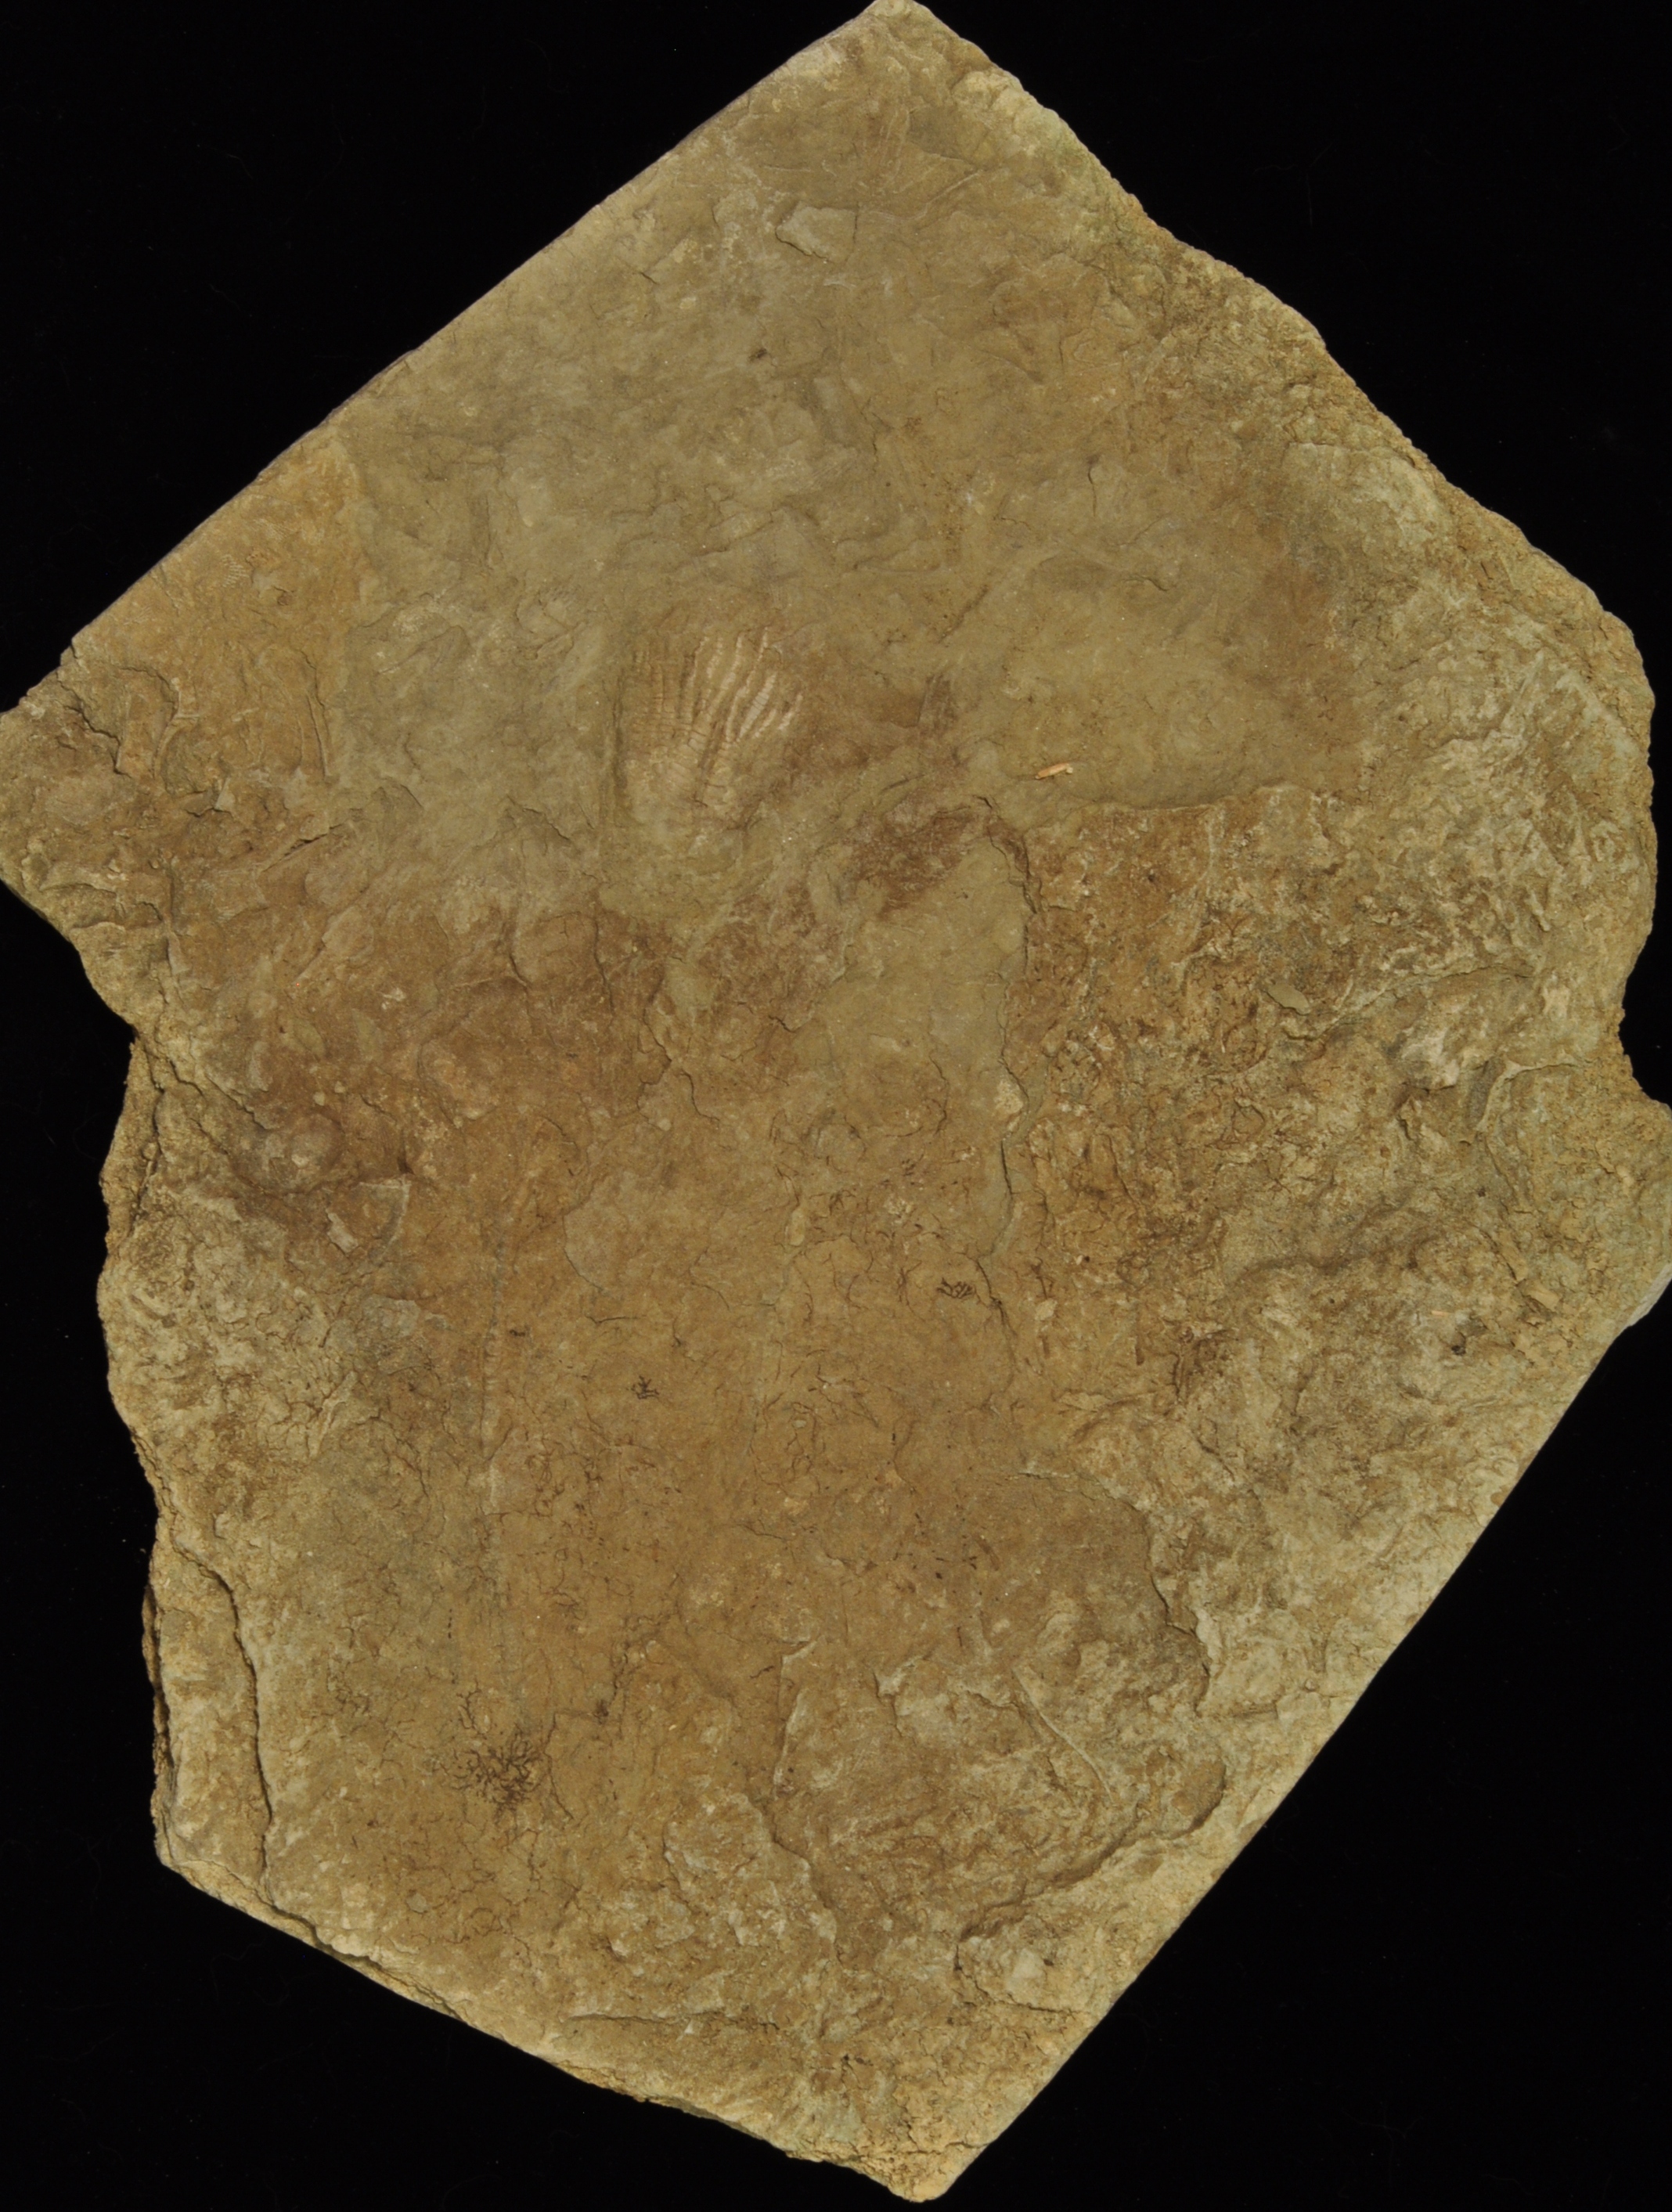
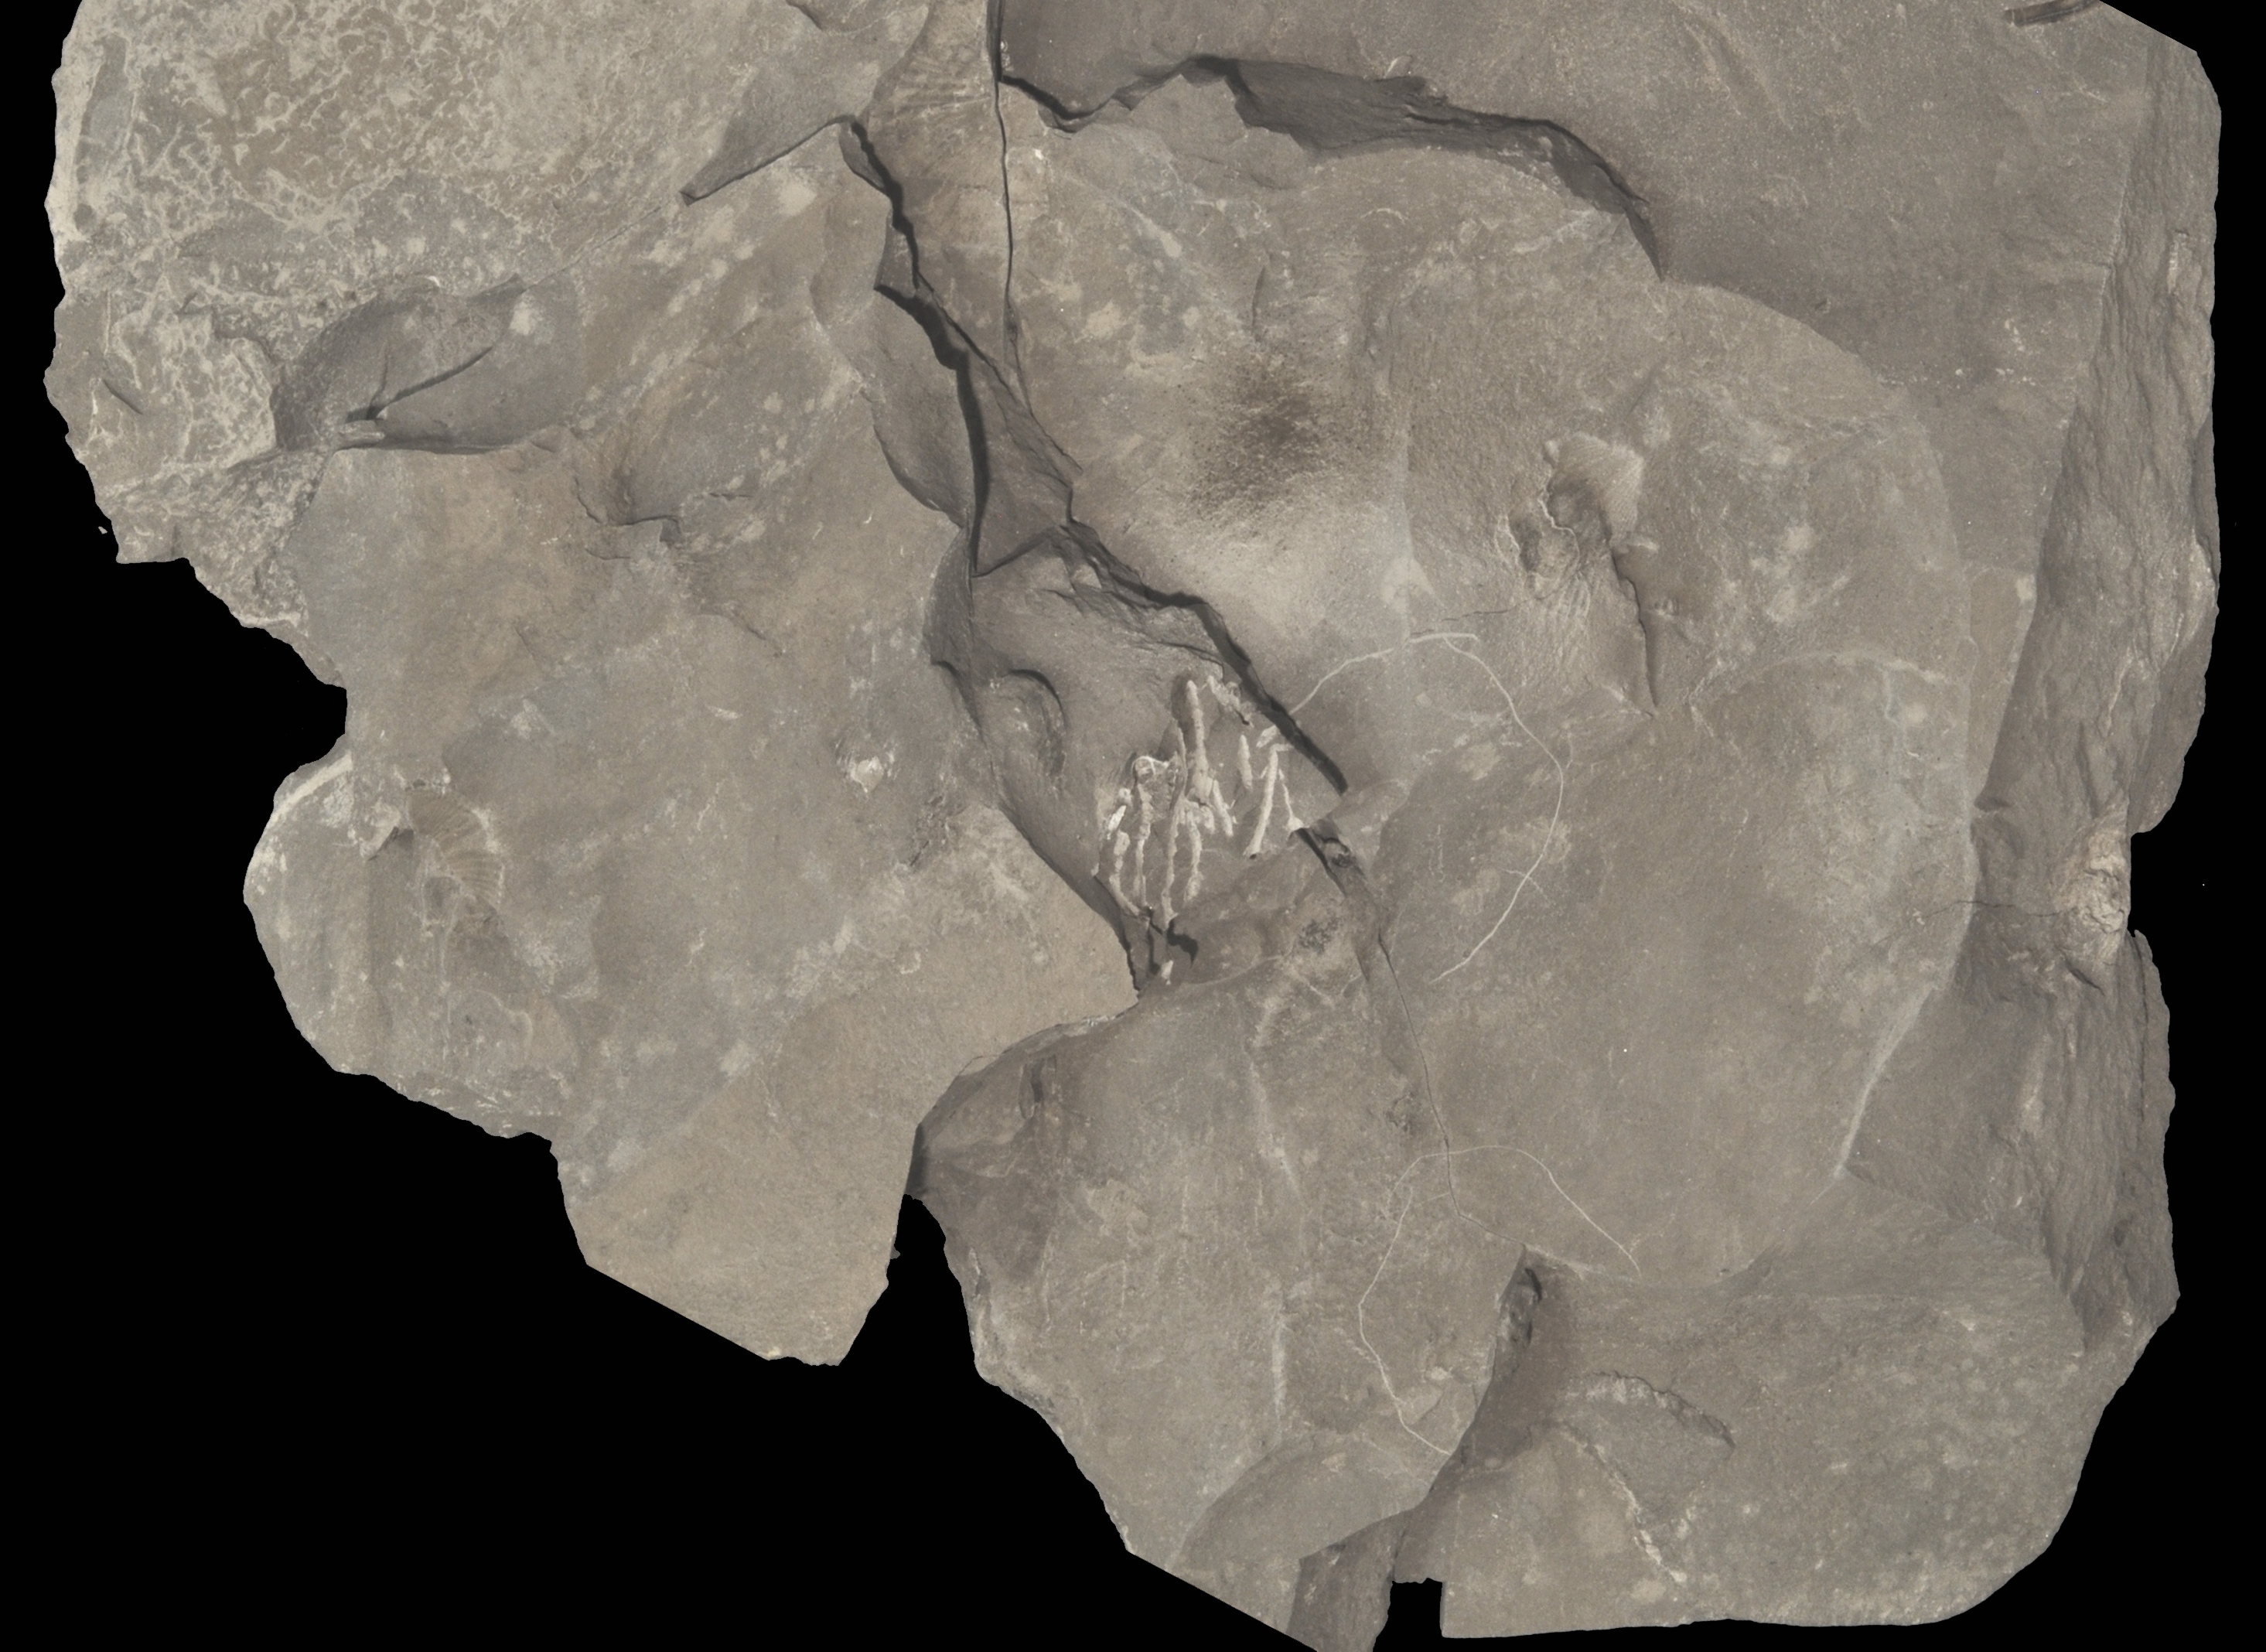
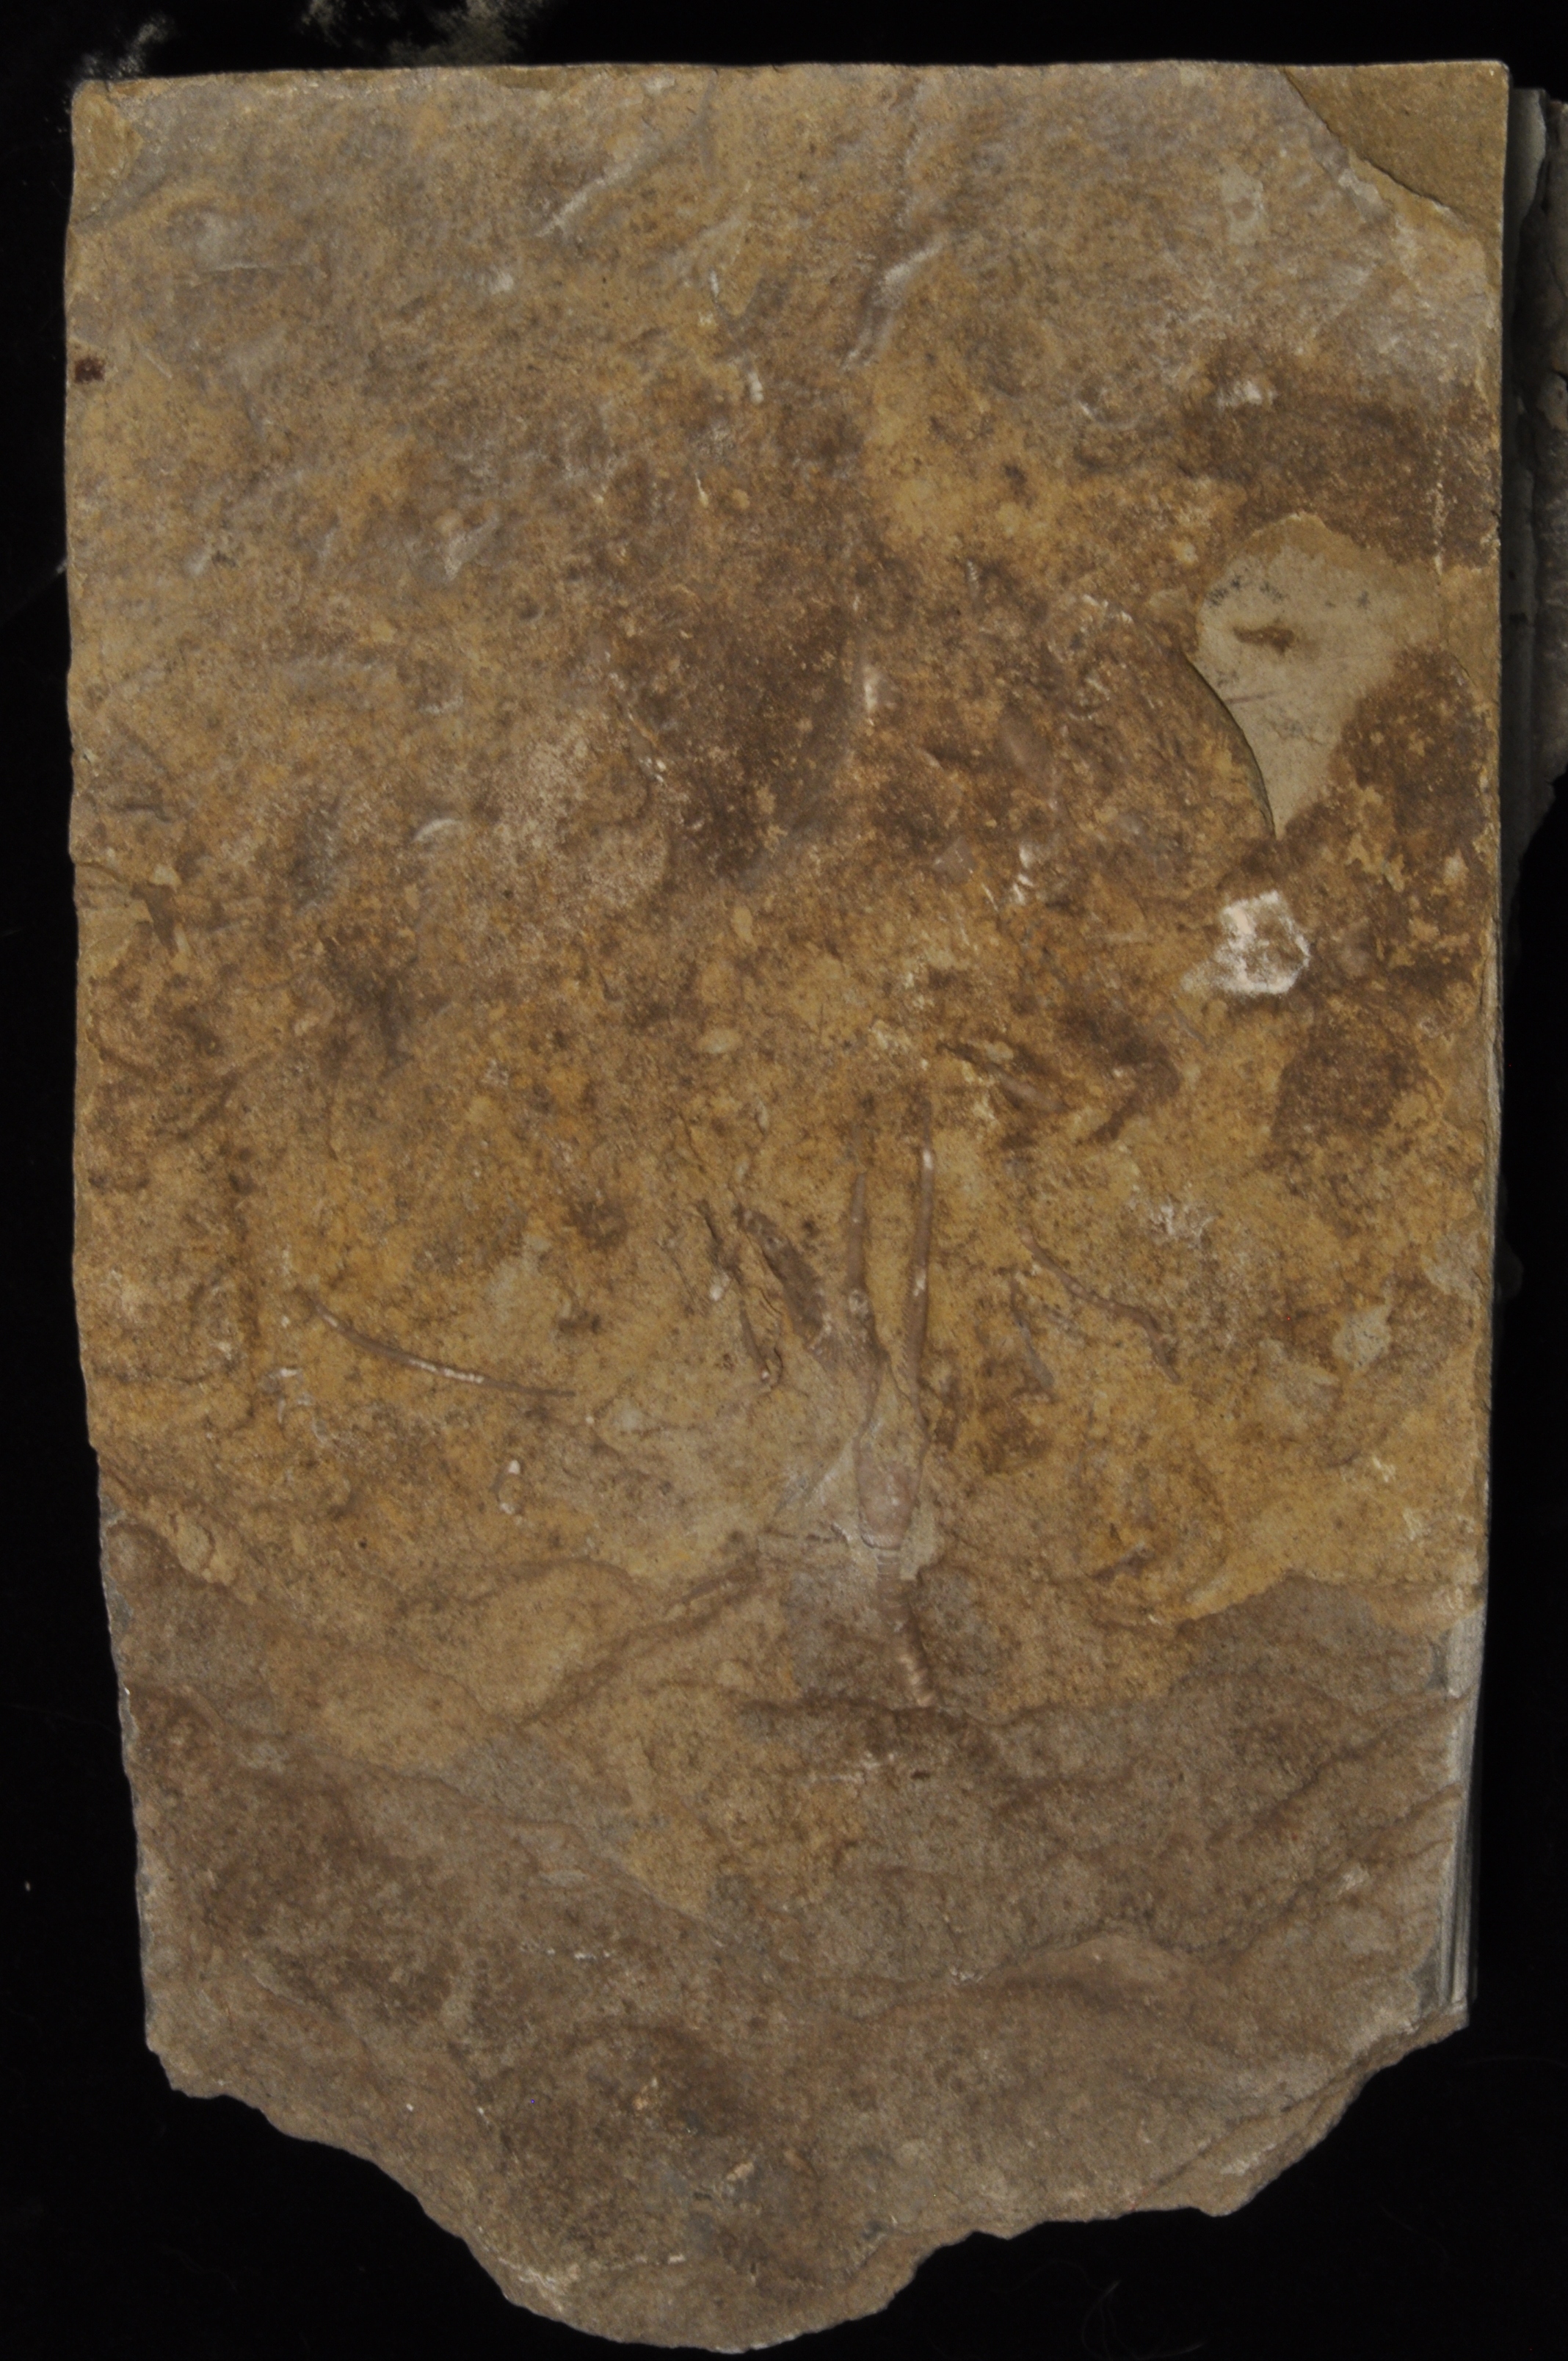
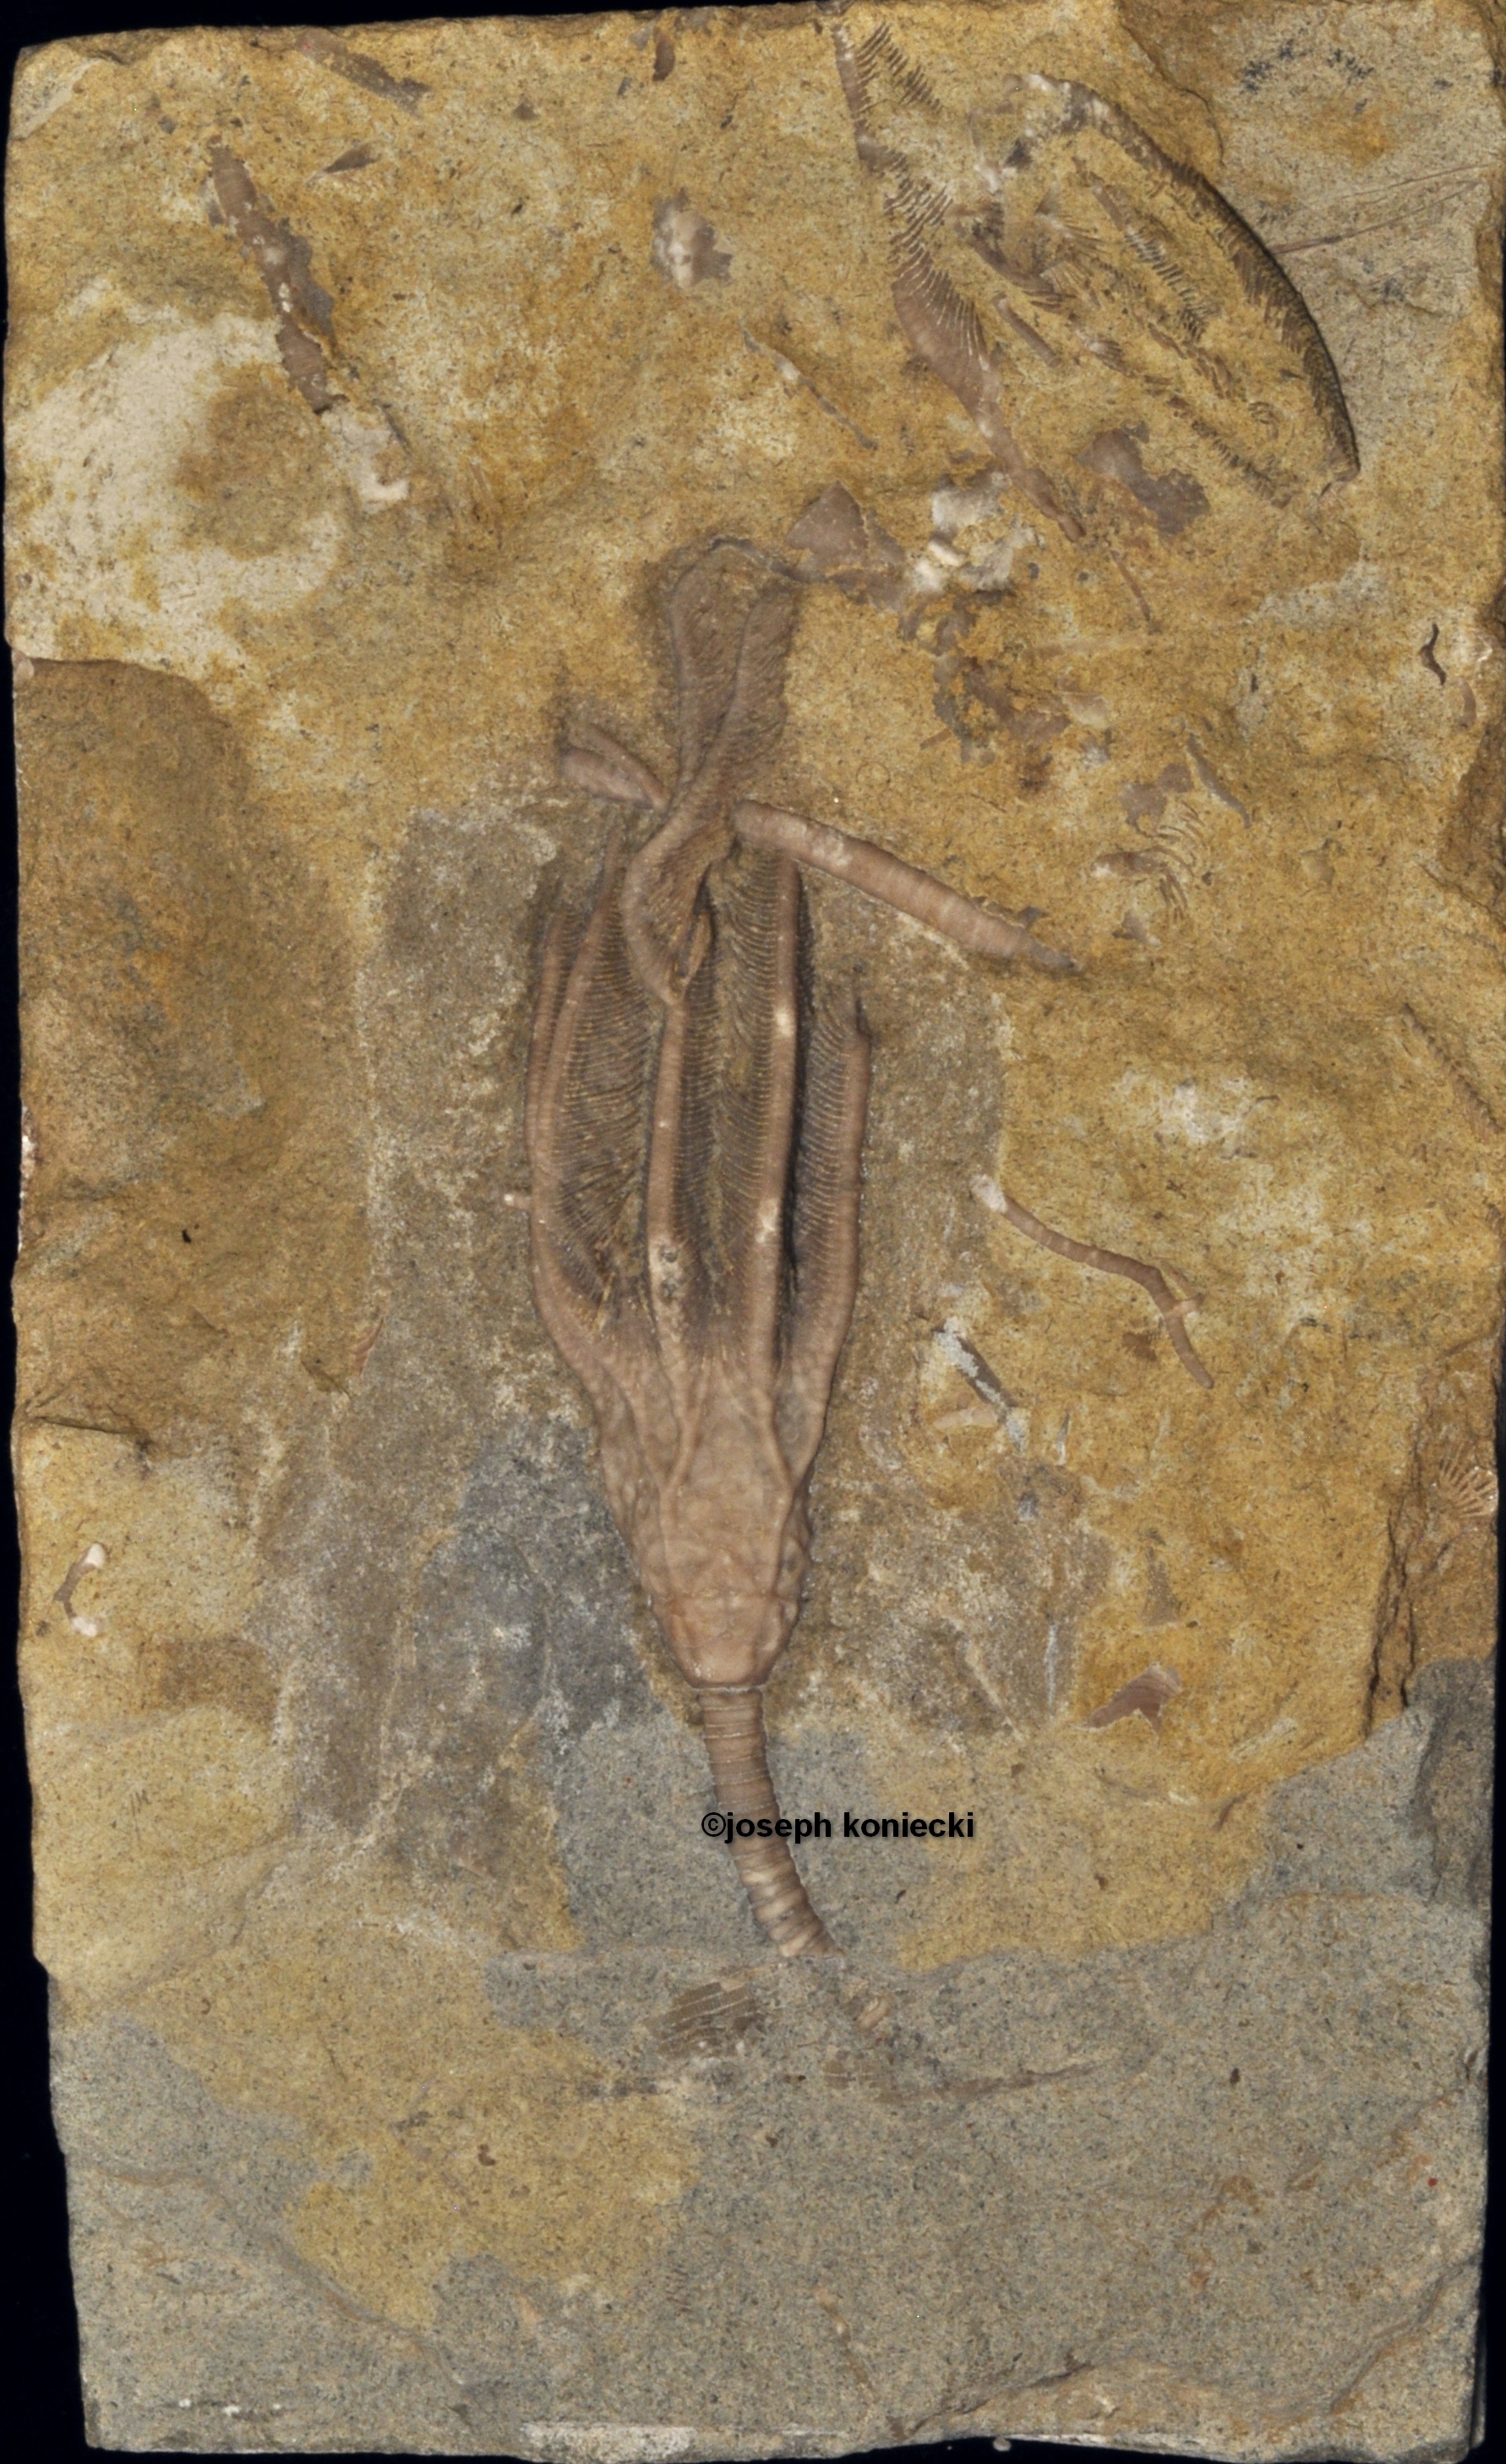
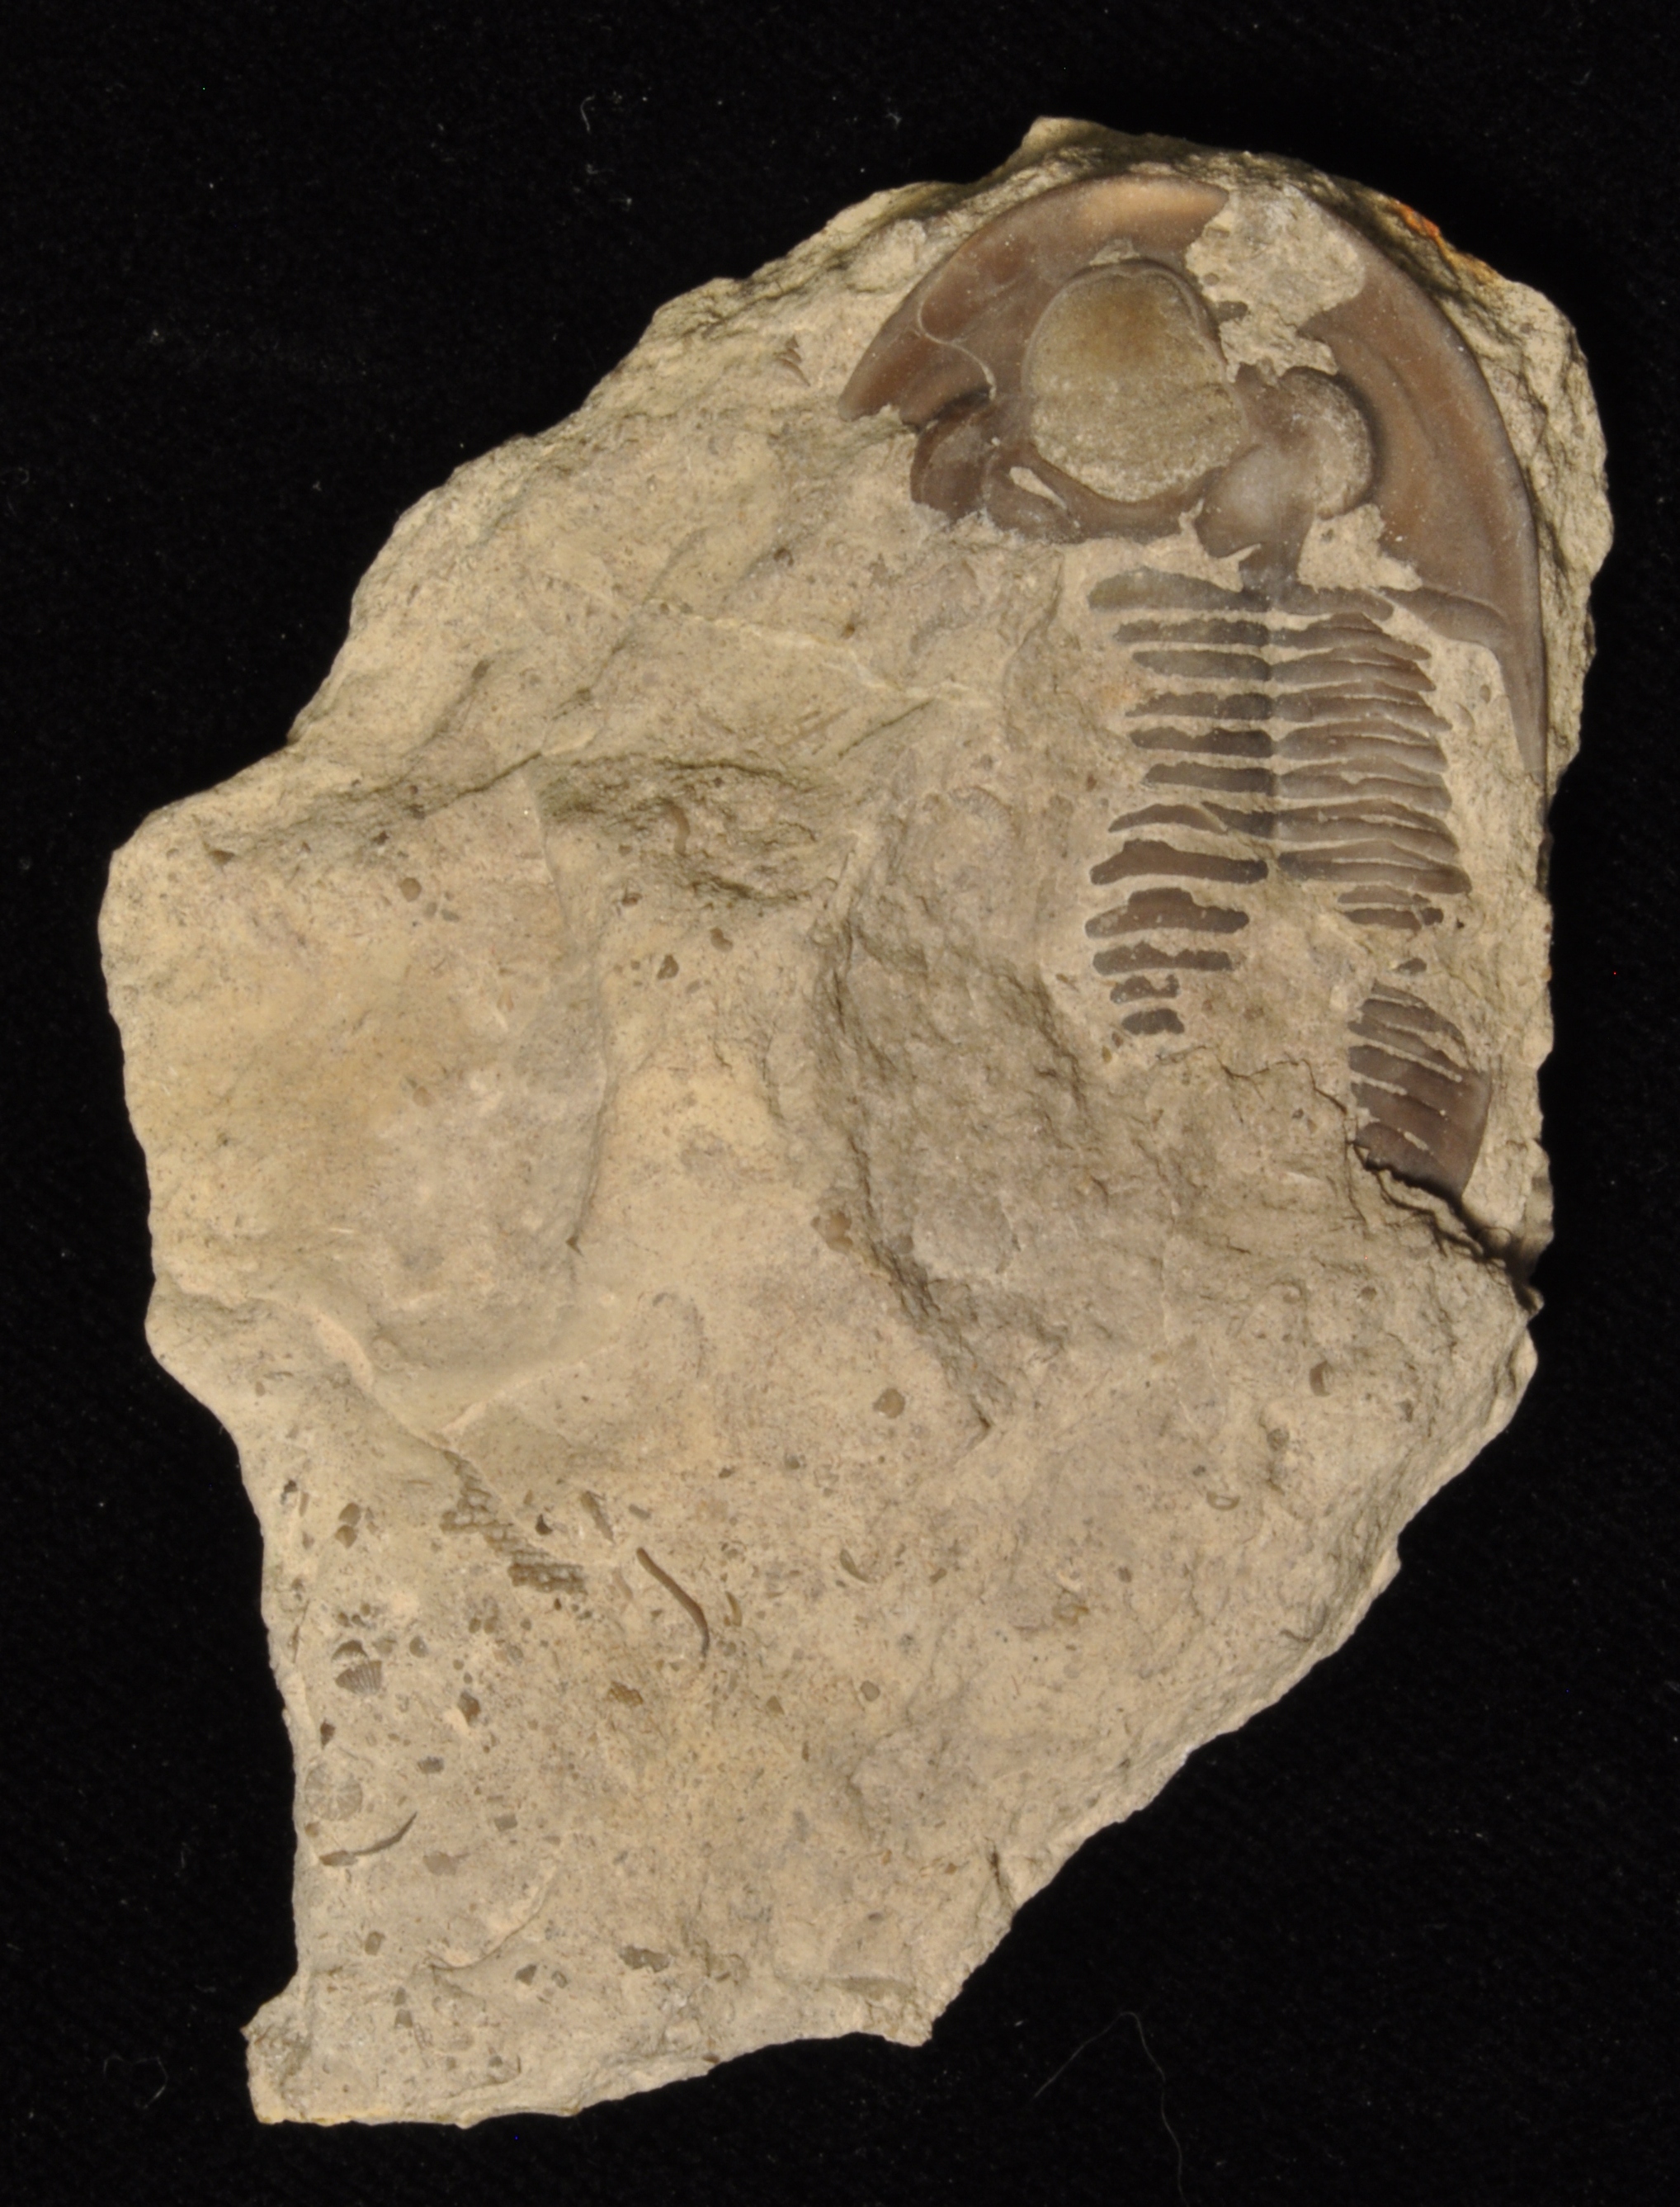
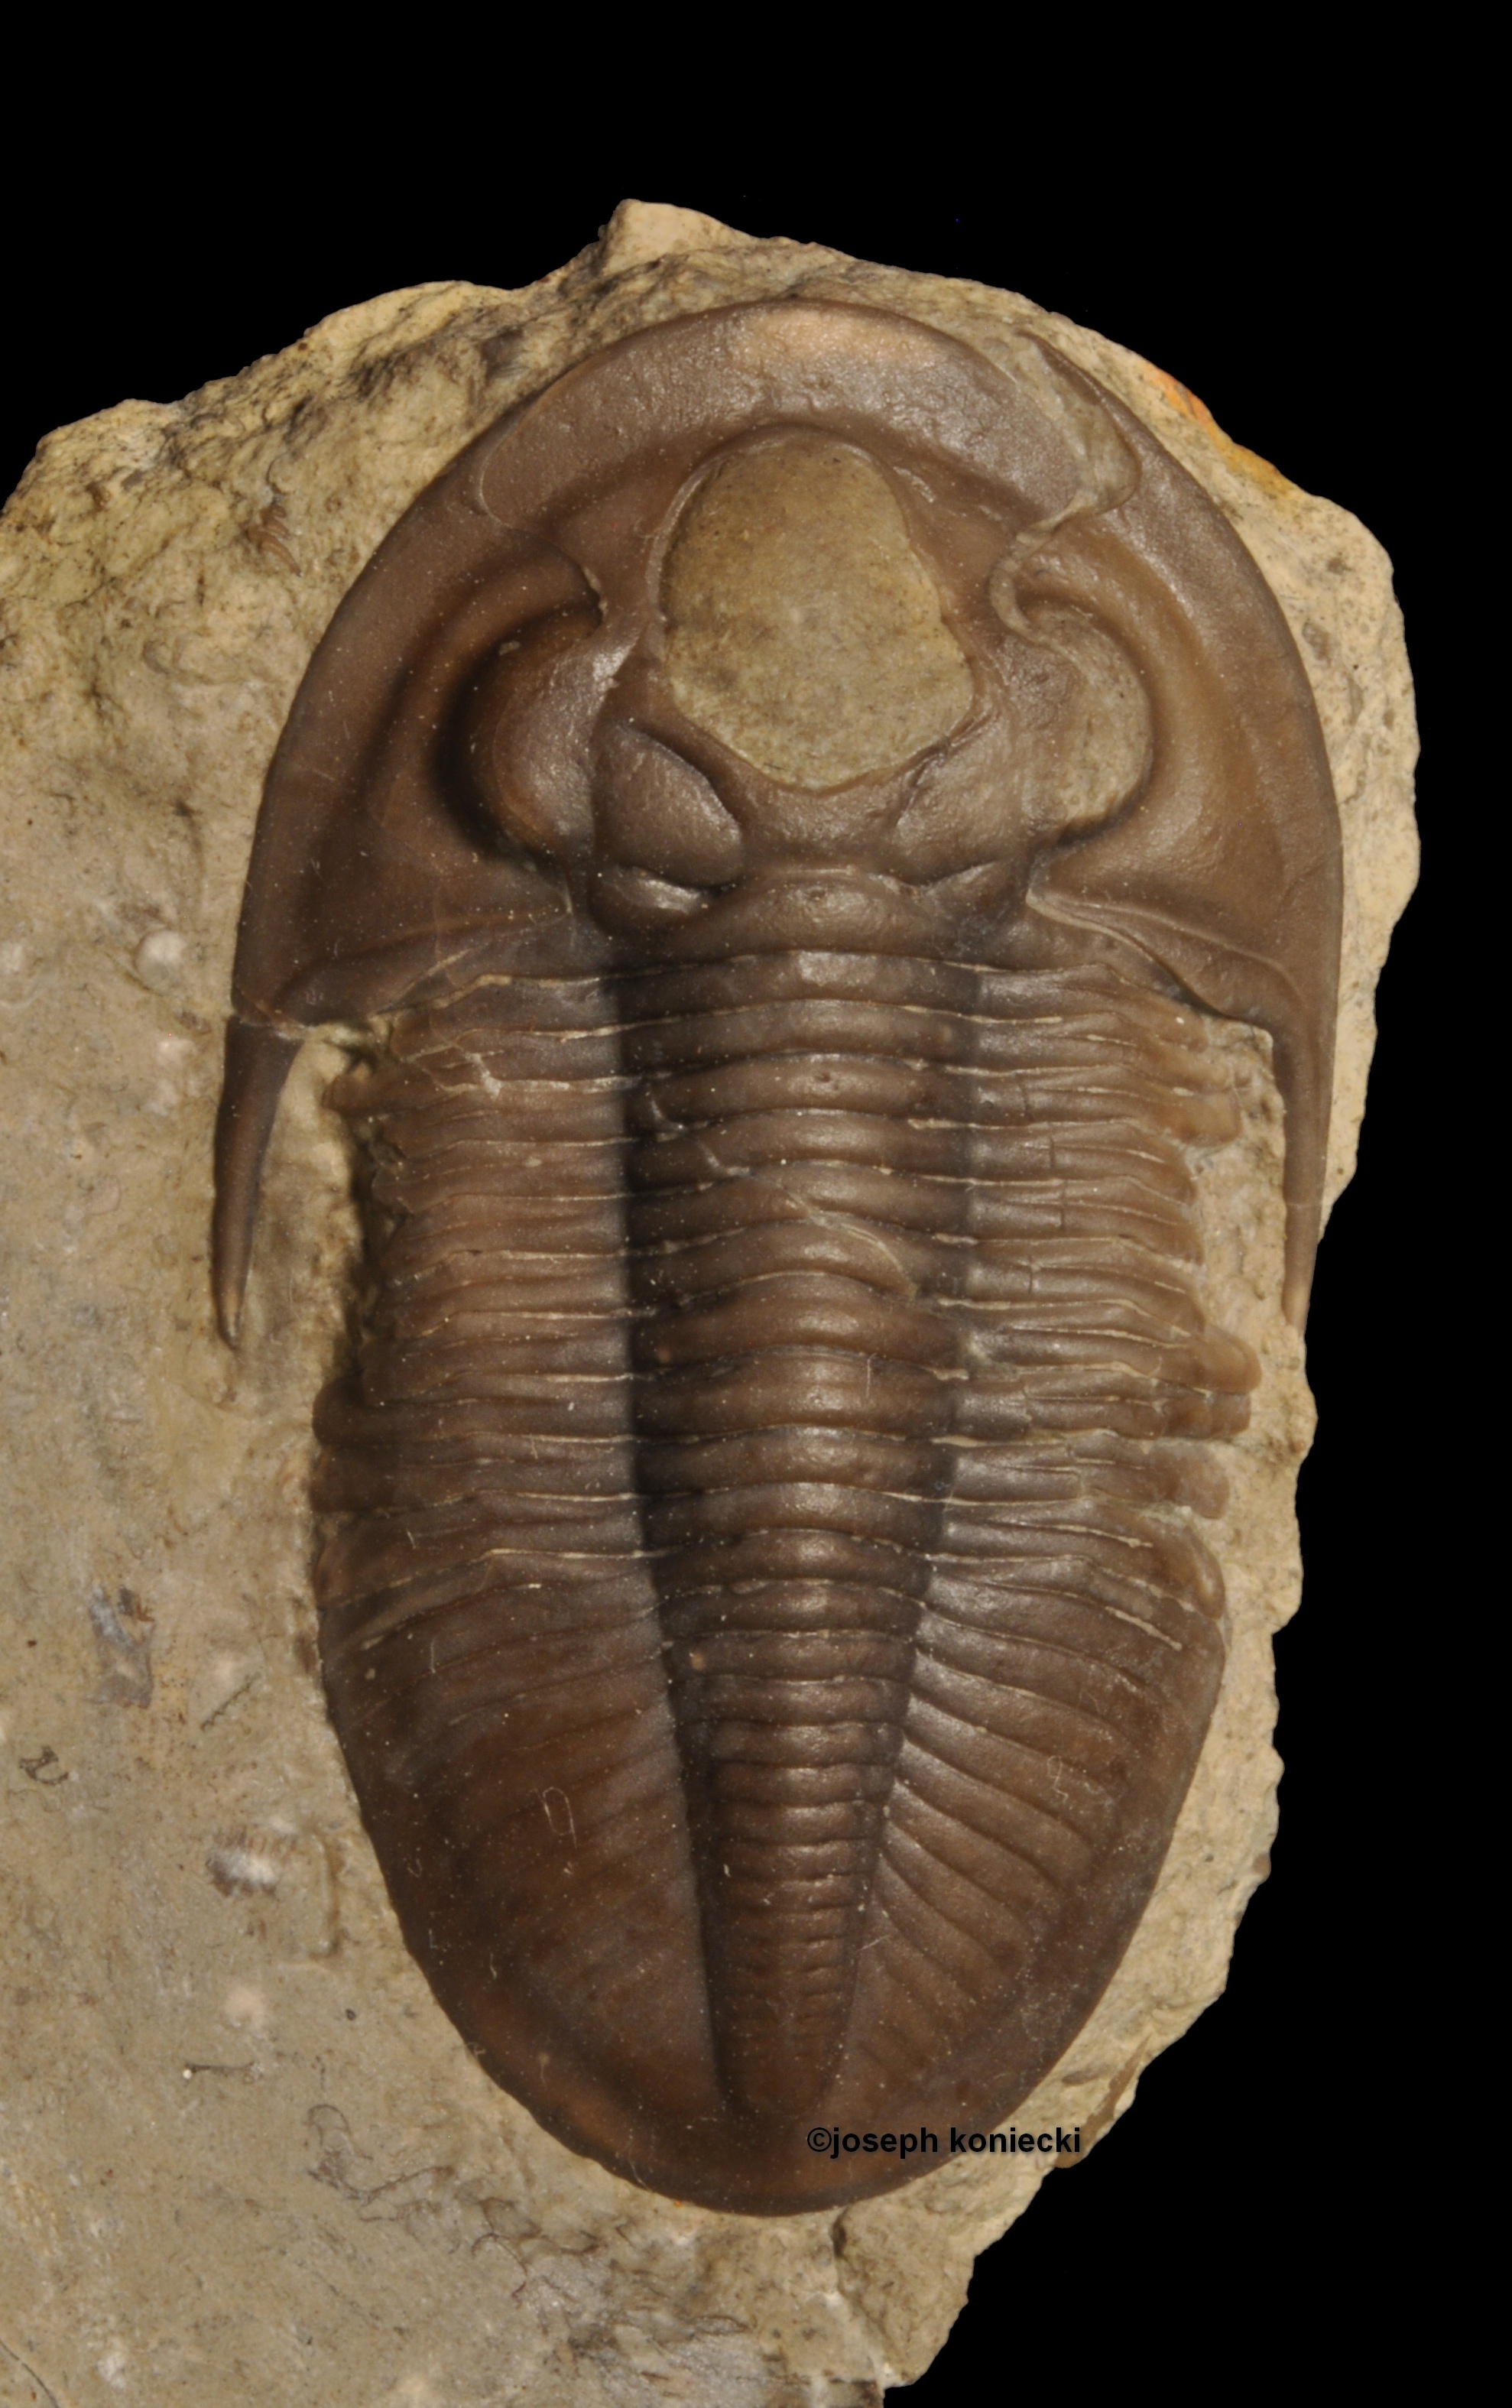
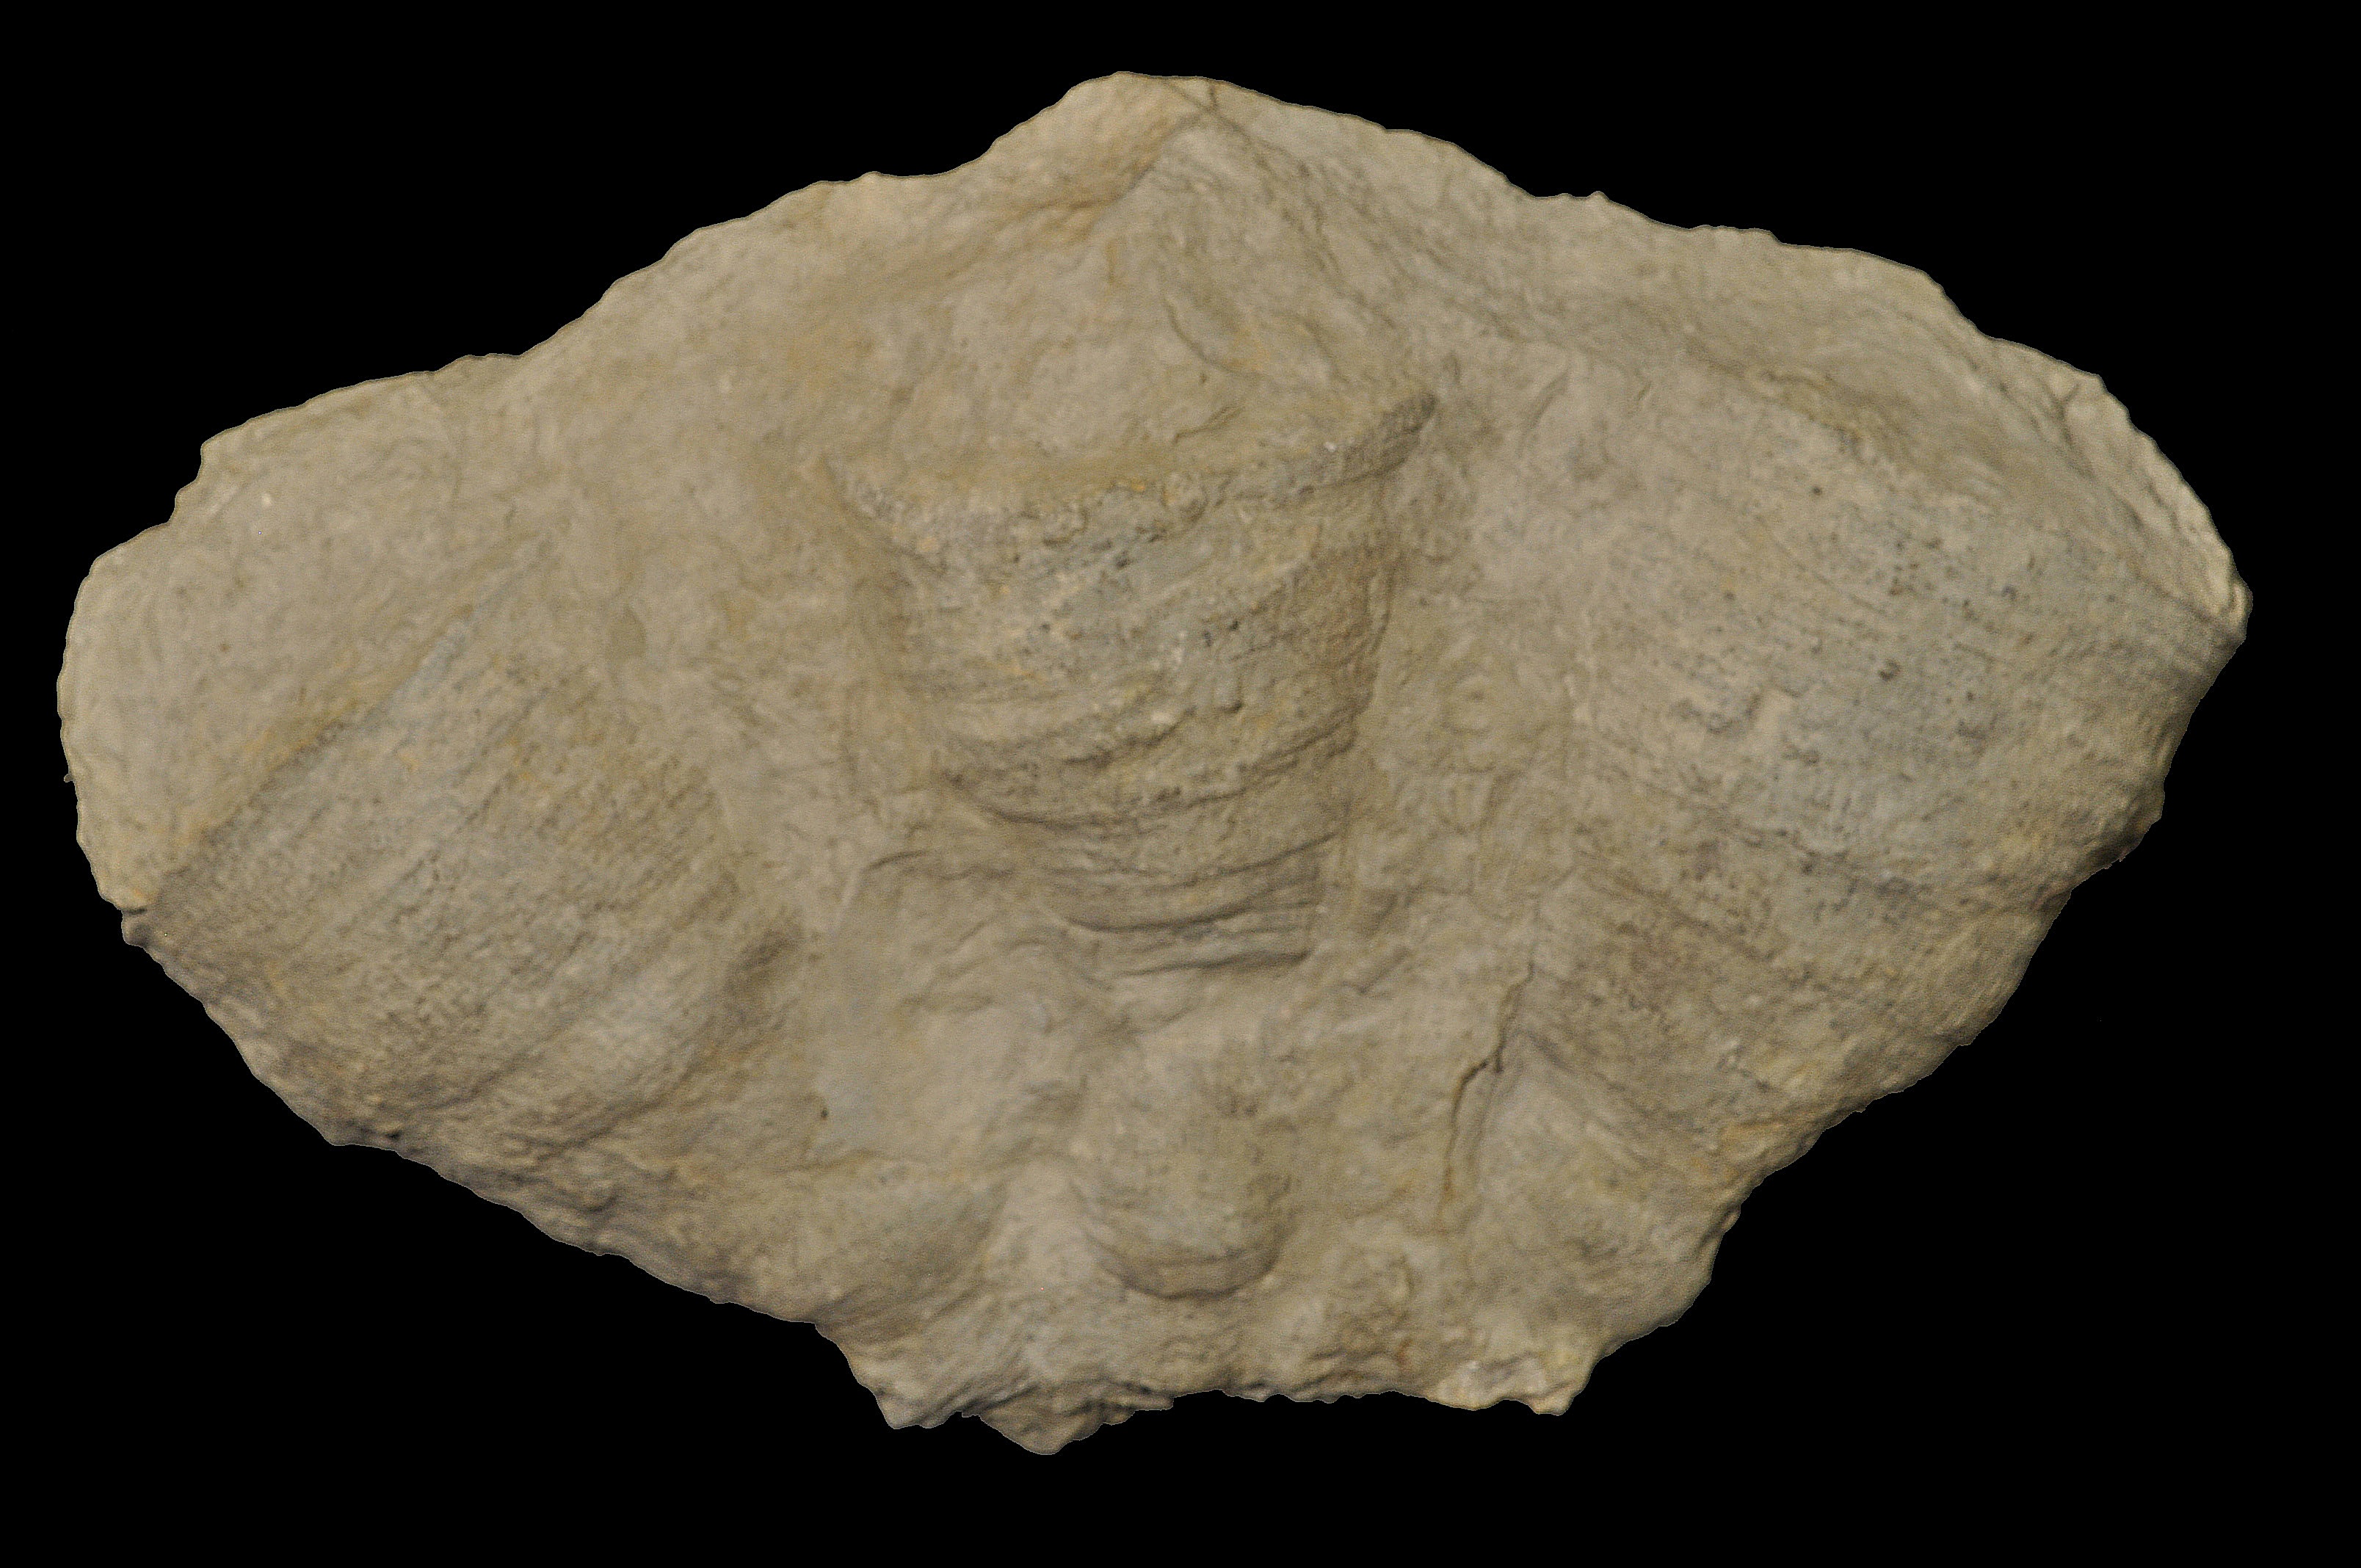
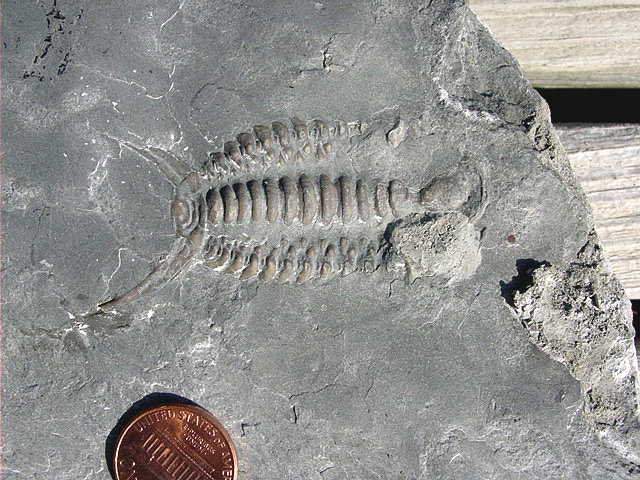
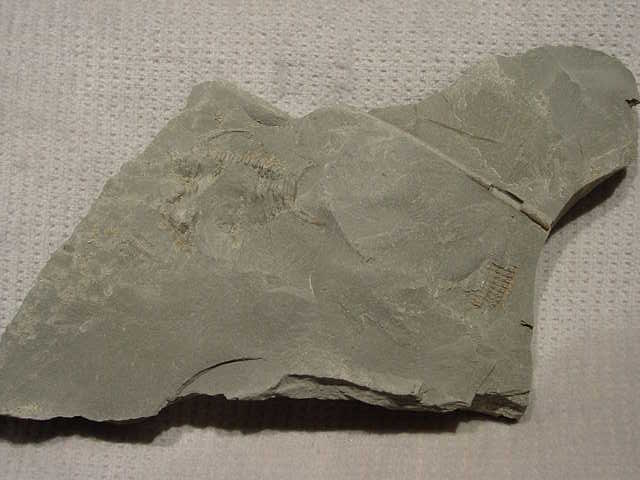
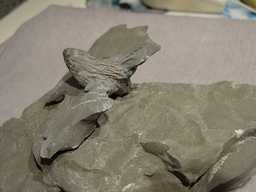
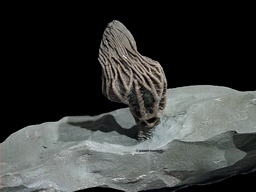
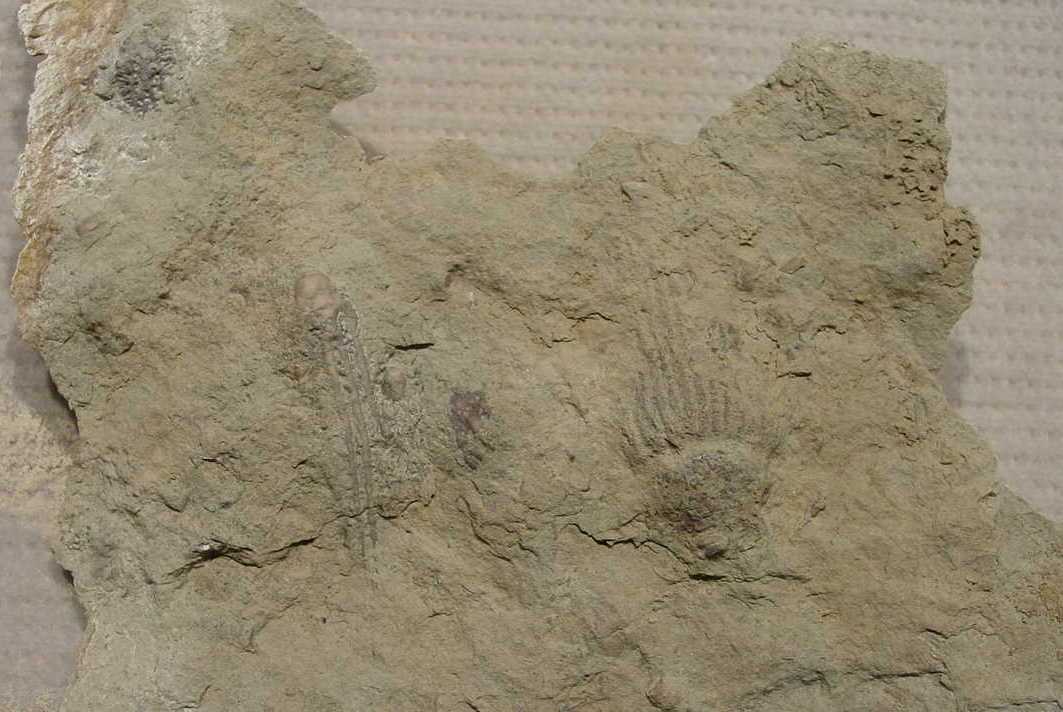
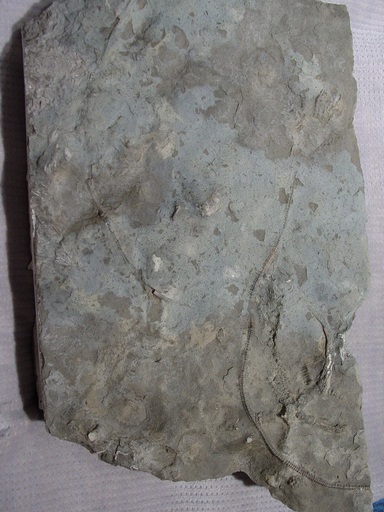
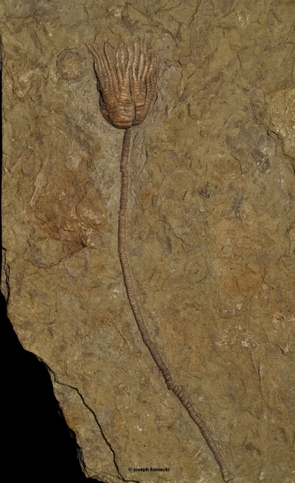
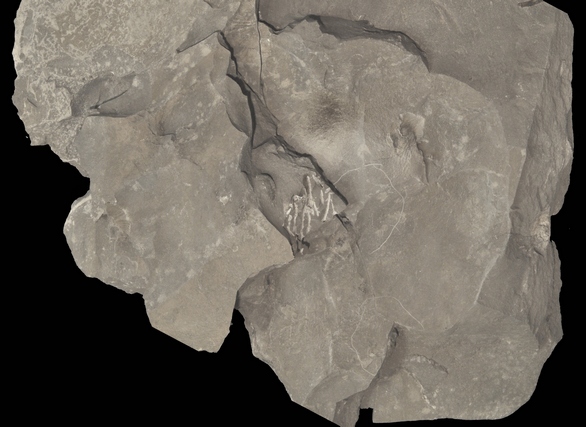
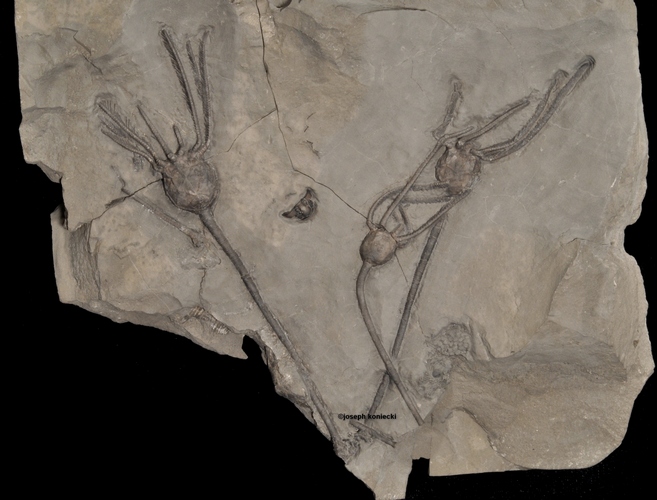
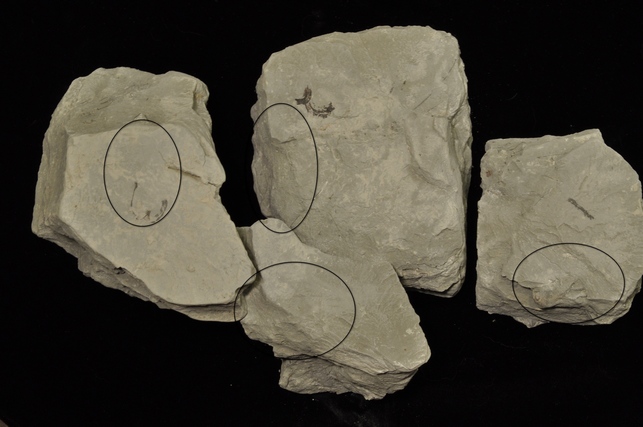
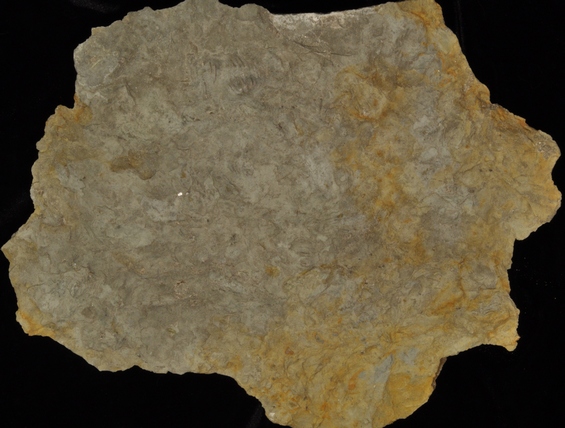
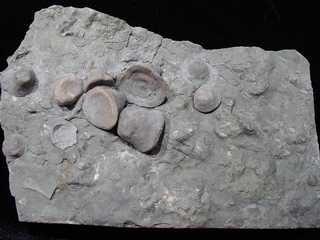
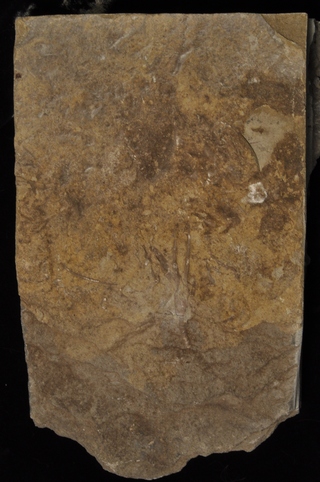
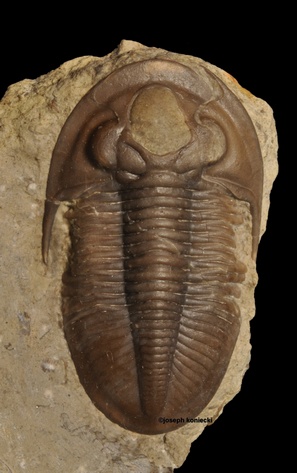
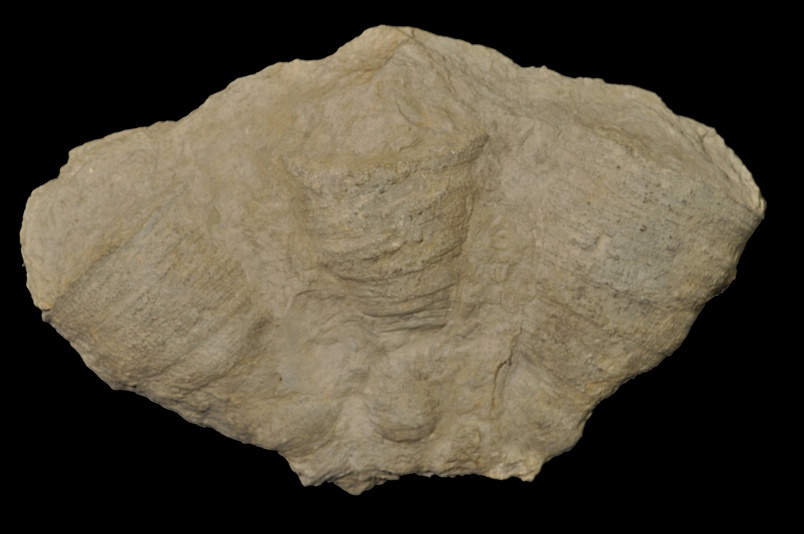
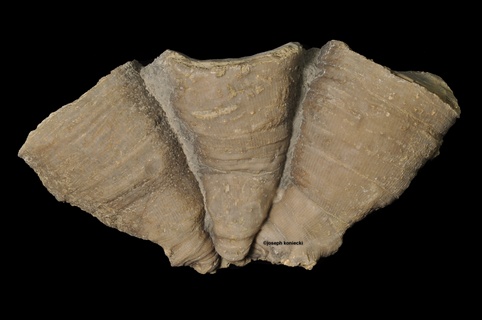
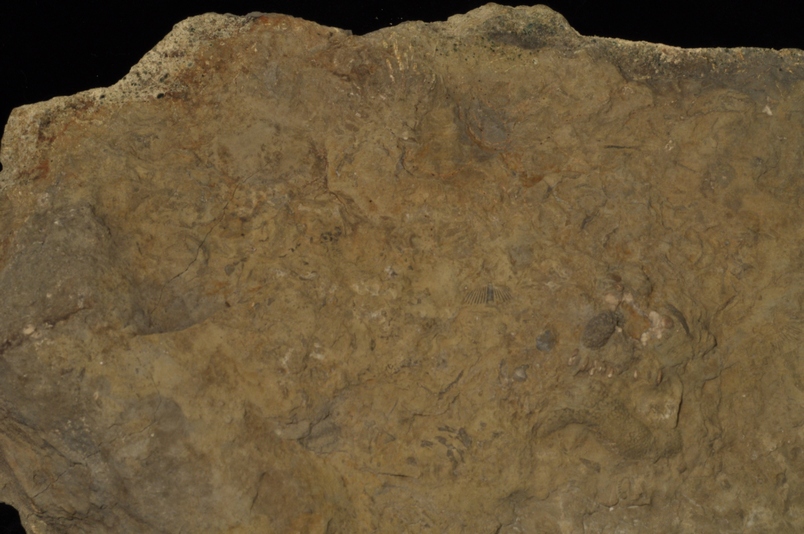
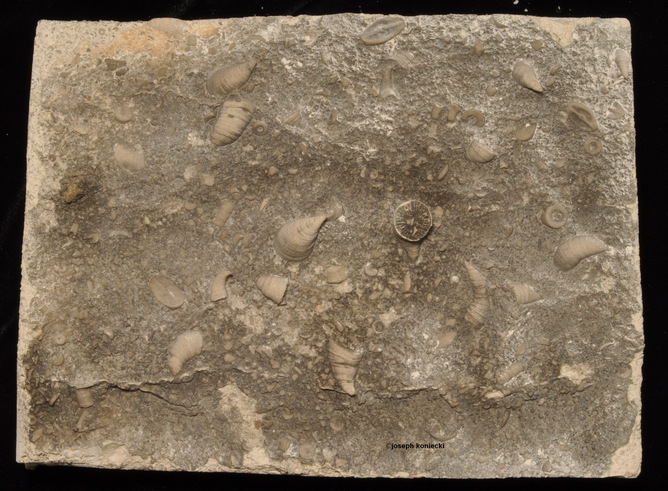
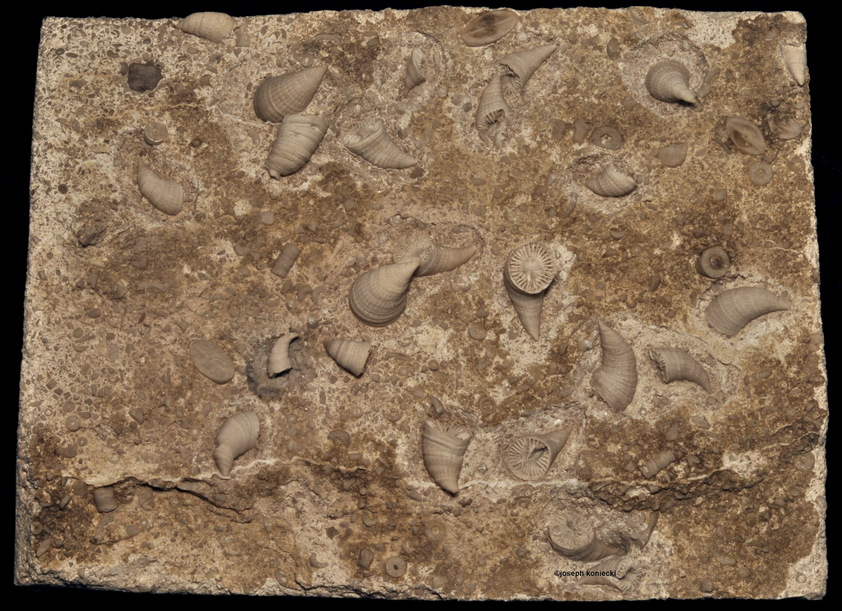
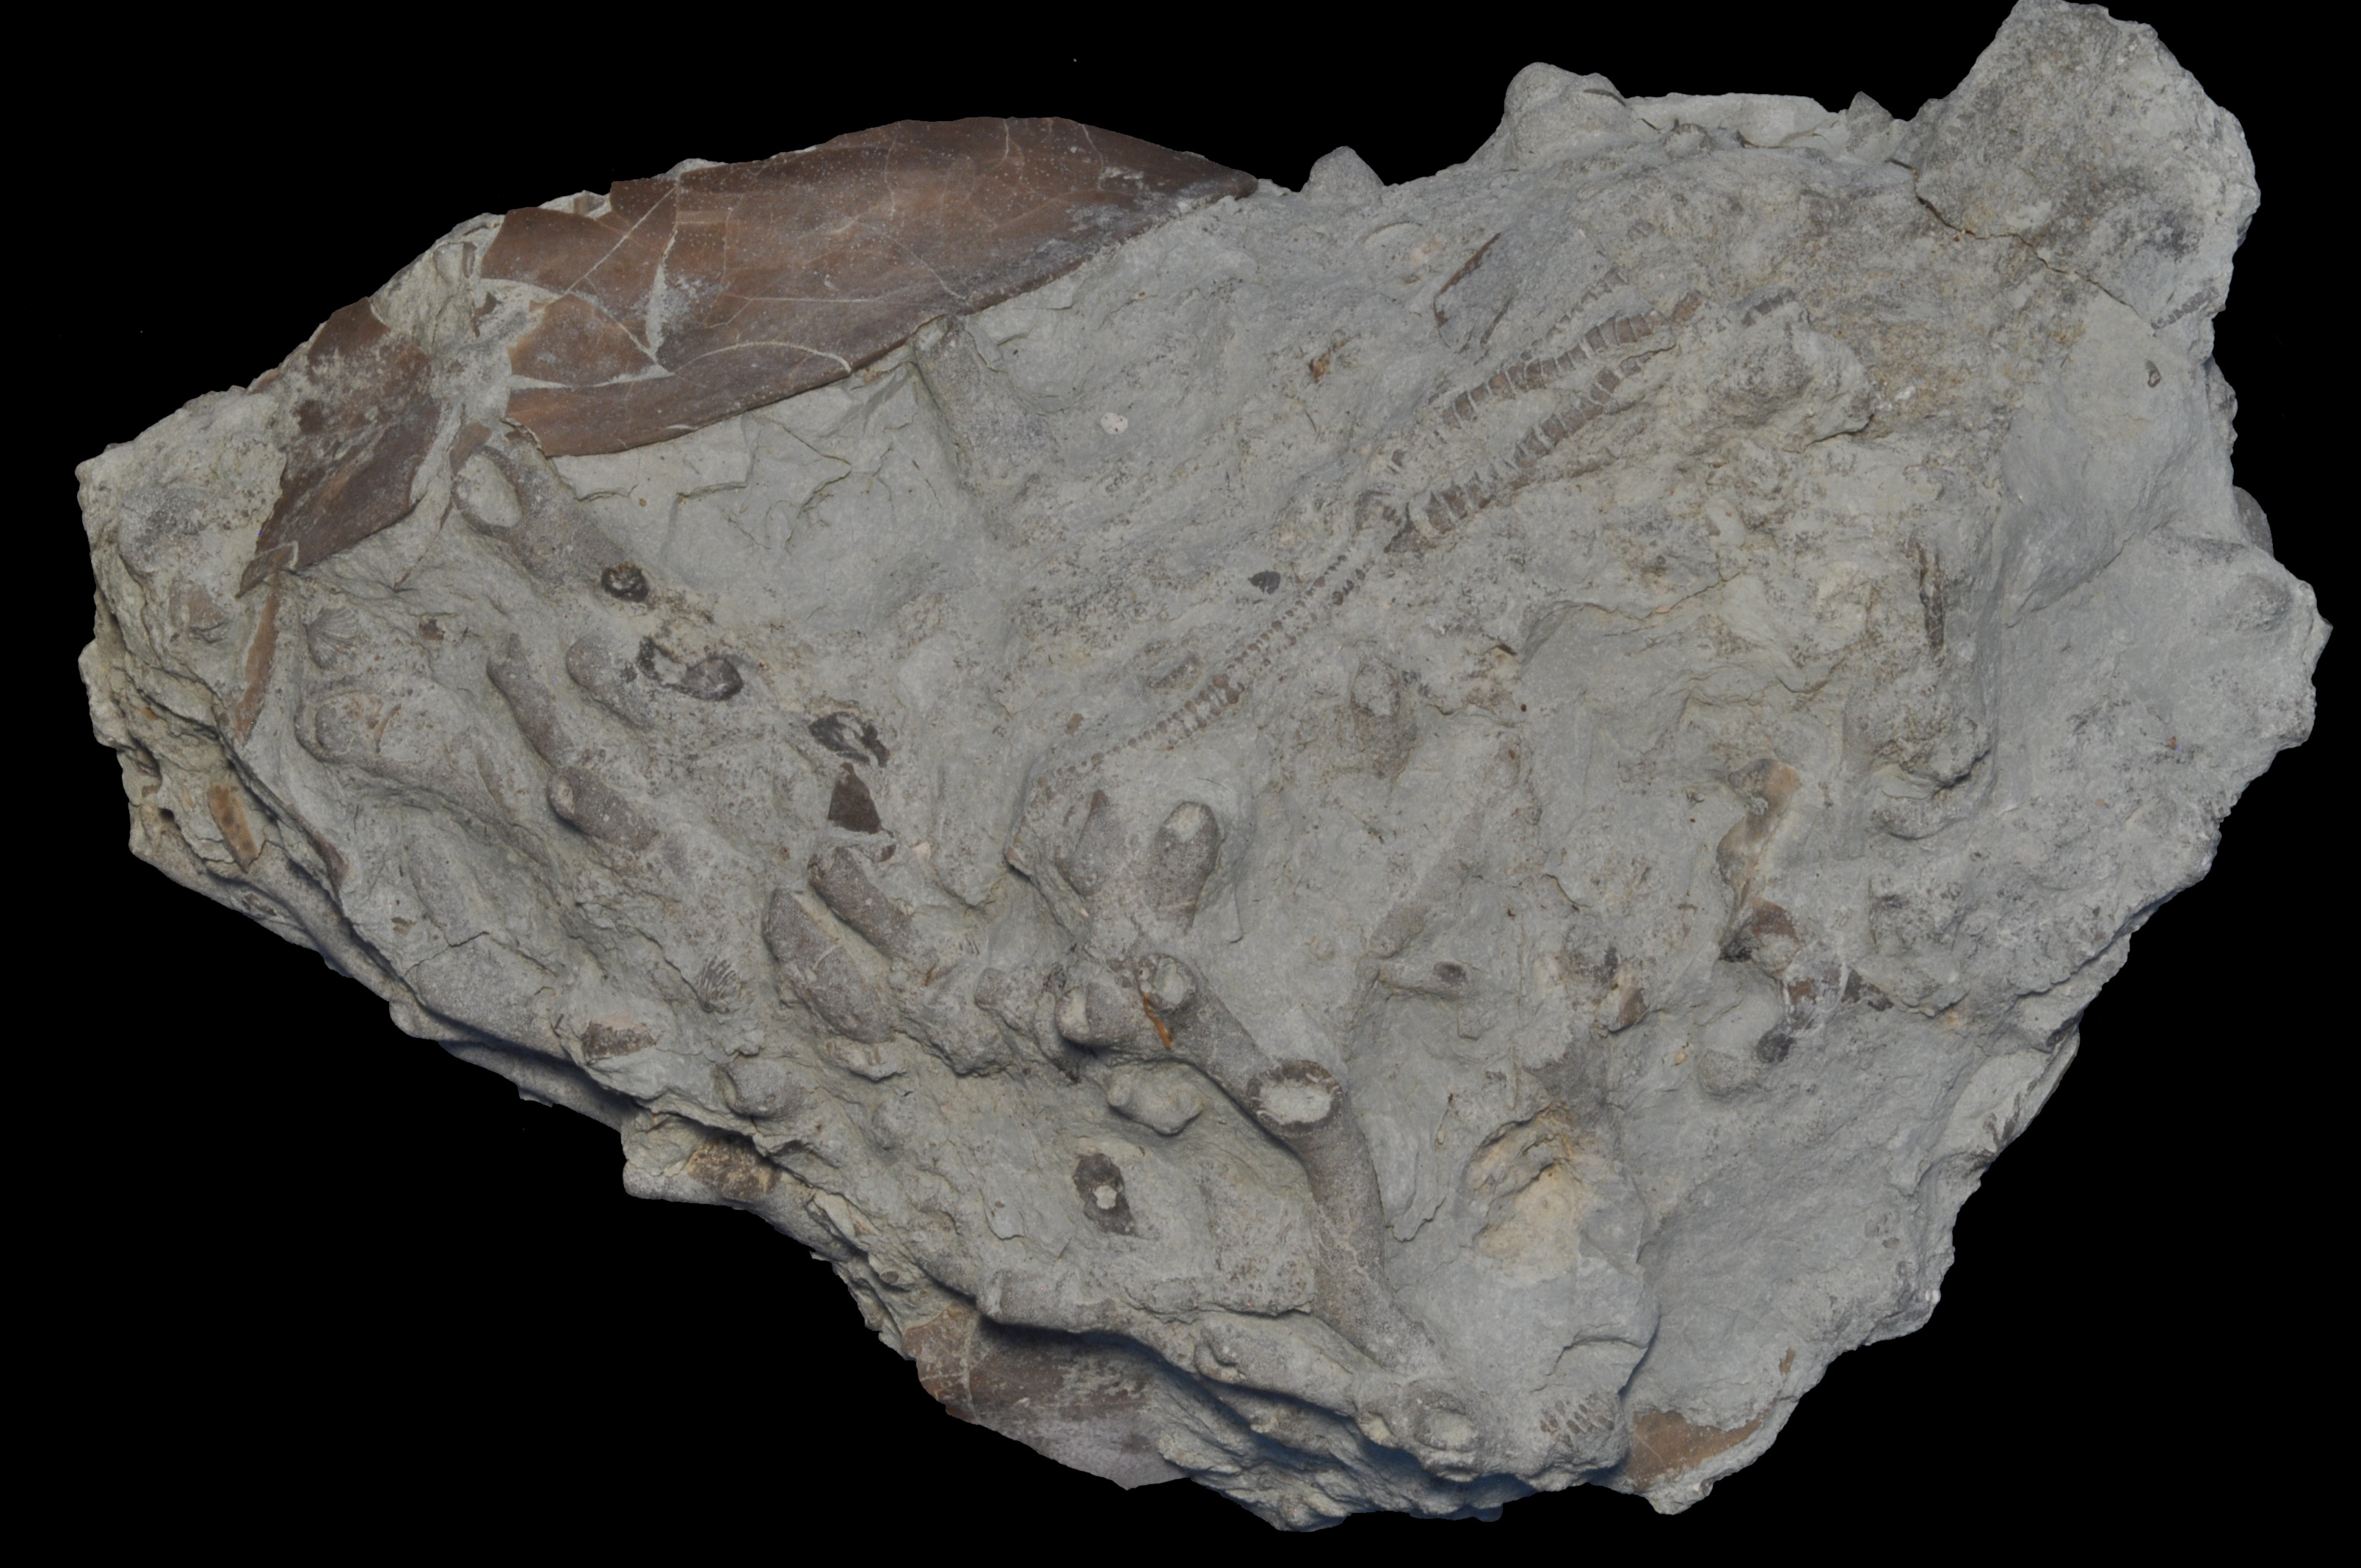
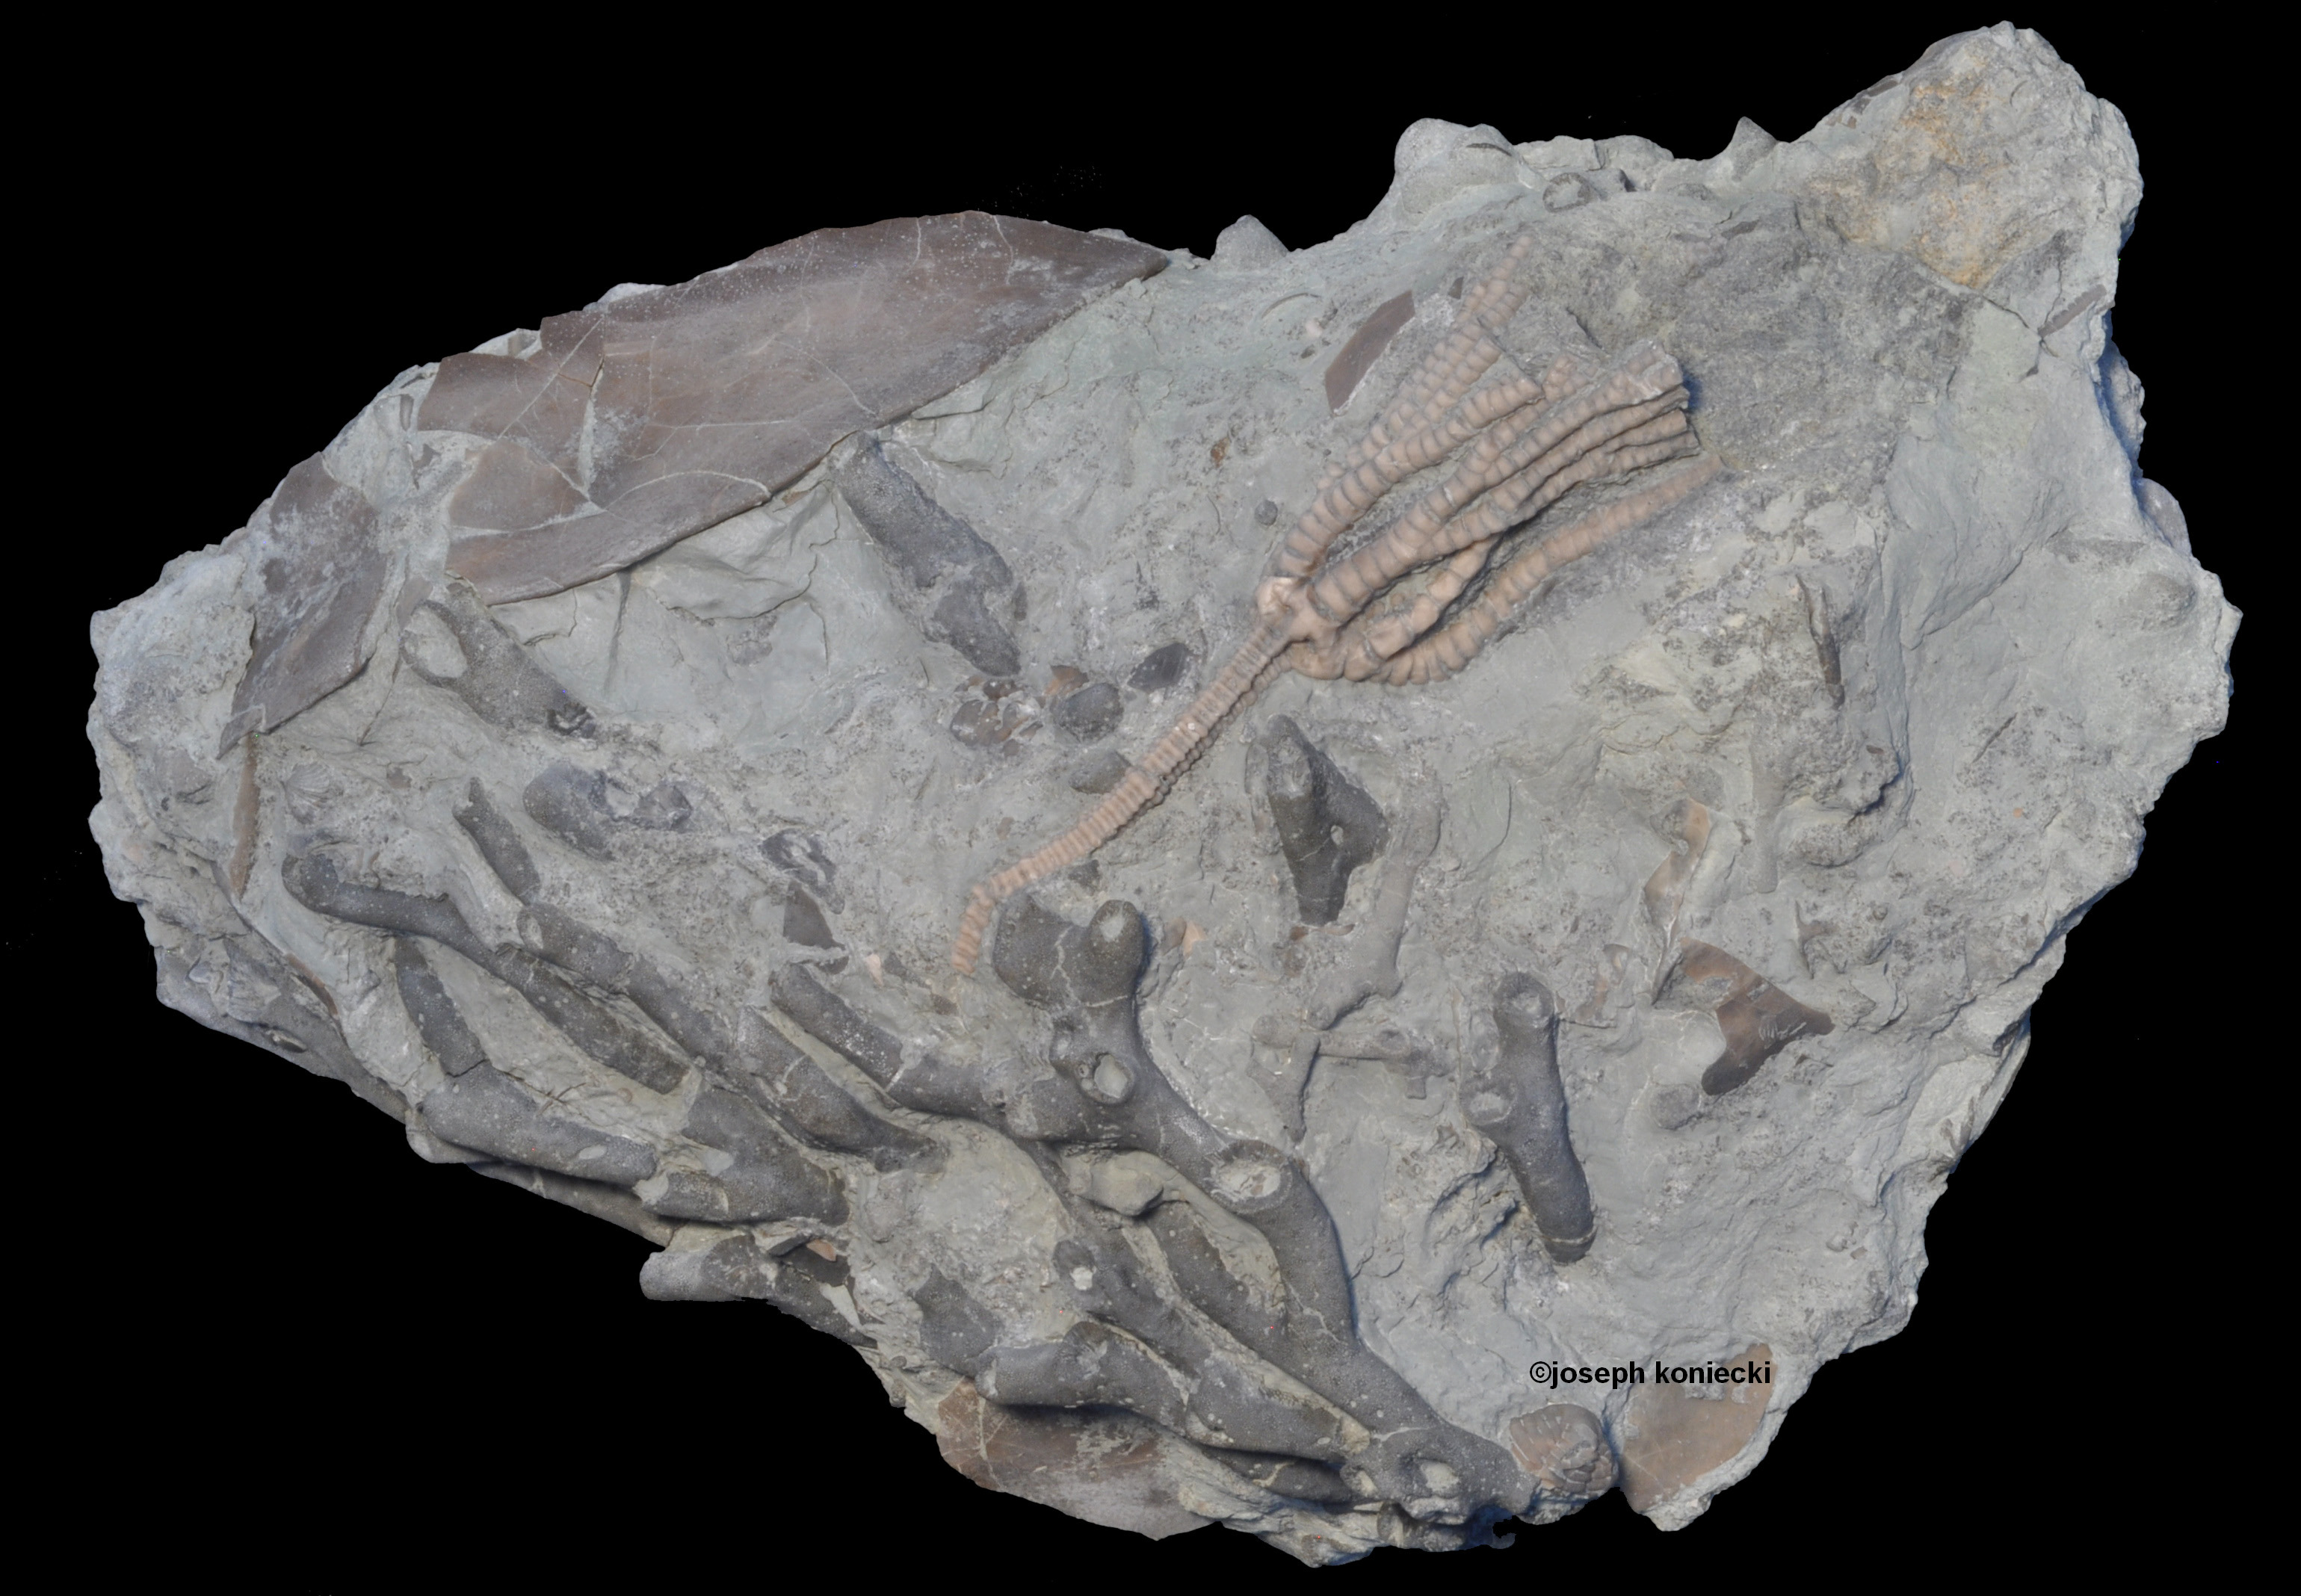
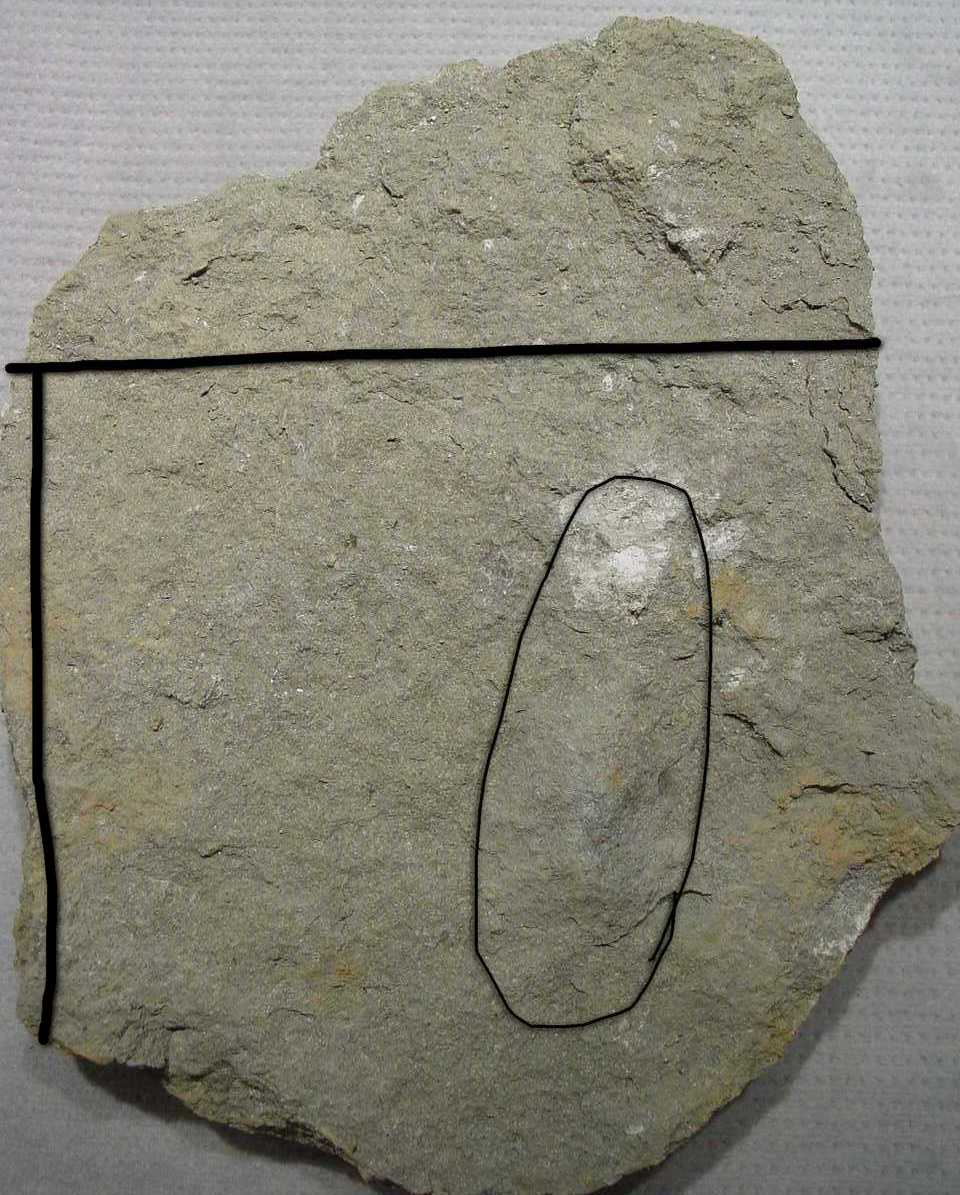
| Before ....................... After |
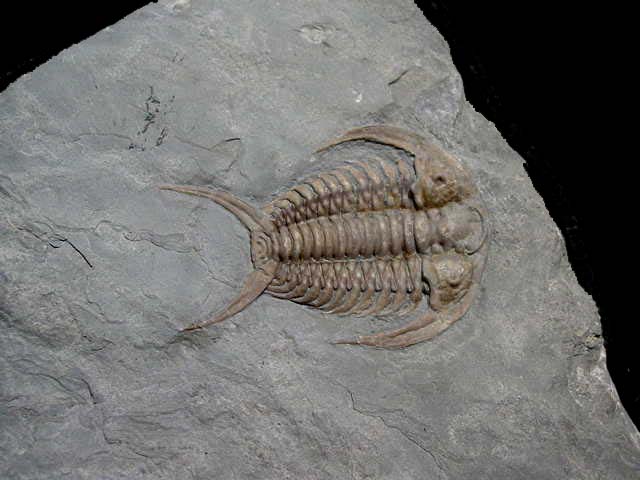
| Before ....................... After |
 |
 |
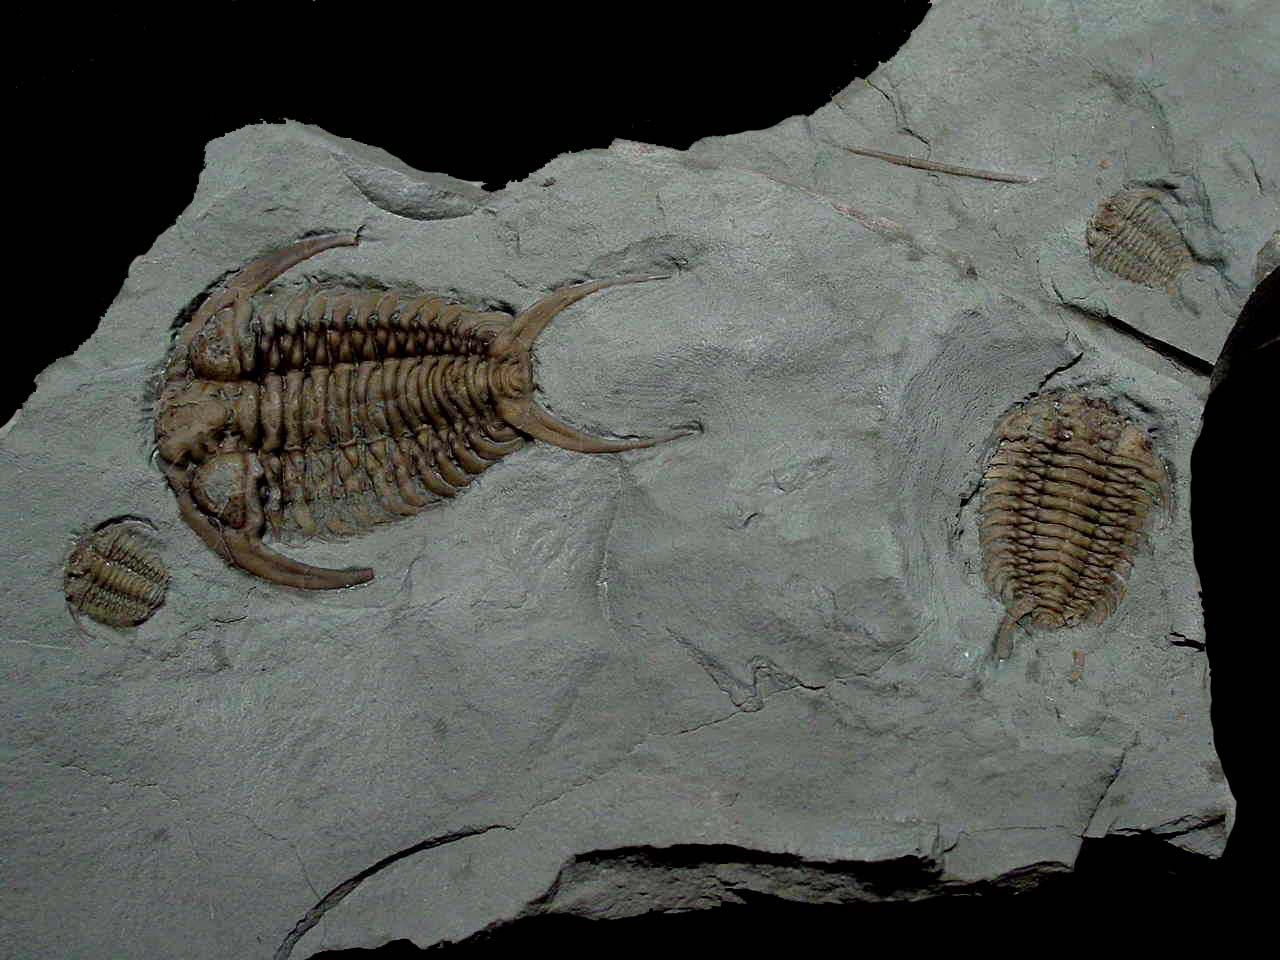
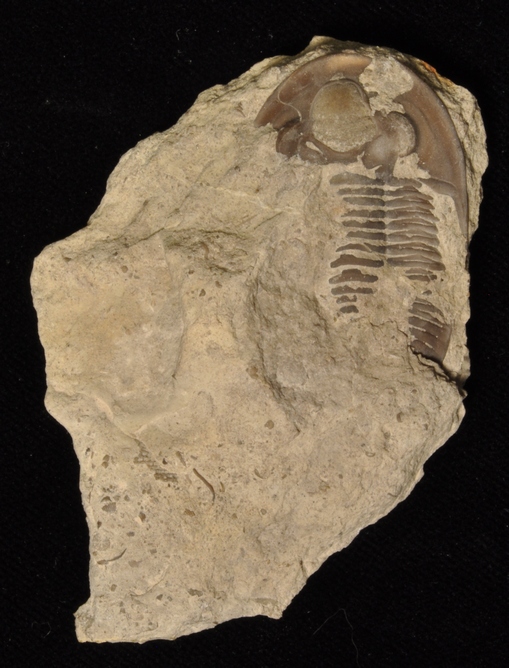
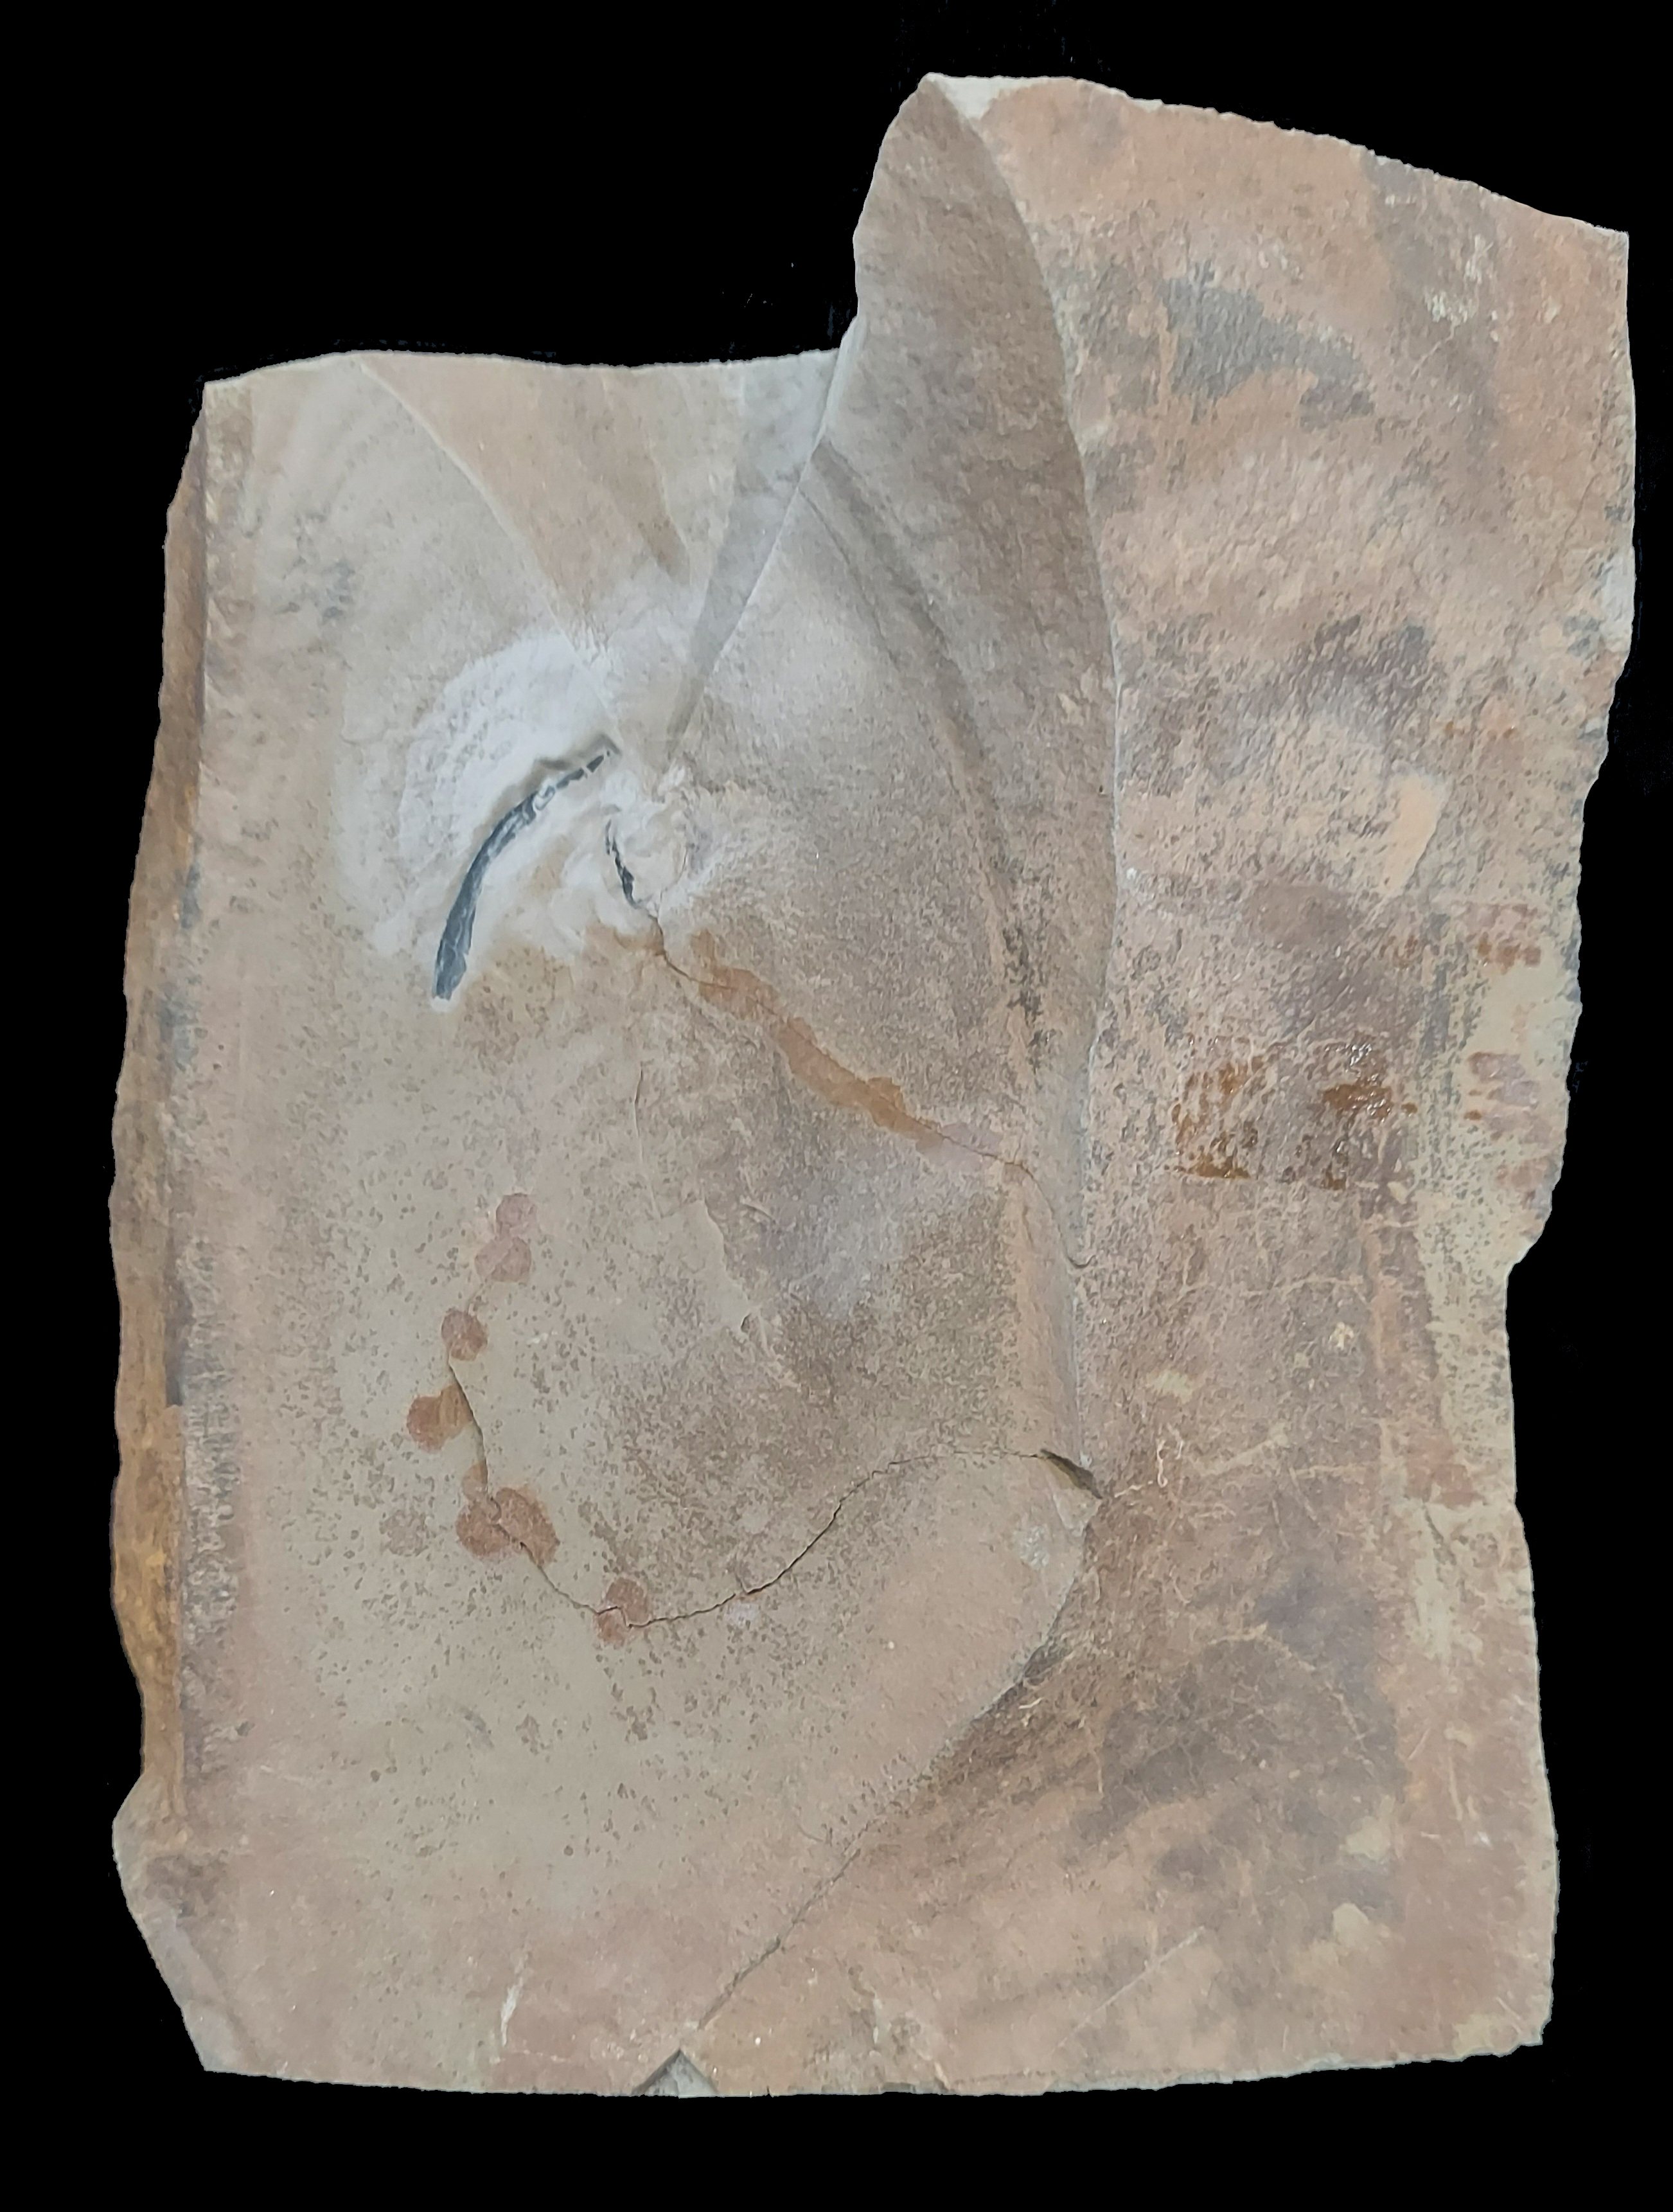
| Ceraurus |
Prep work by S. Vergiels |
| |
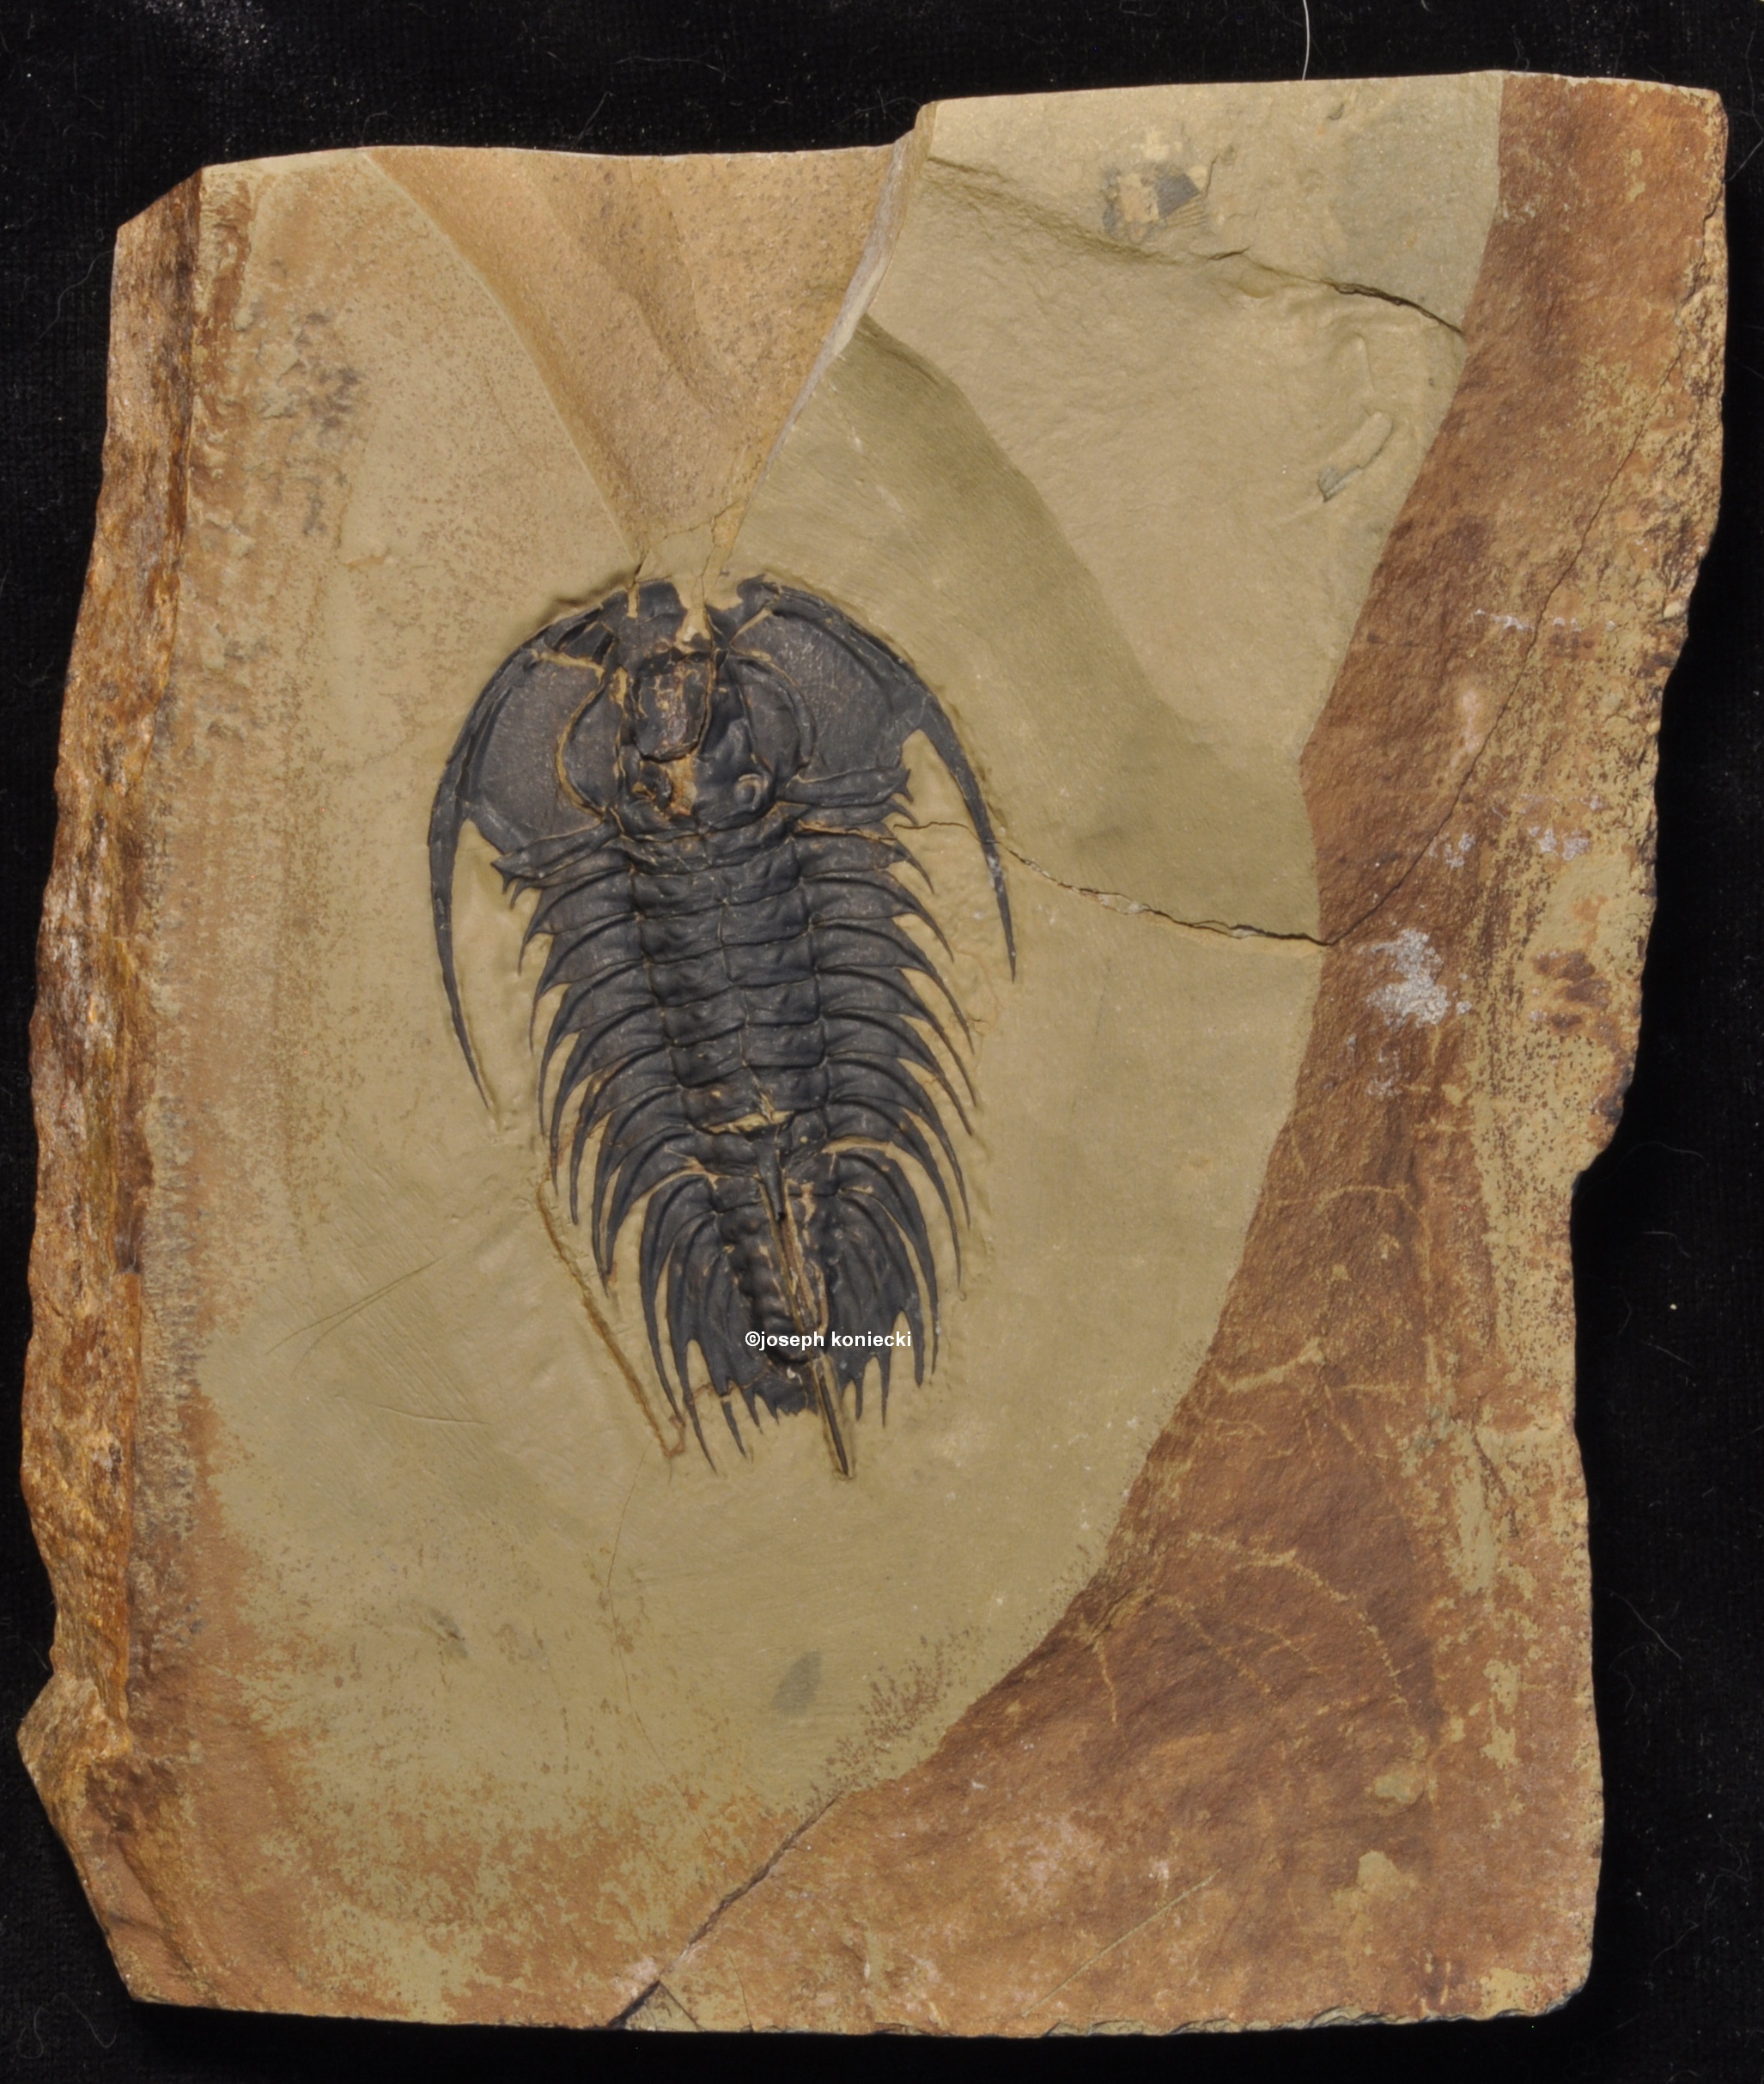
| Ceraurus |
Prep work by J. Koniecki |
|
|

| |
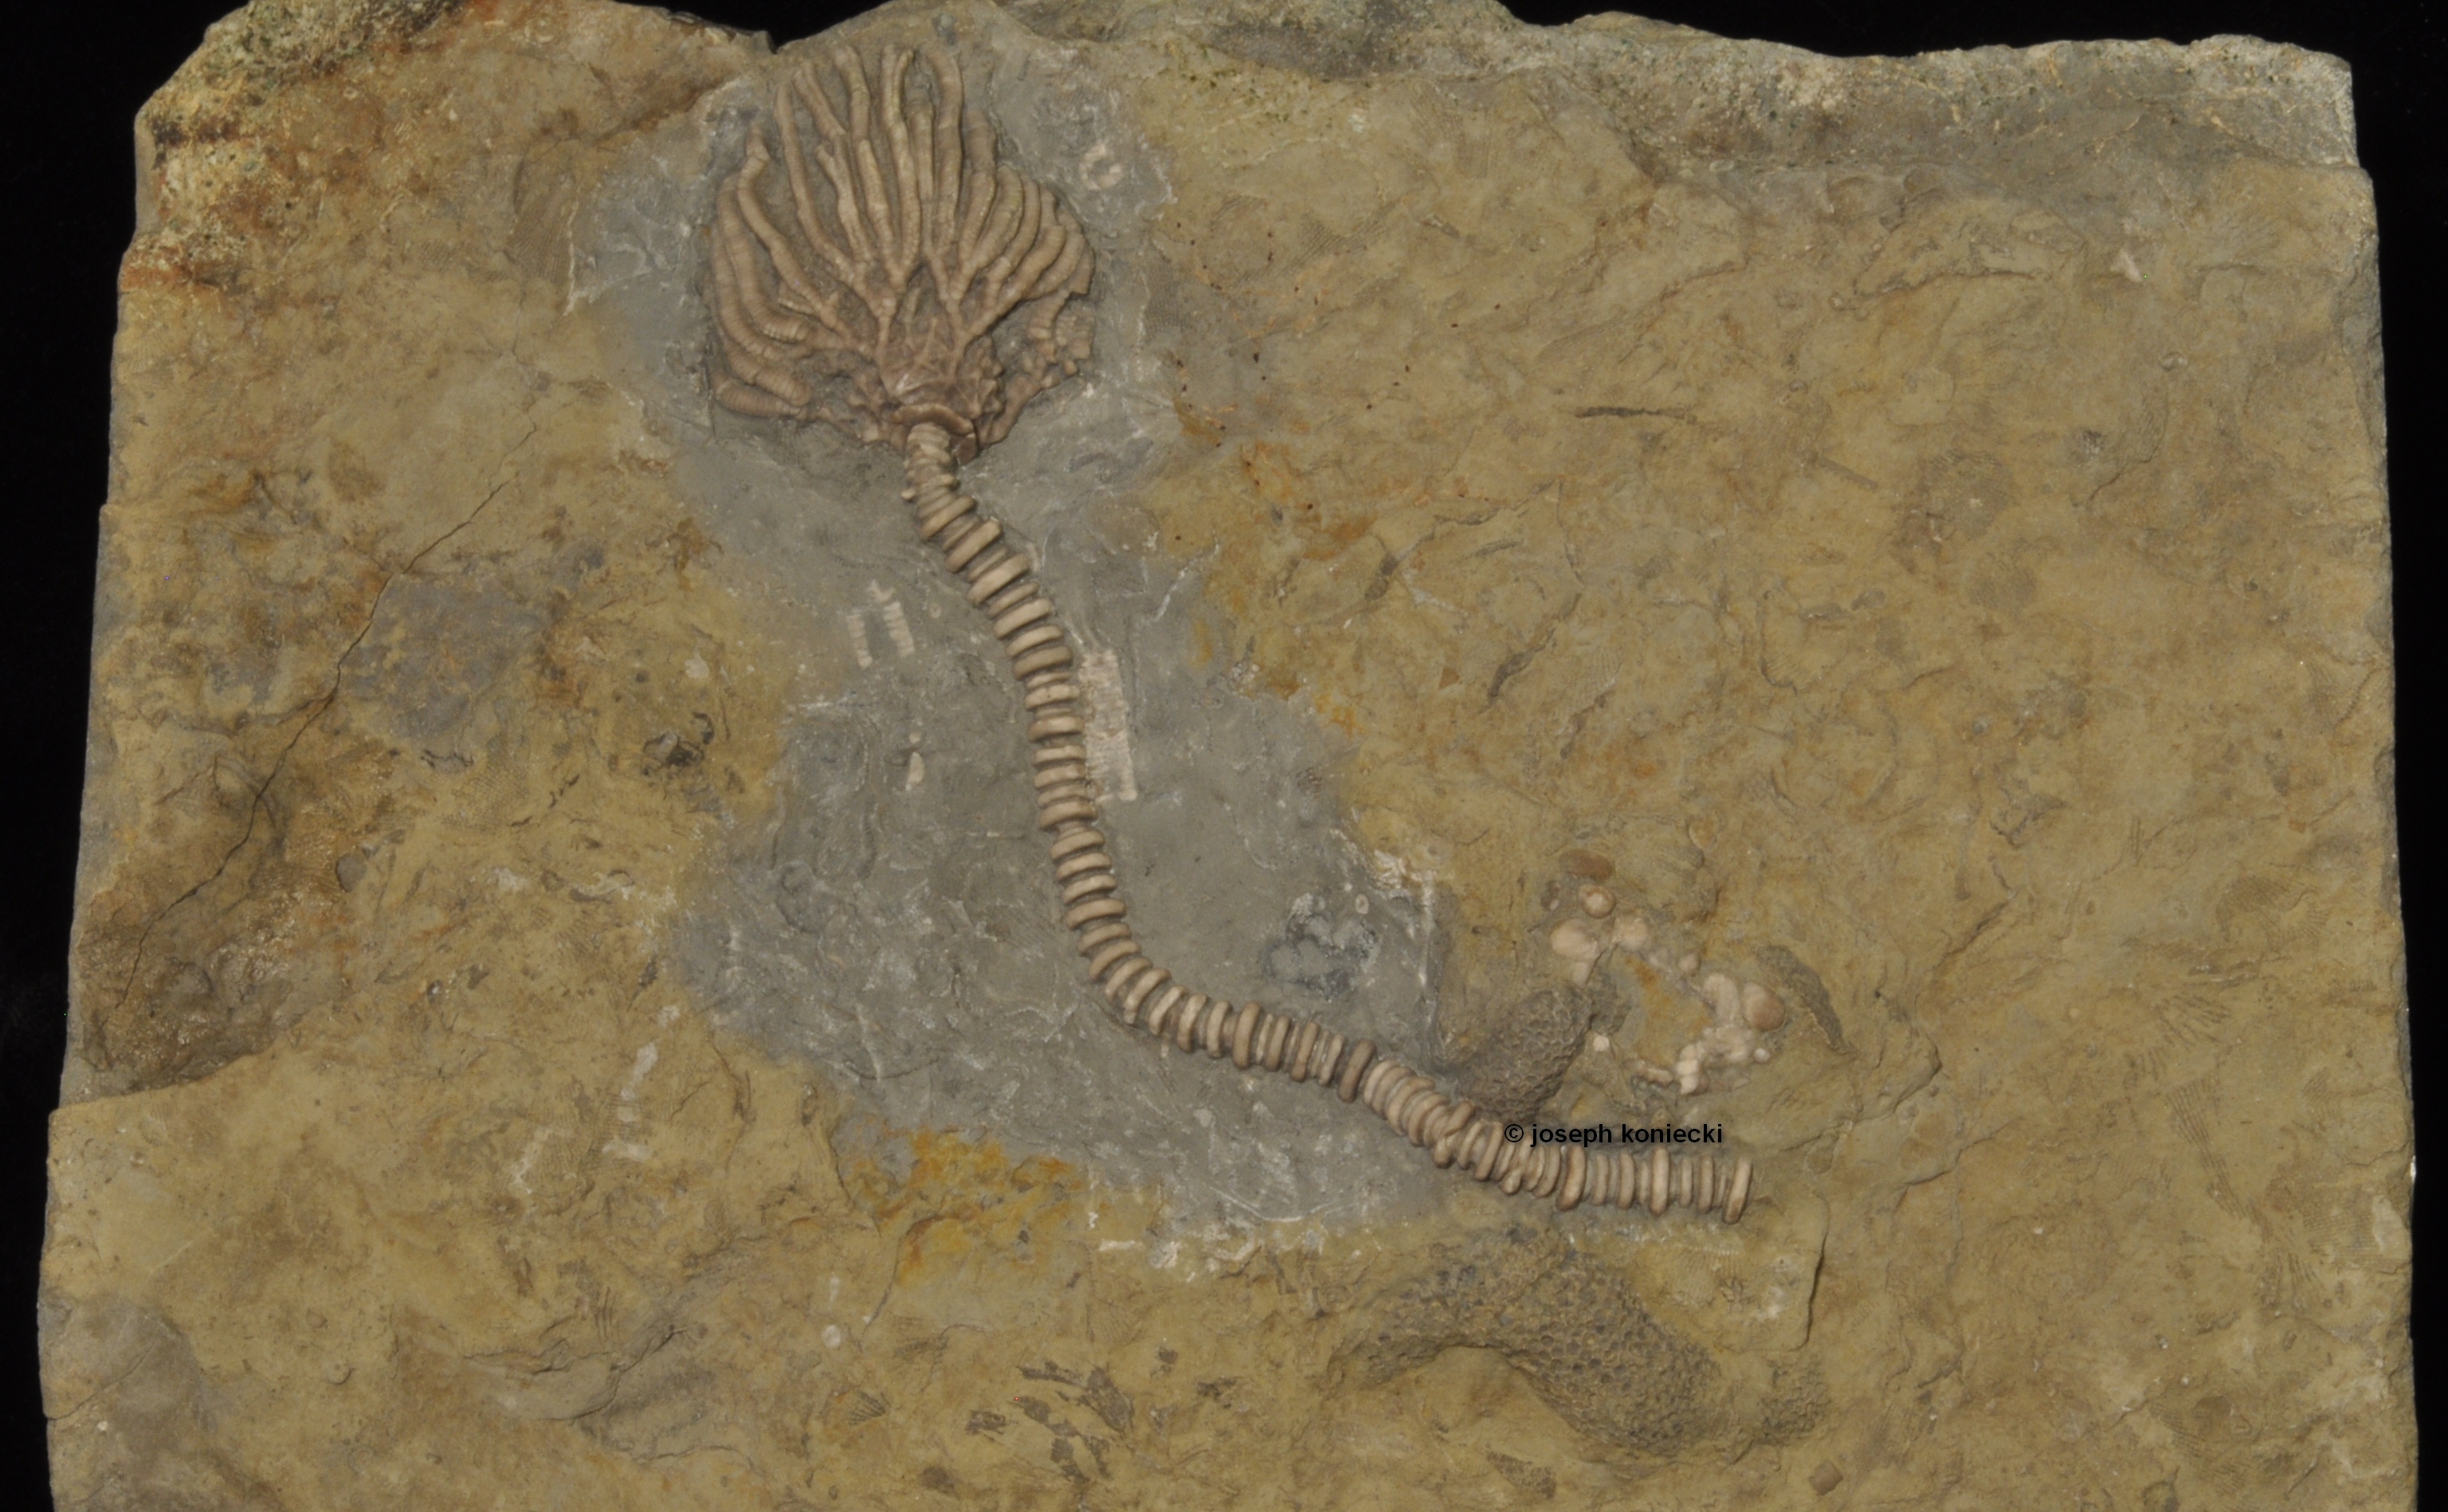
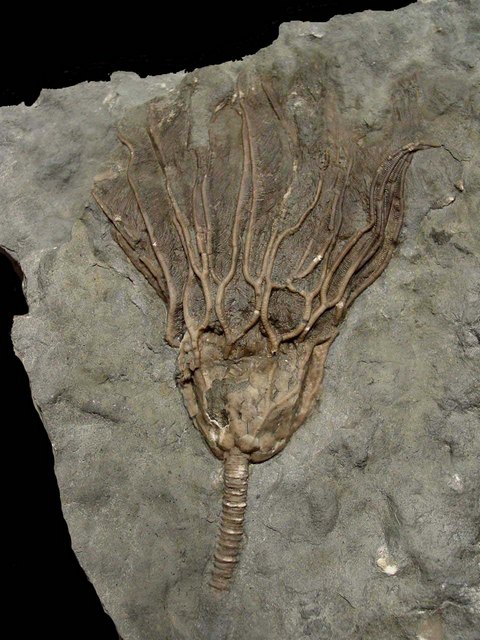
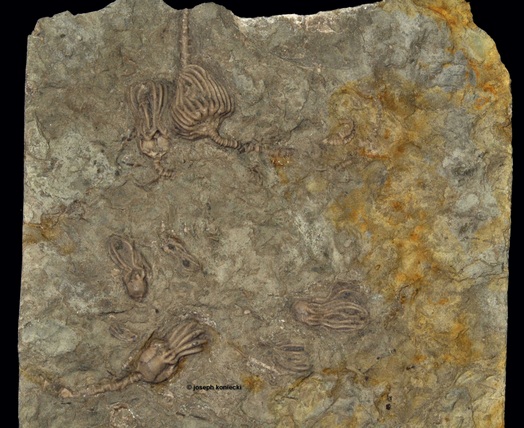
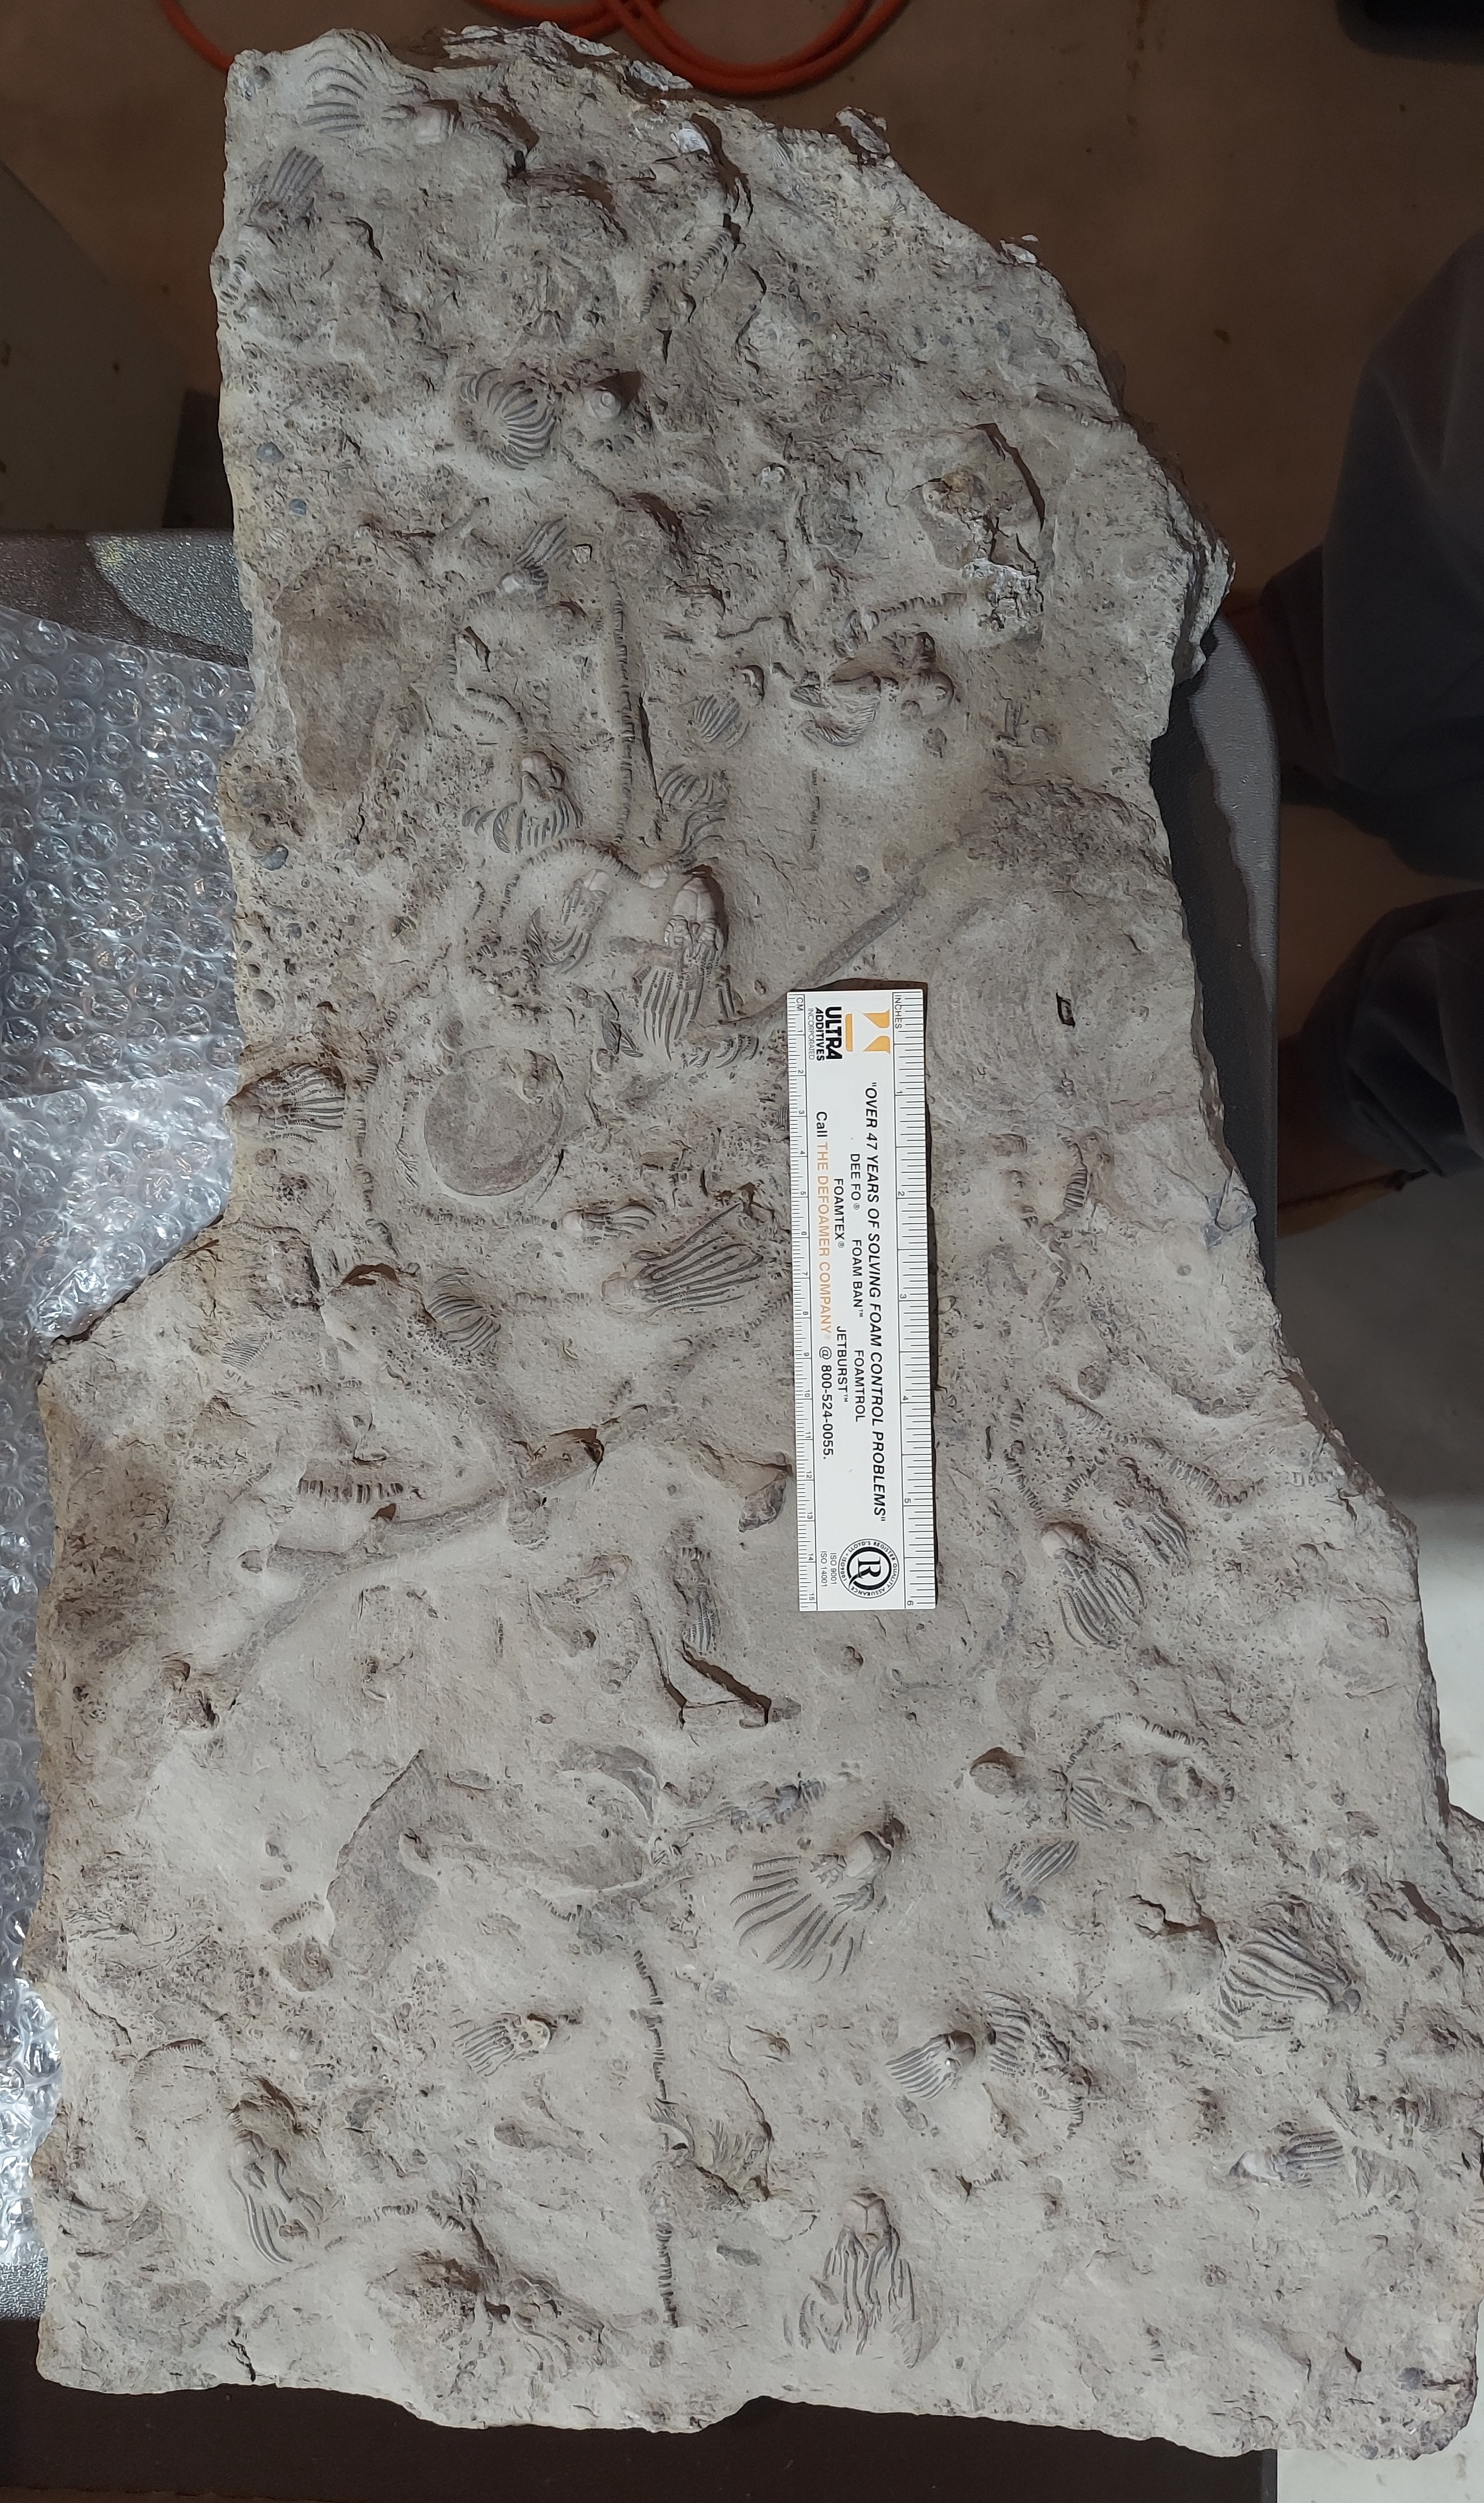
| Glyptocrinus |
Prep work by J. Koniecki |
|
| |
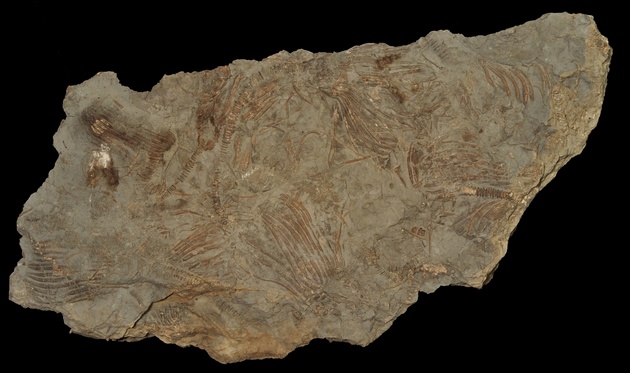
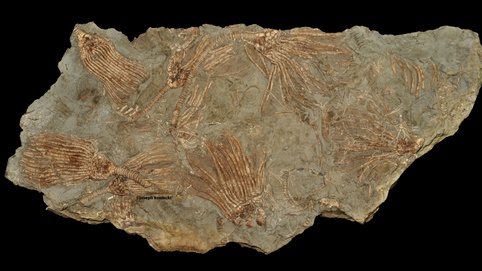
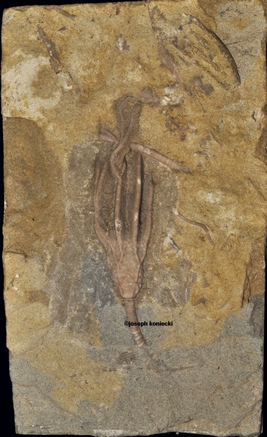
| Glyptocrinus |
Prep work by J. Koniecki |
|
| |
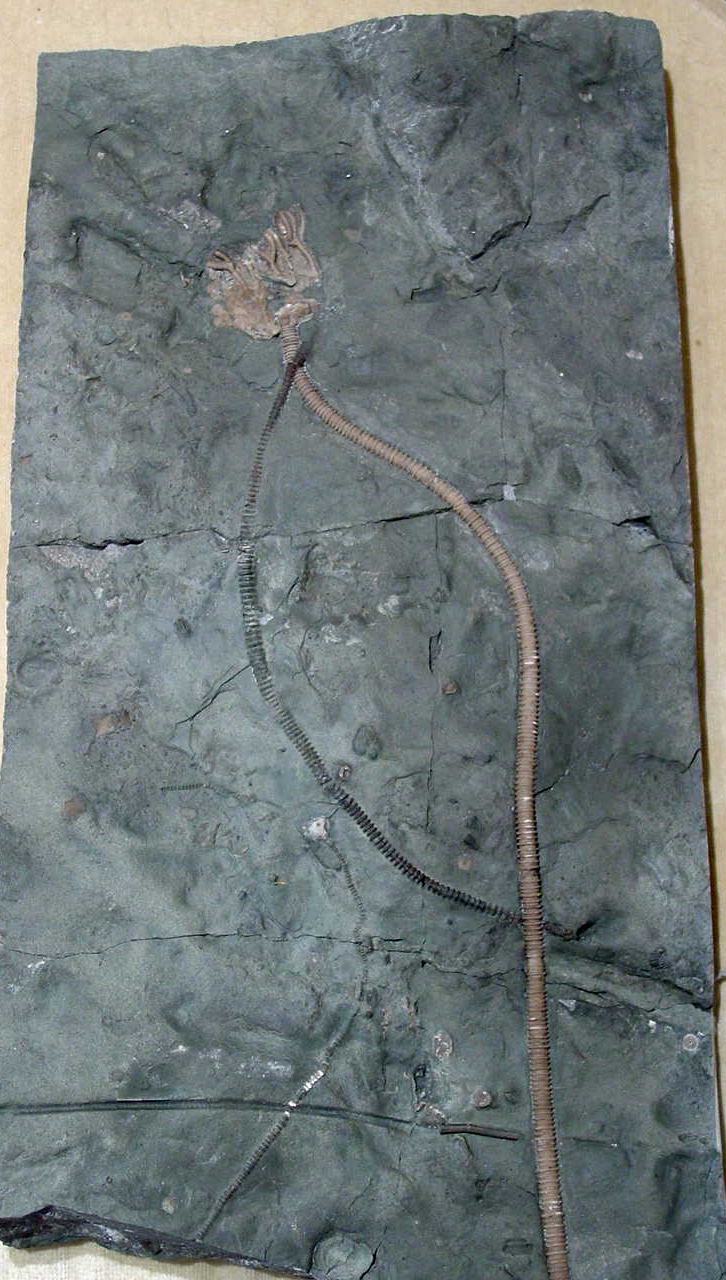
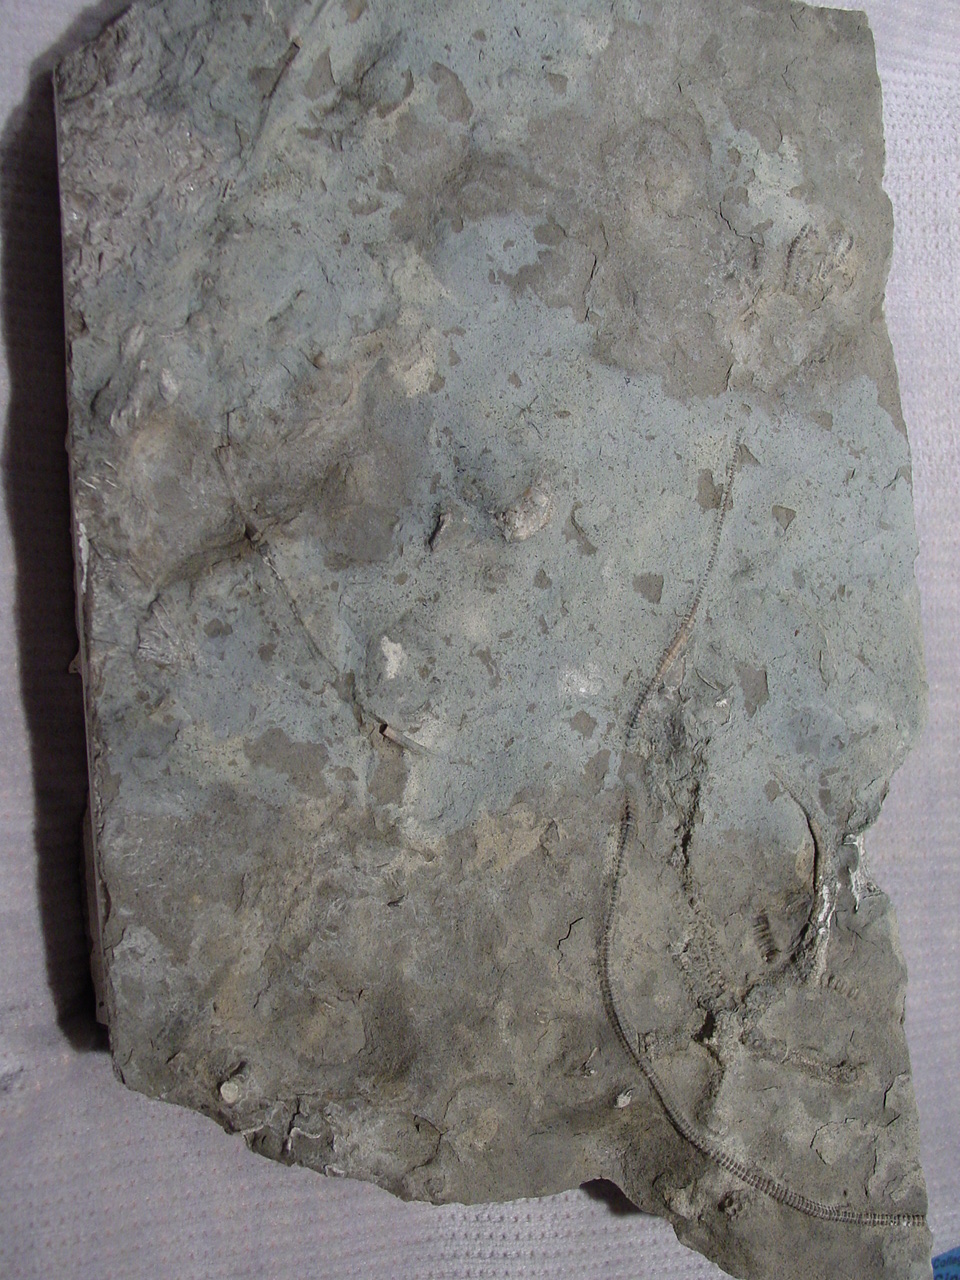
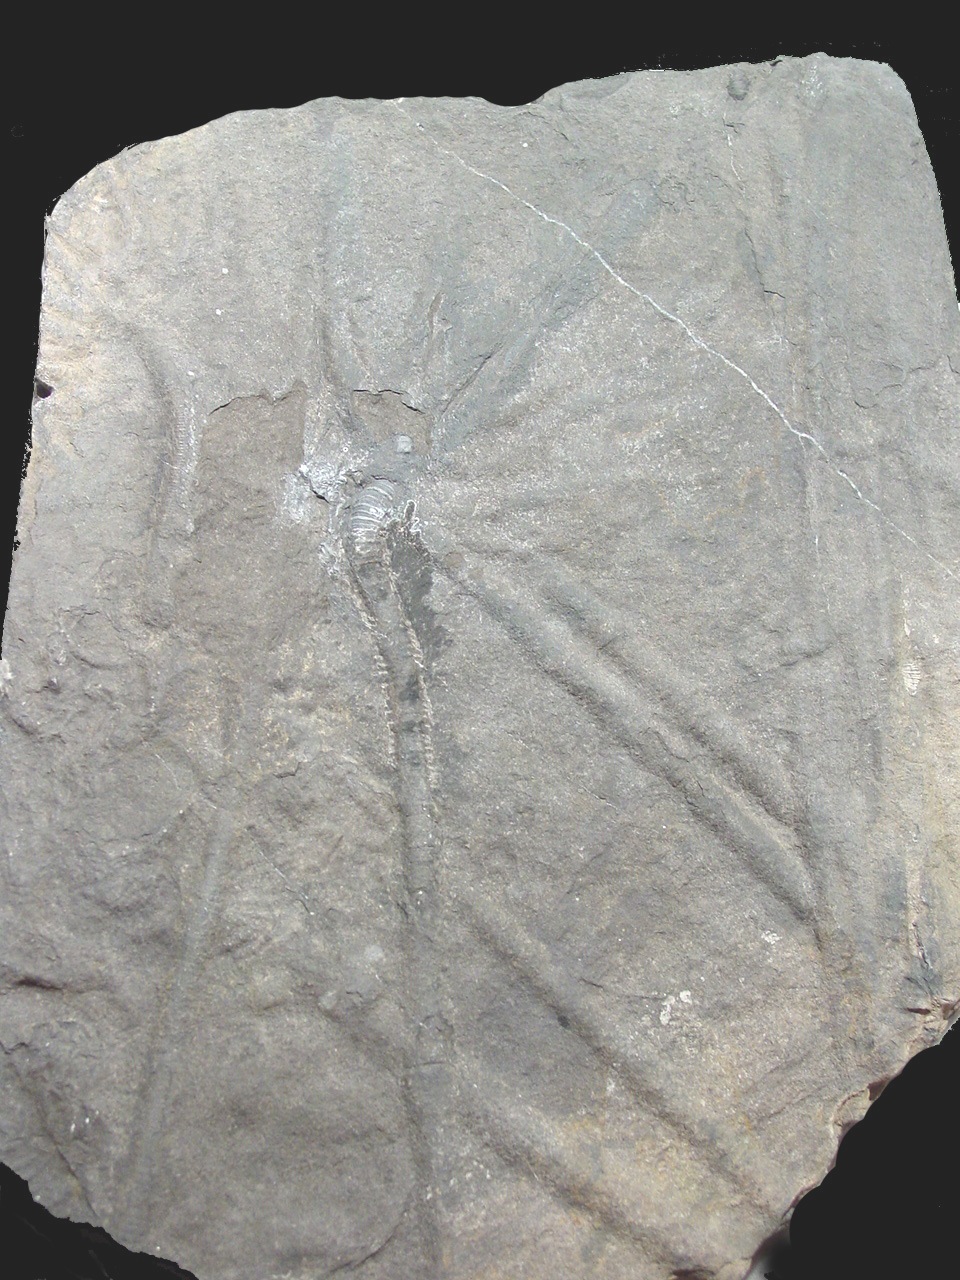
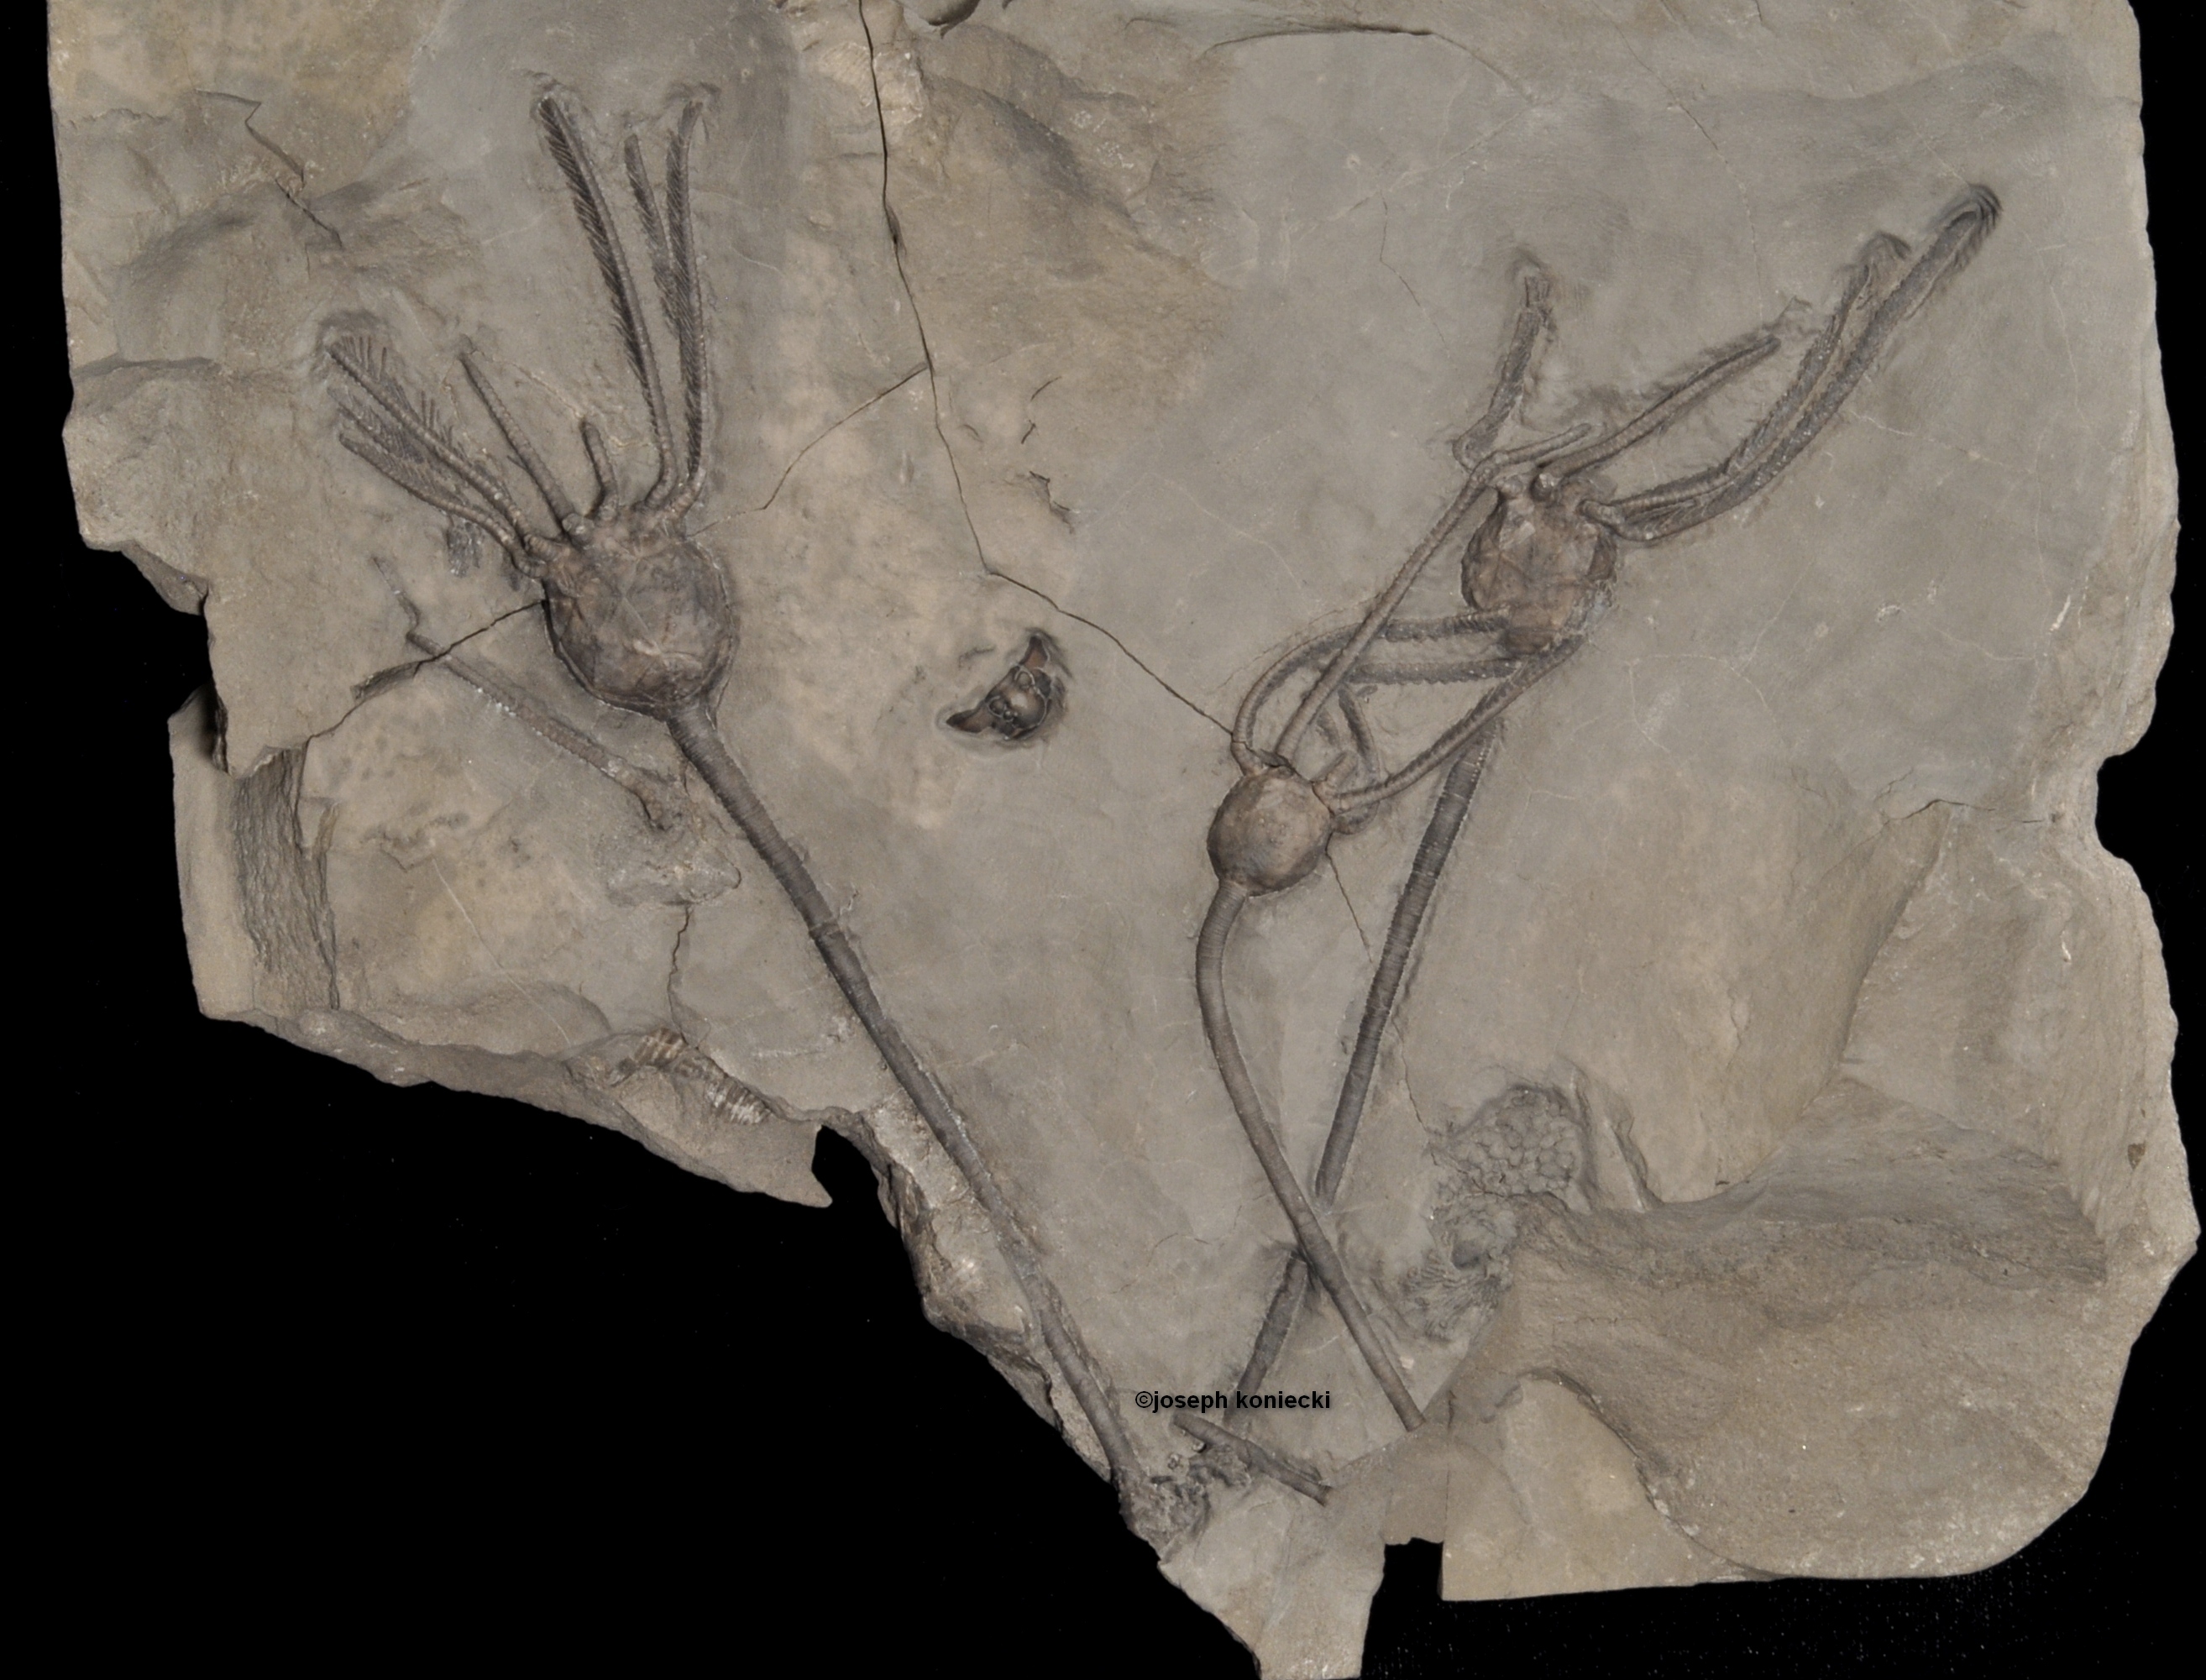
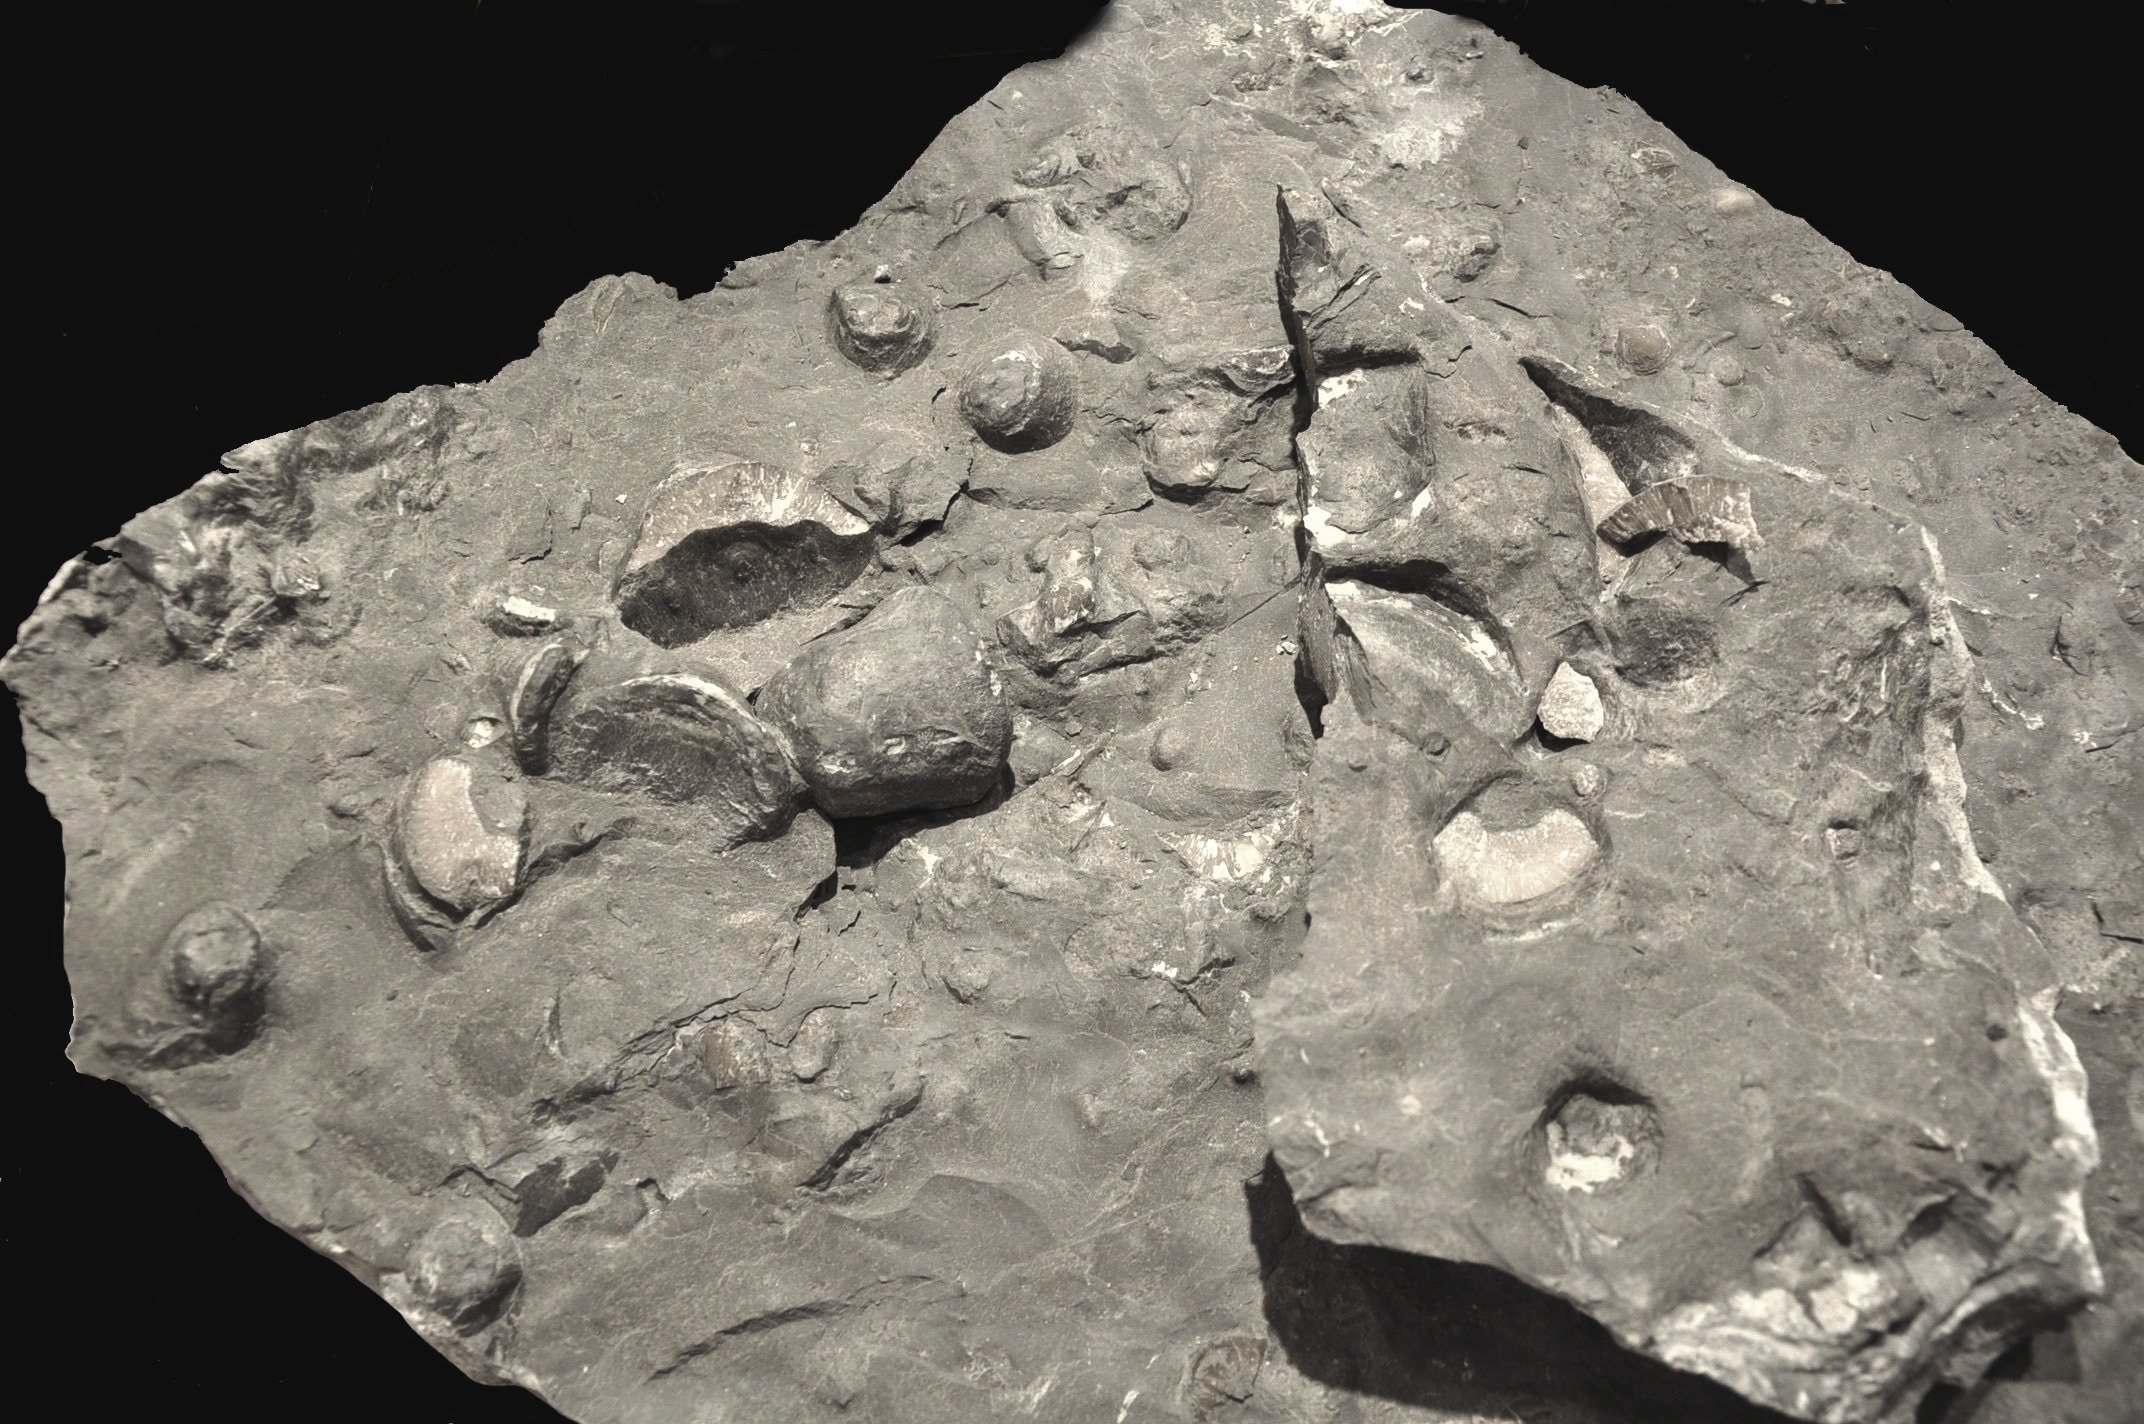
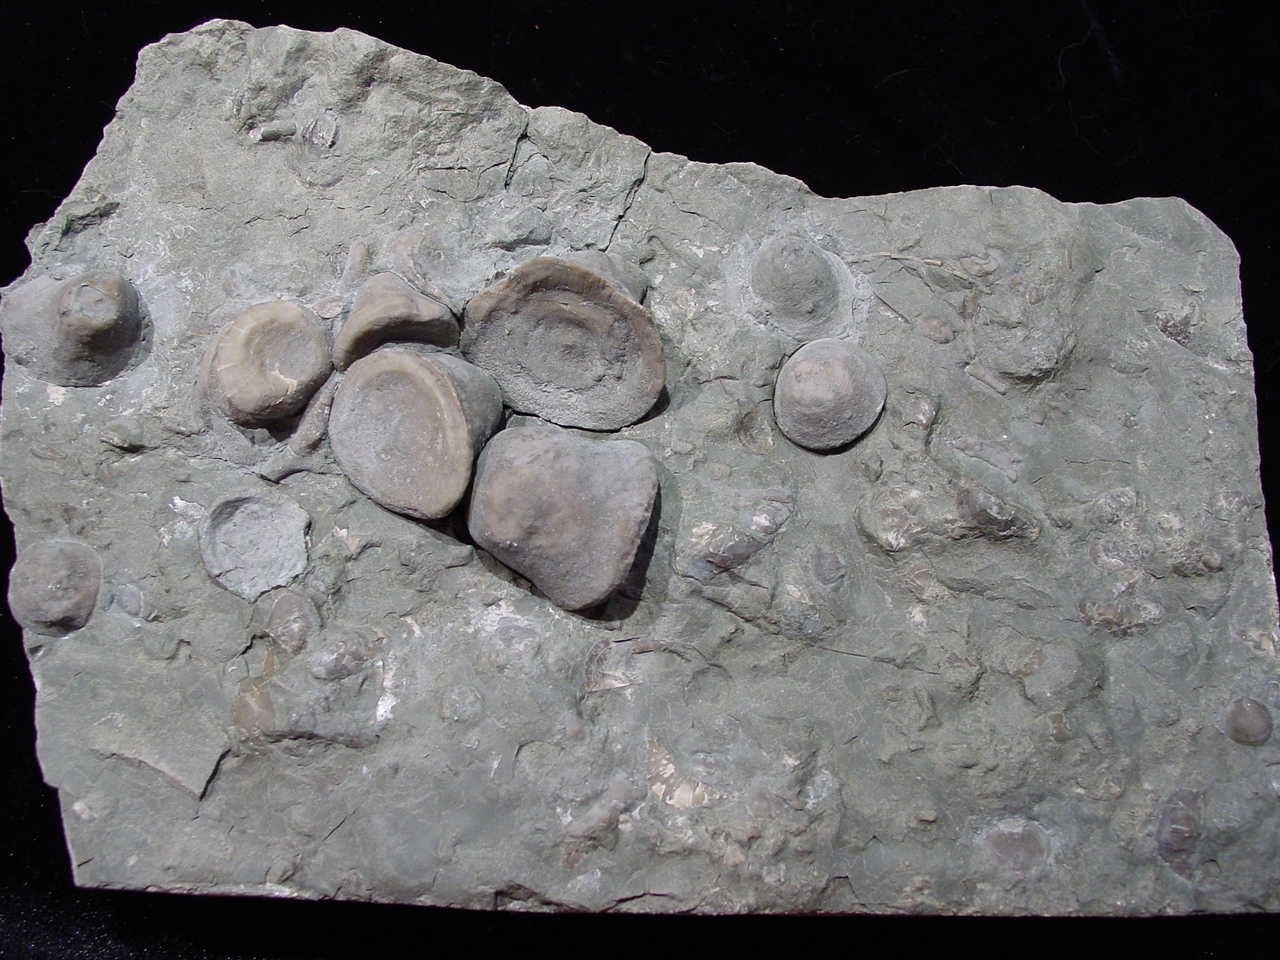
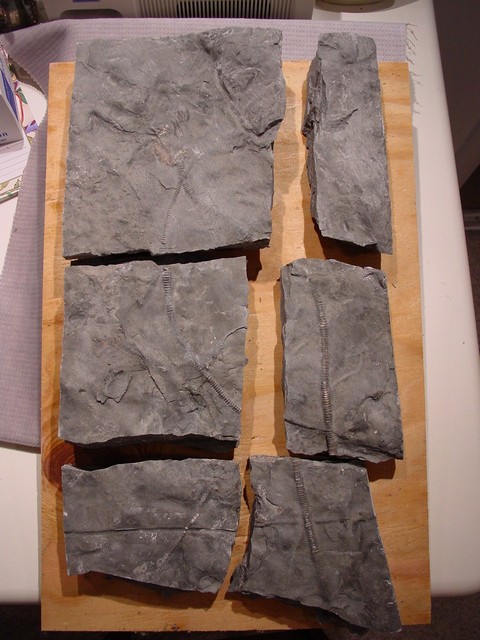
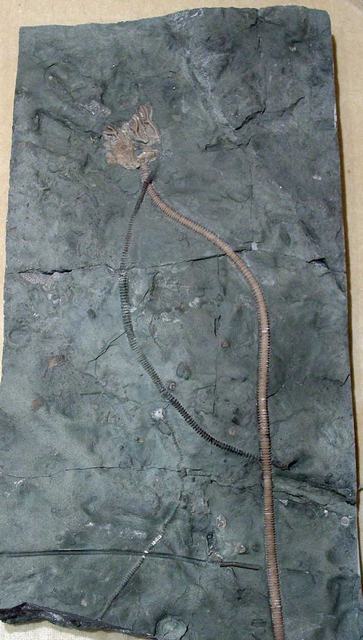
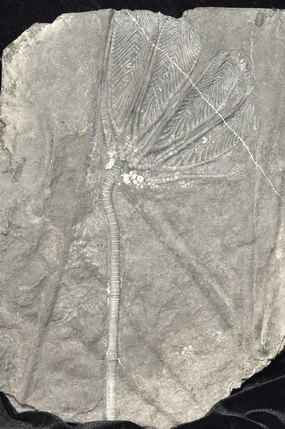
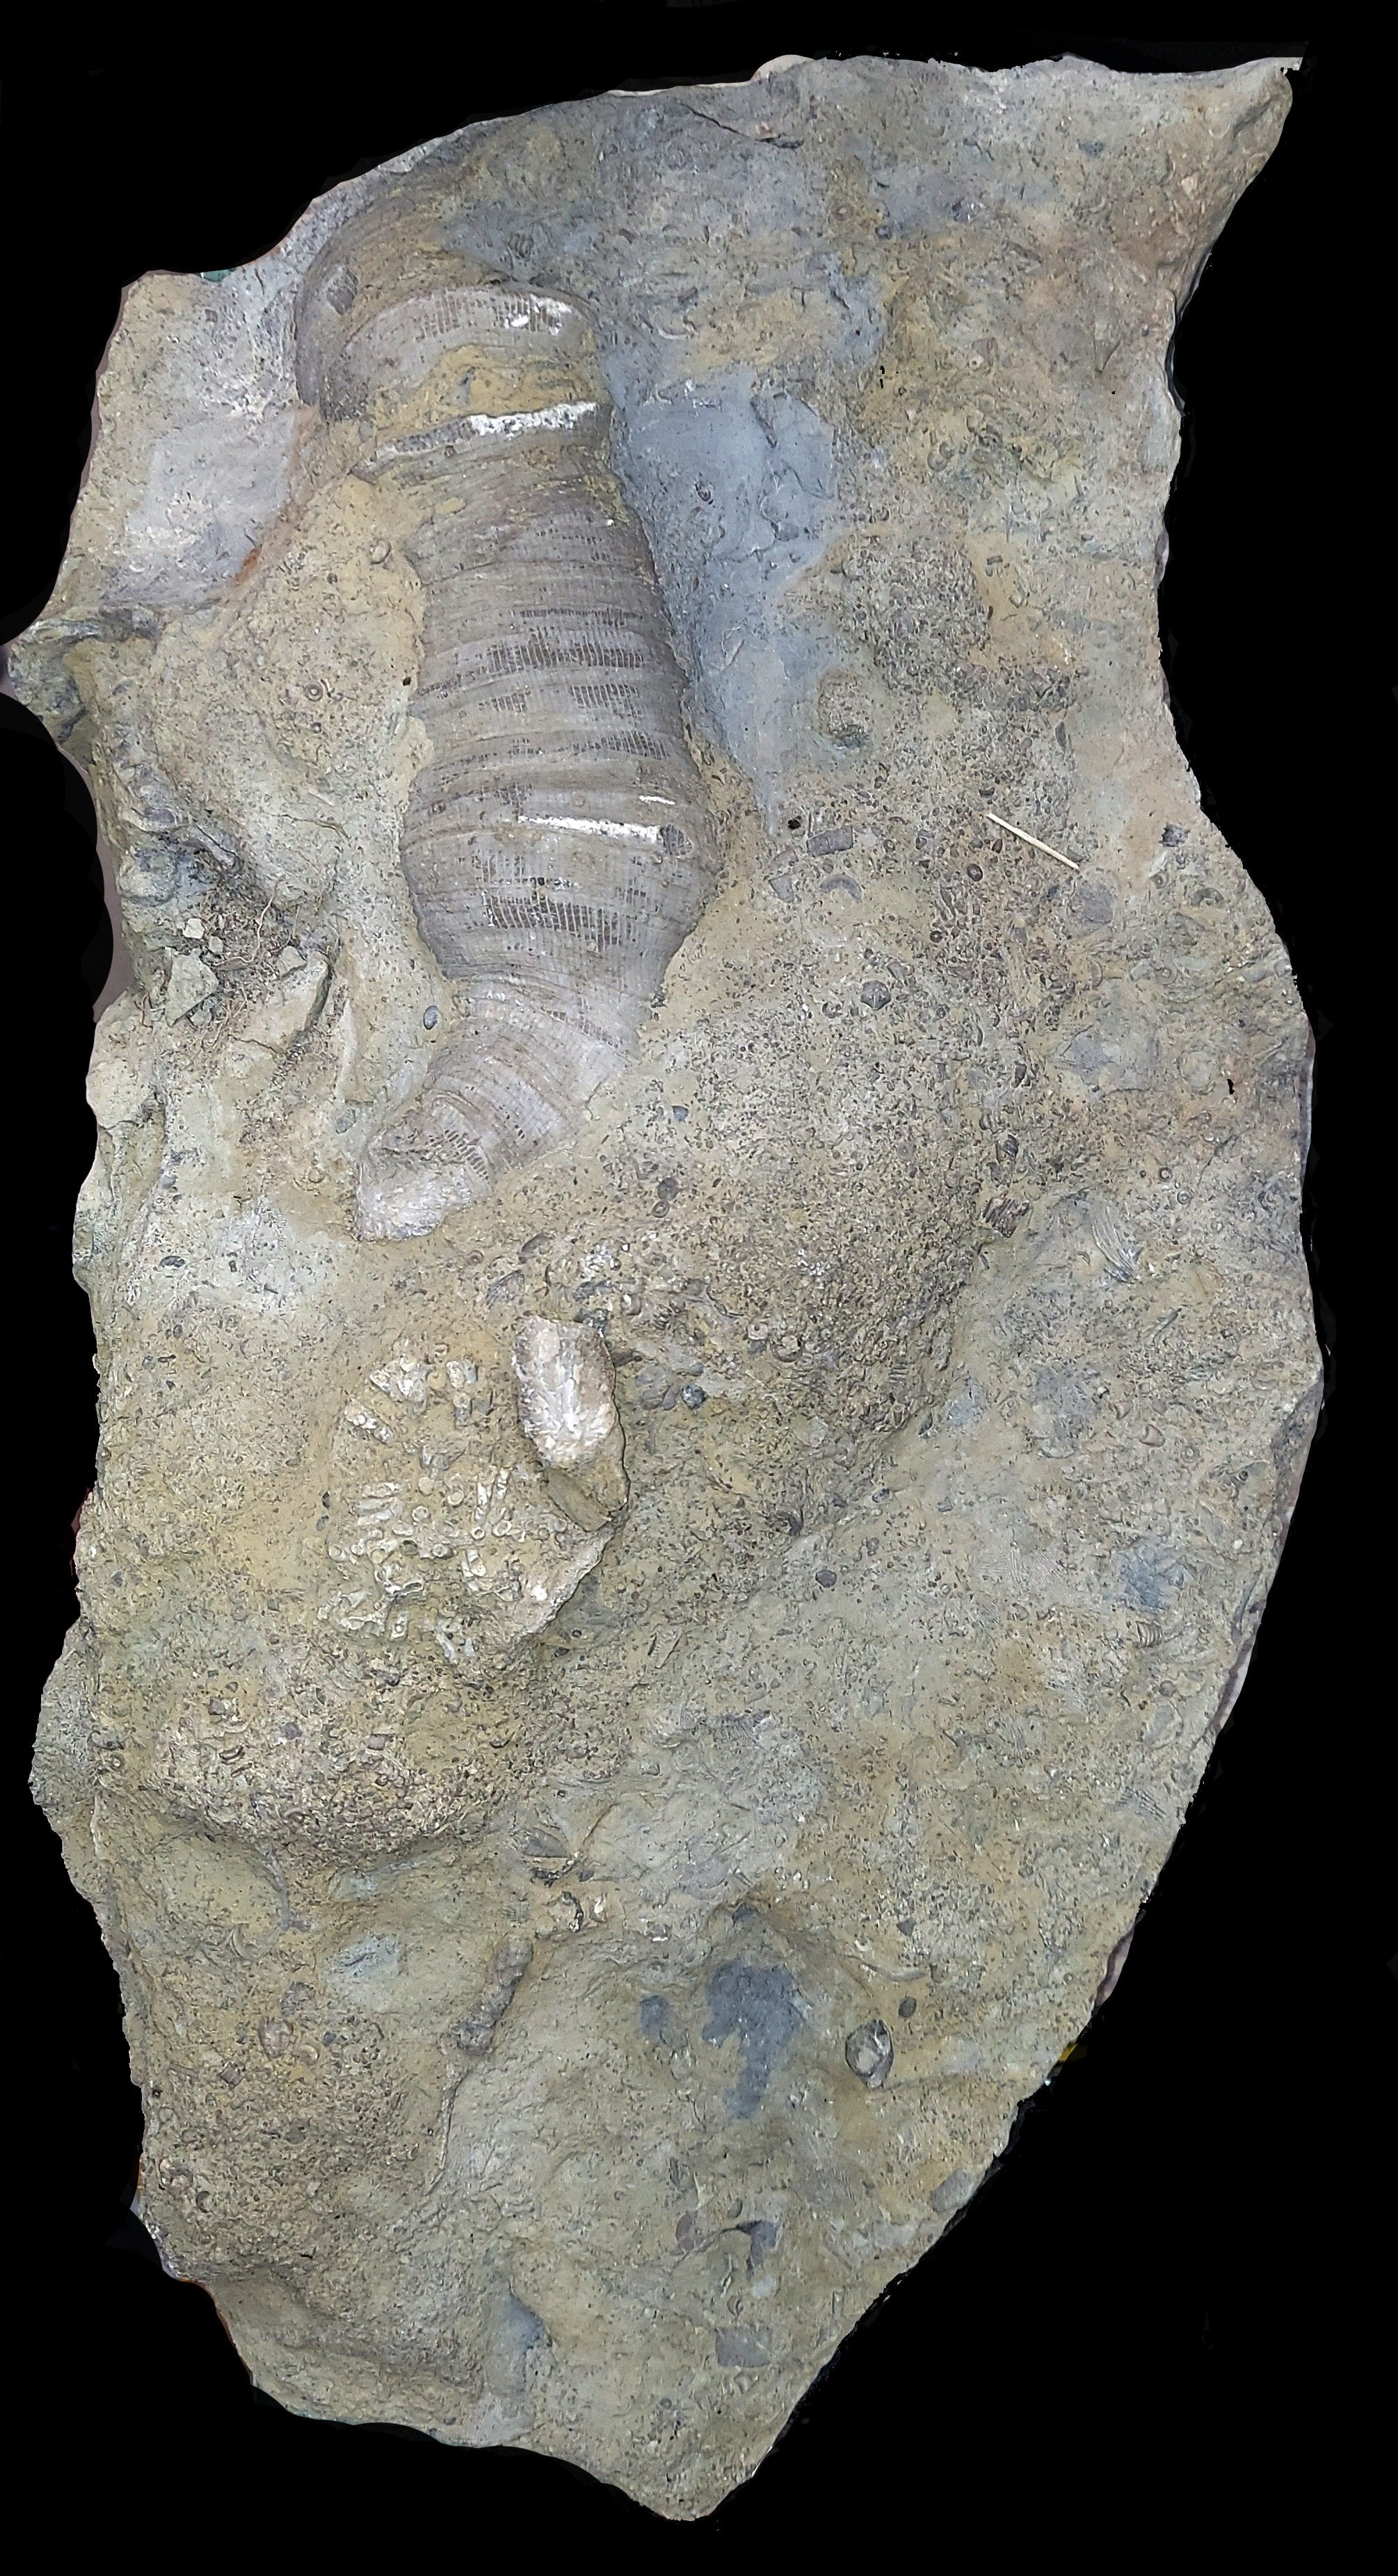
| Reteocrinus |
Prep work by J. Koniecki |
|

| |
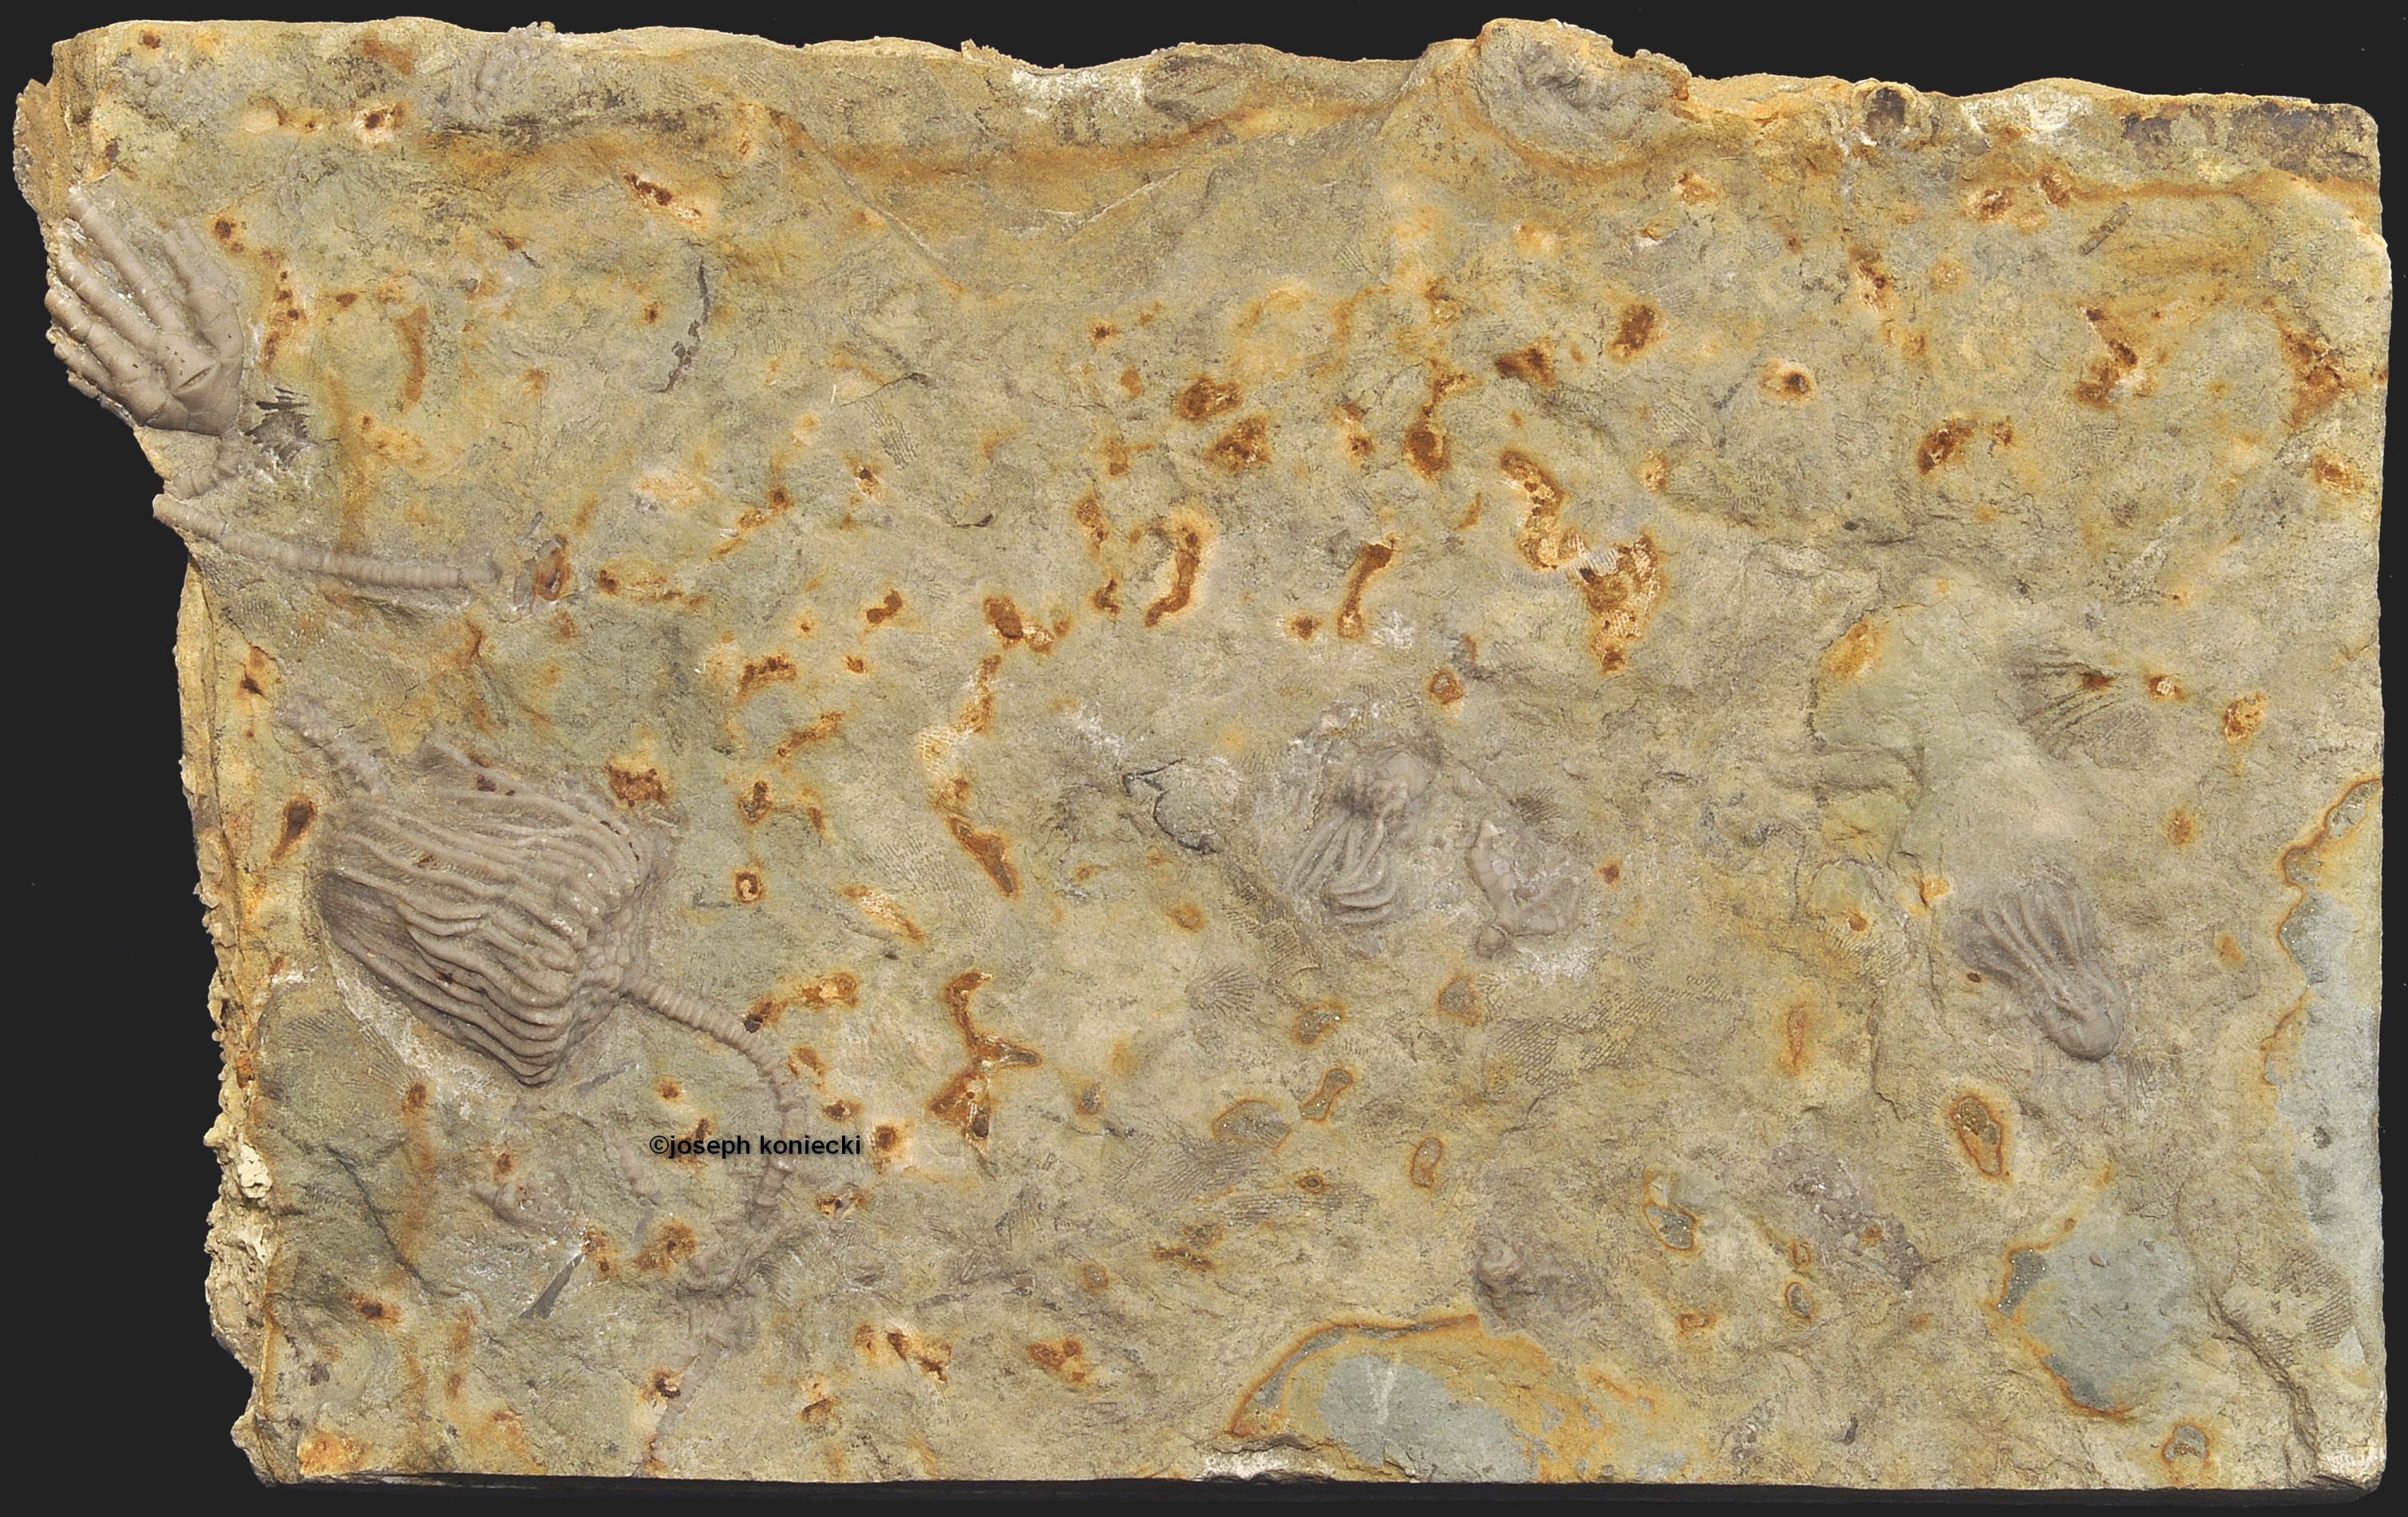
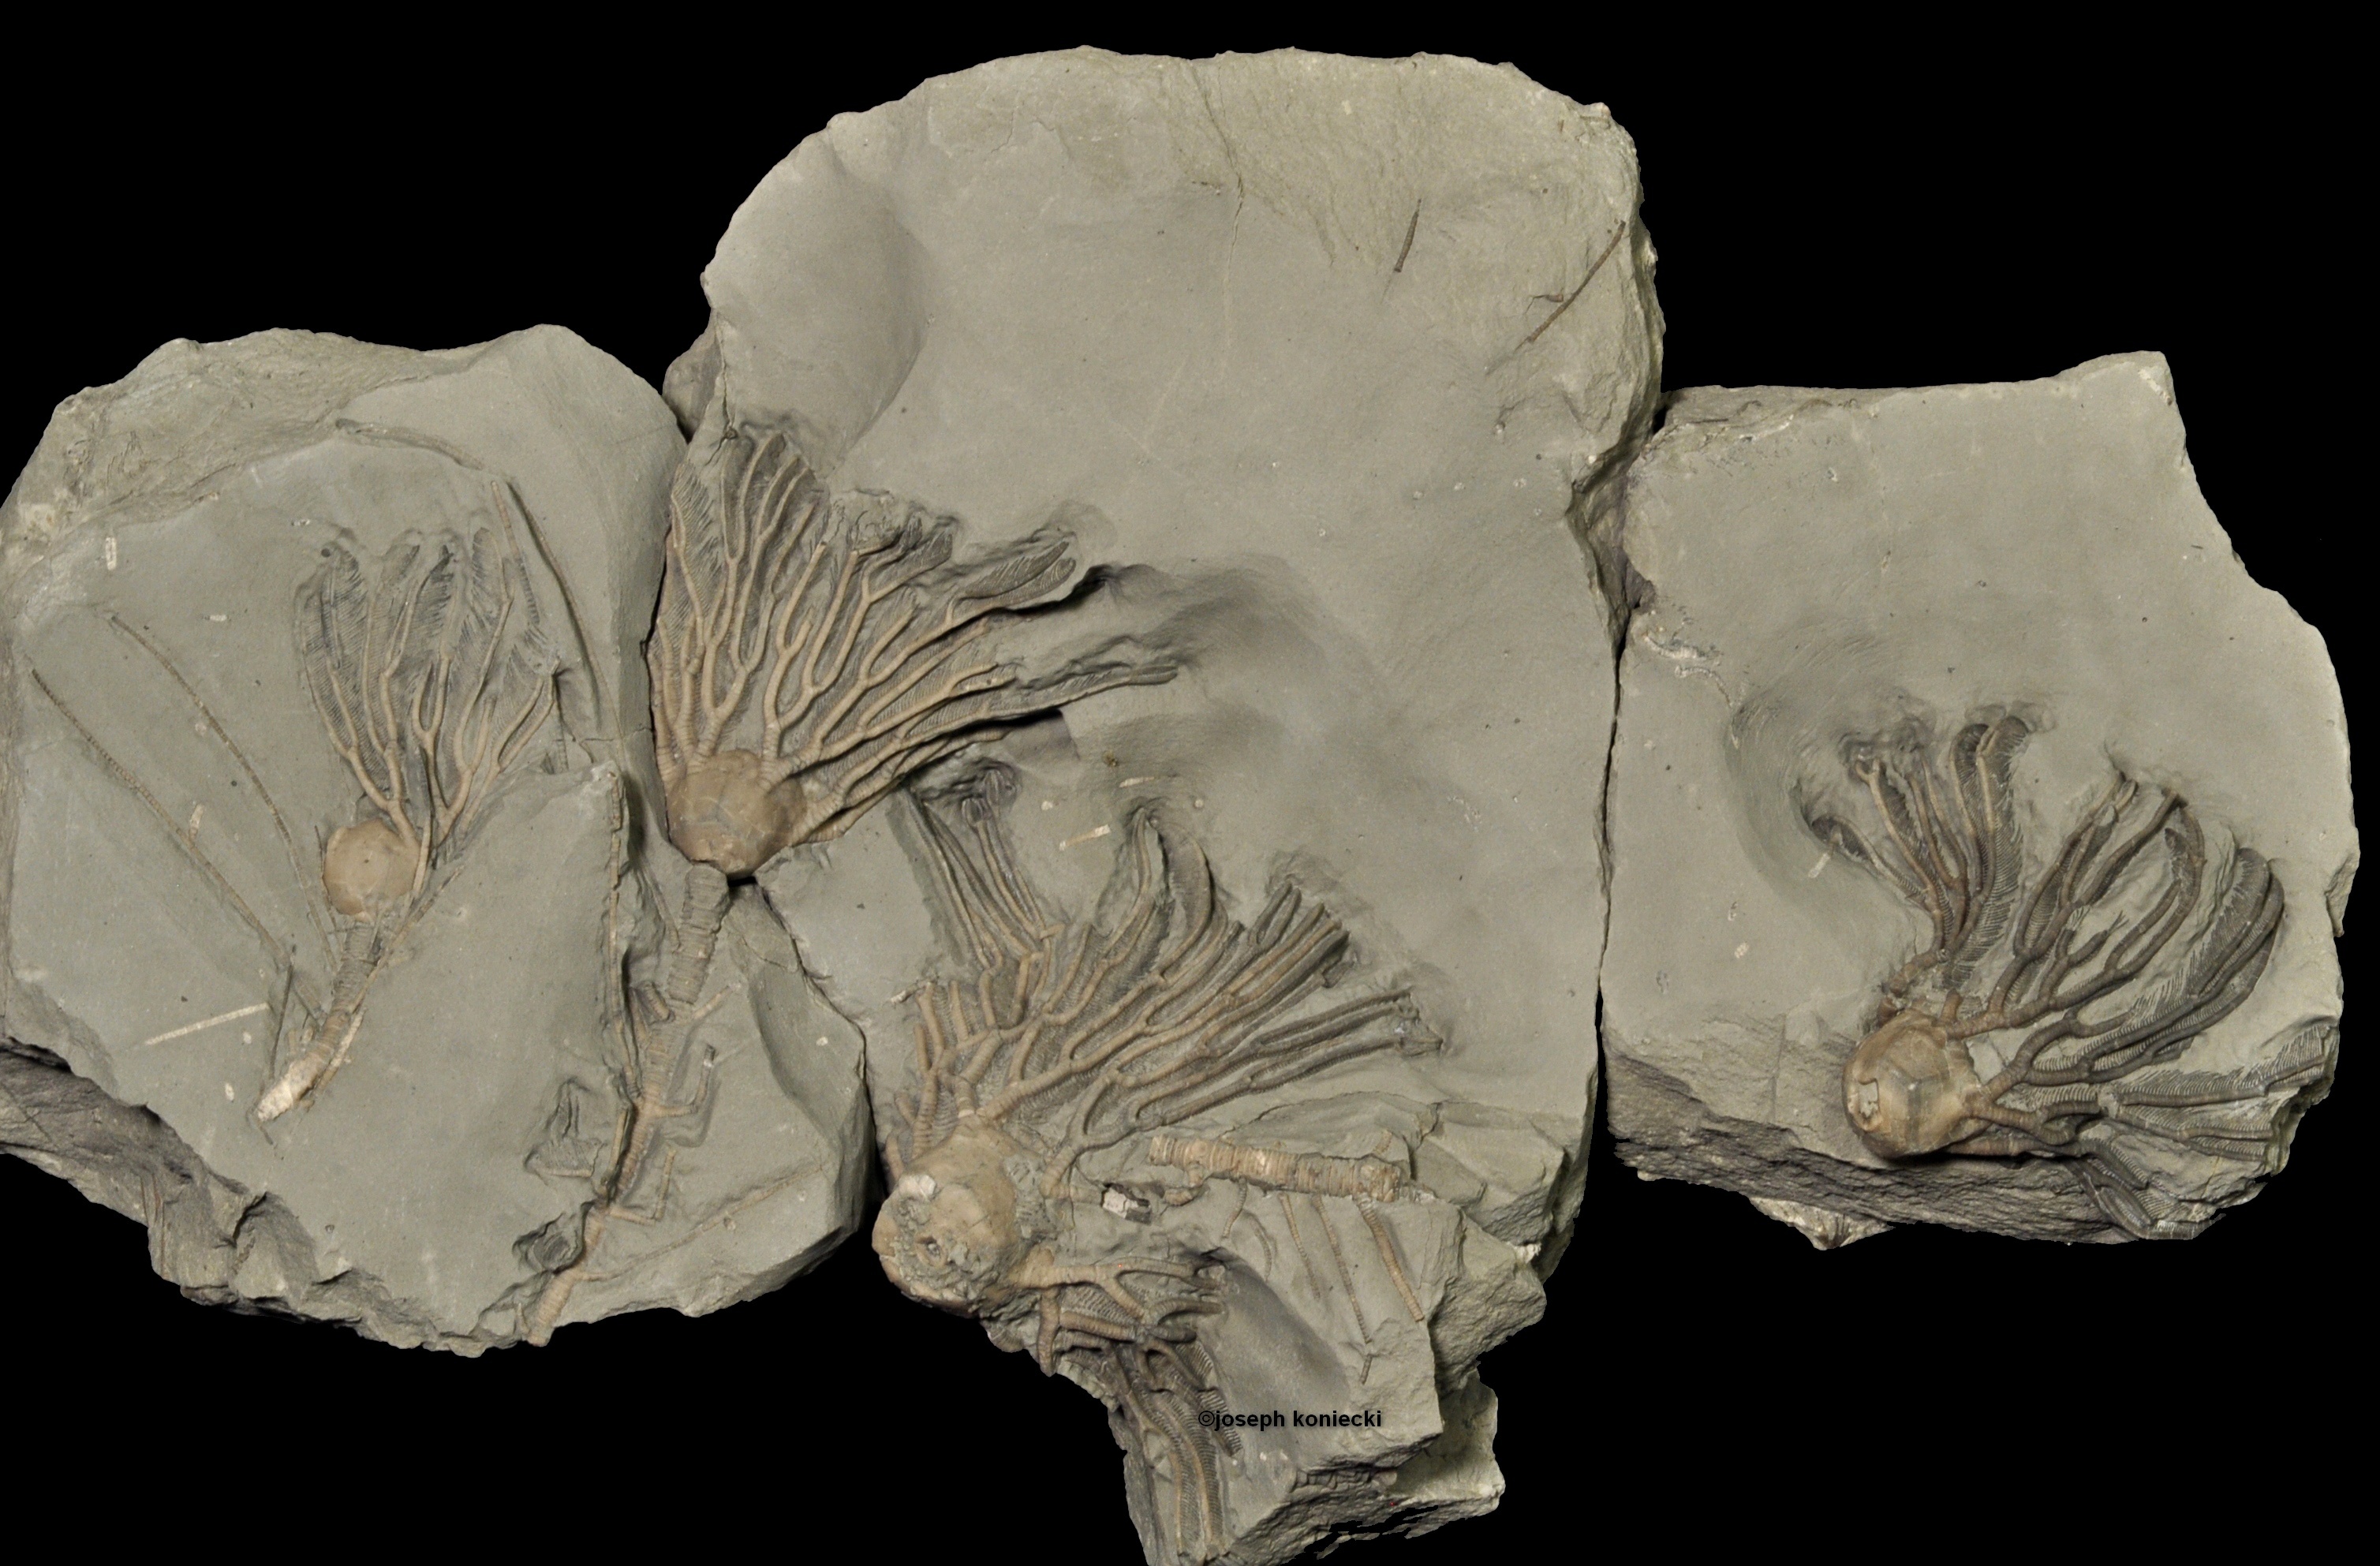
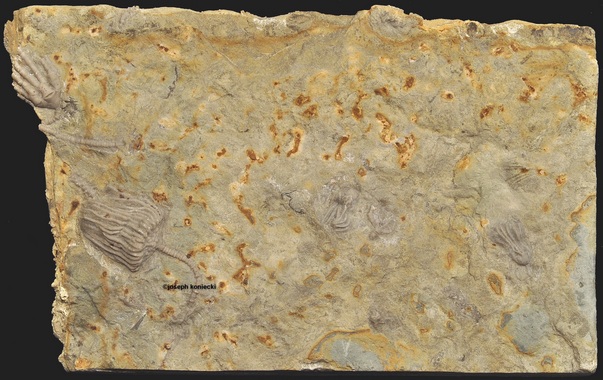
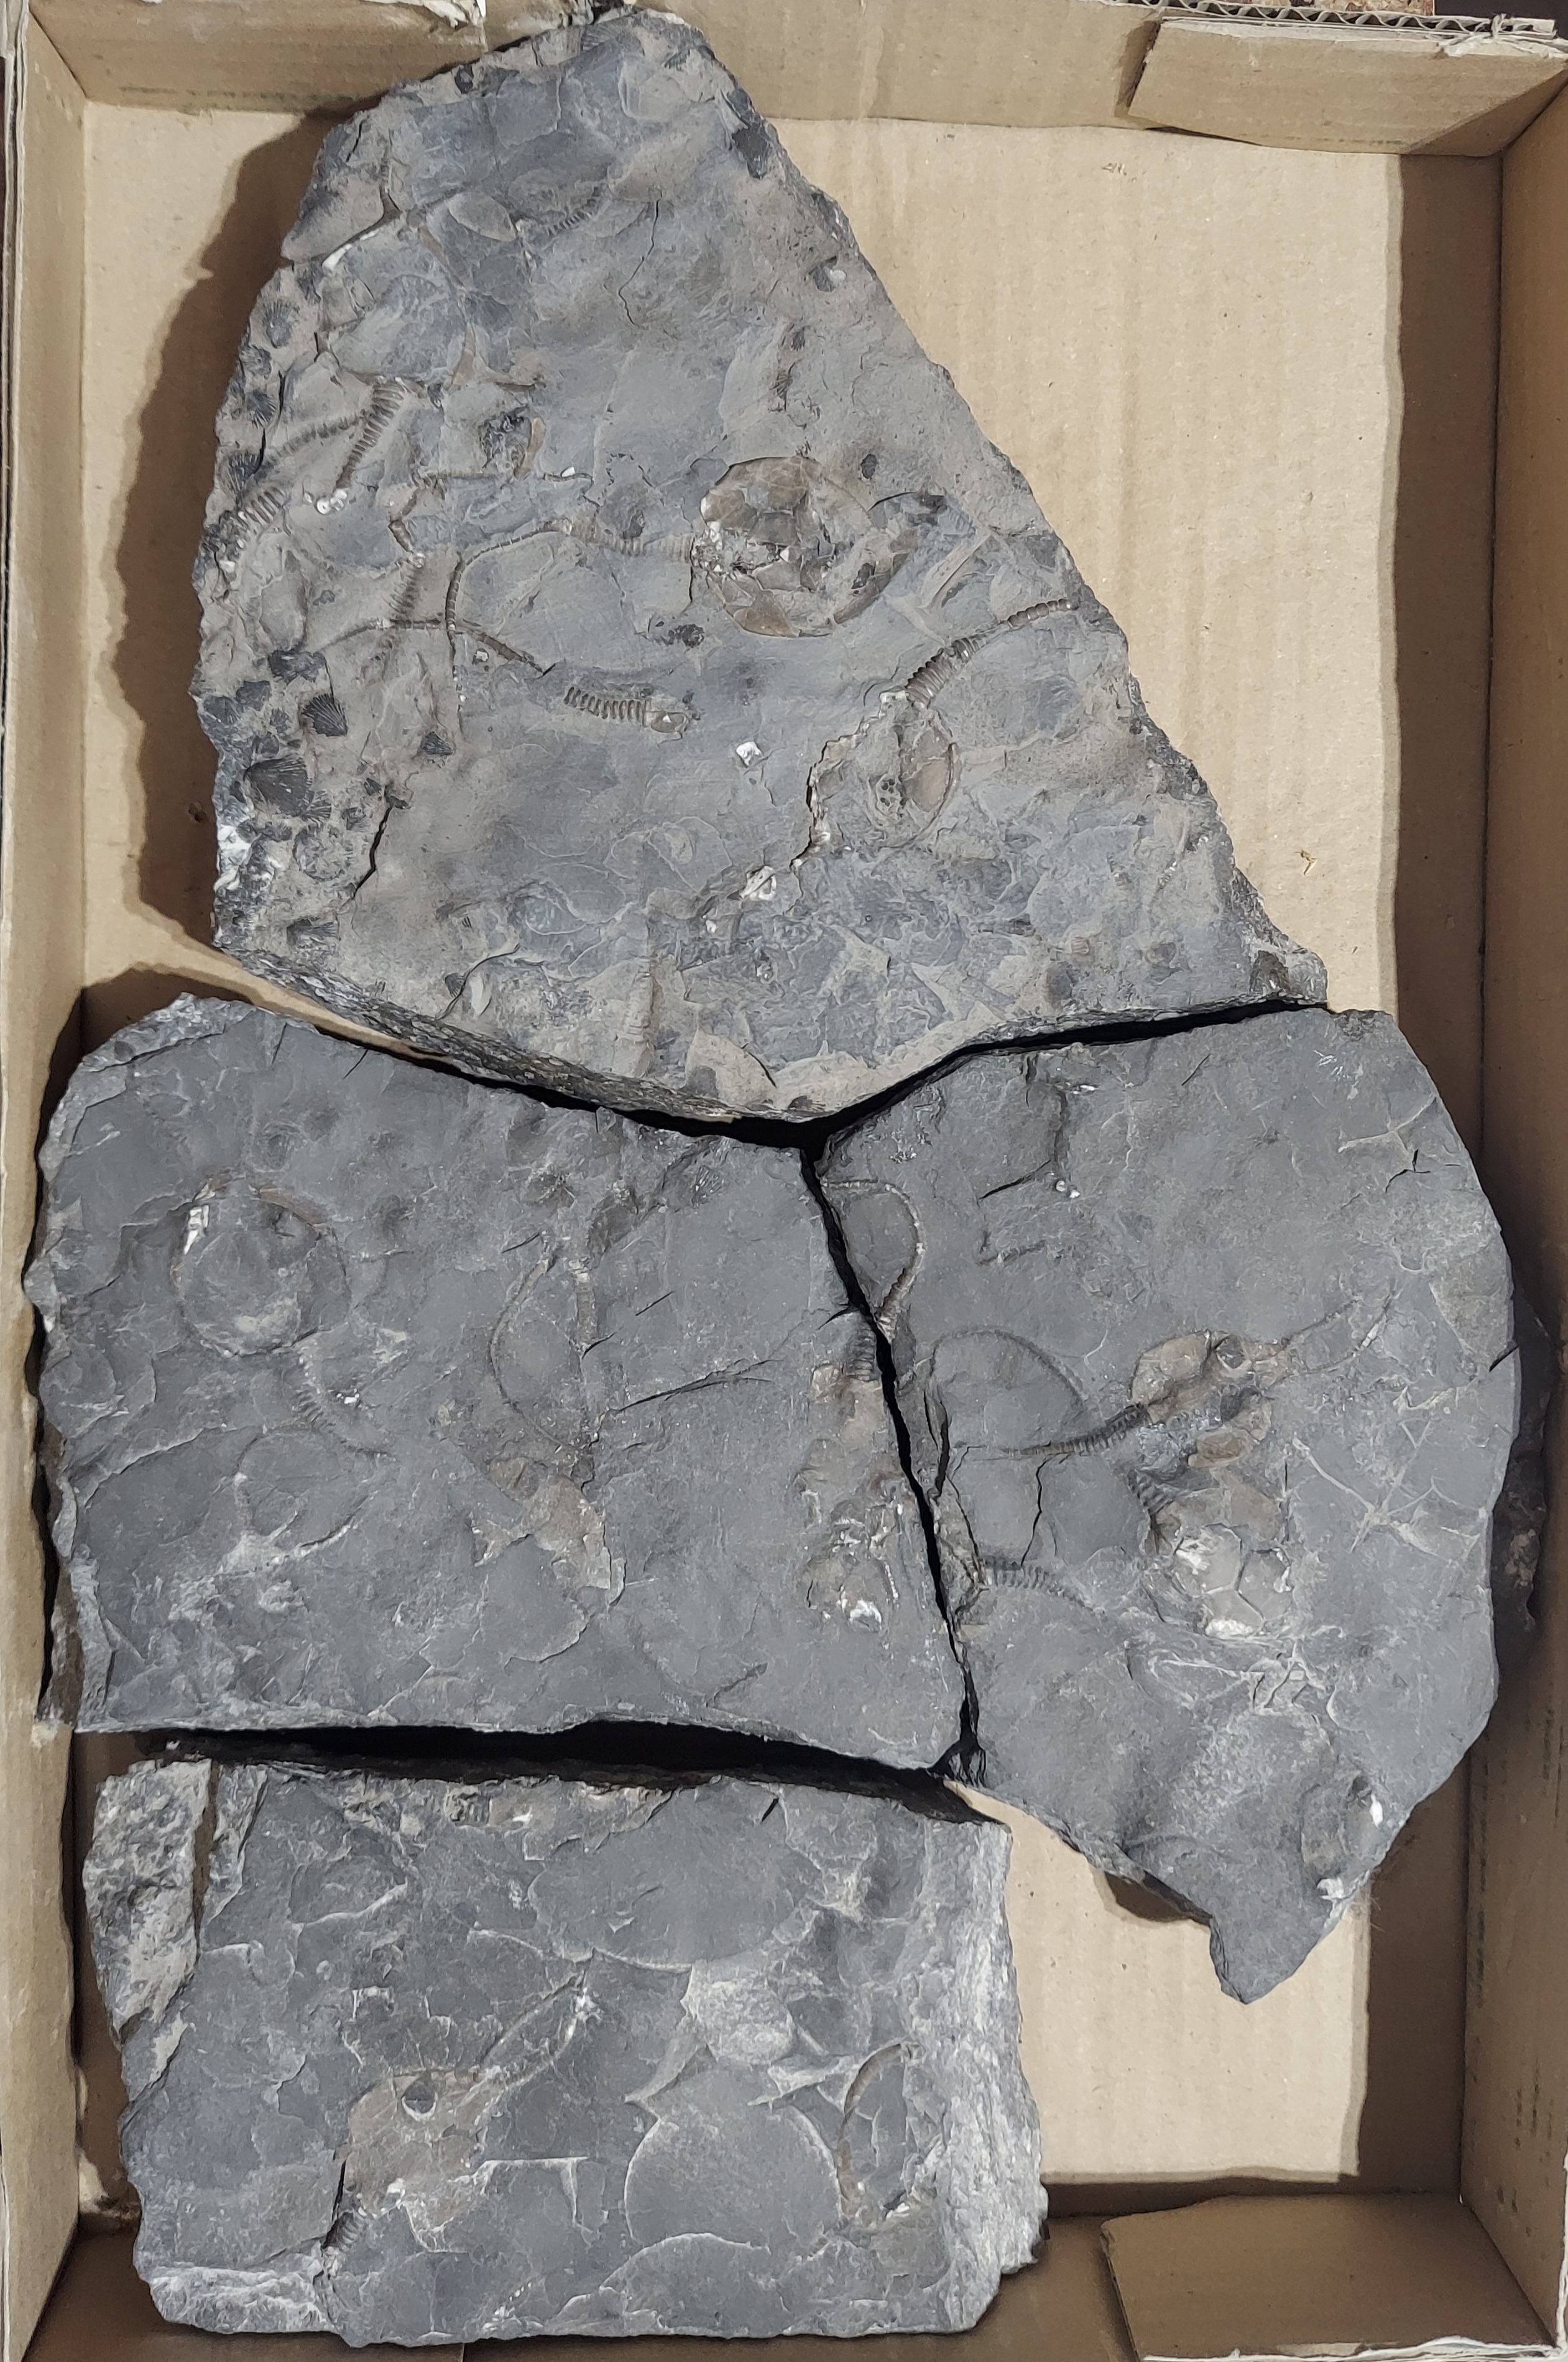
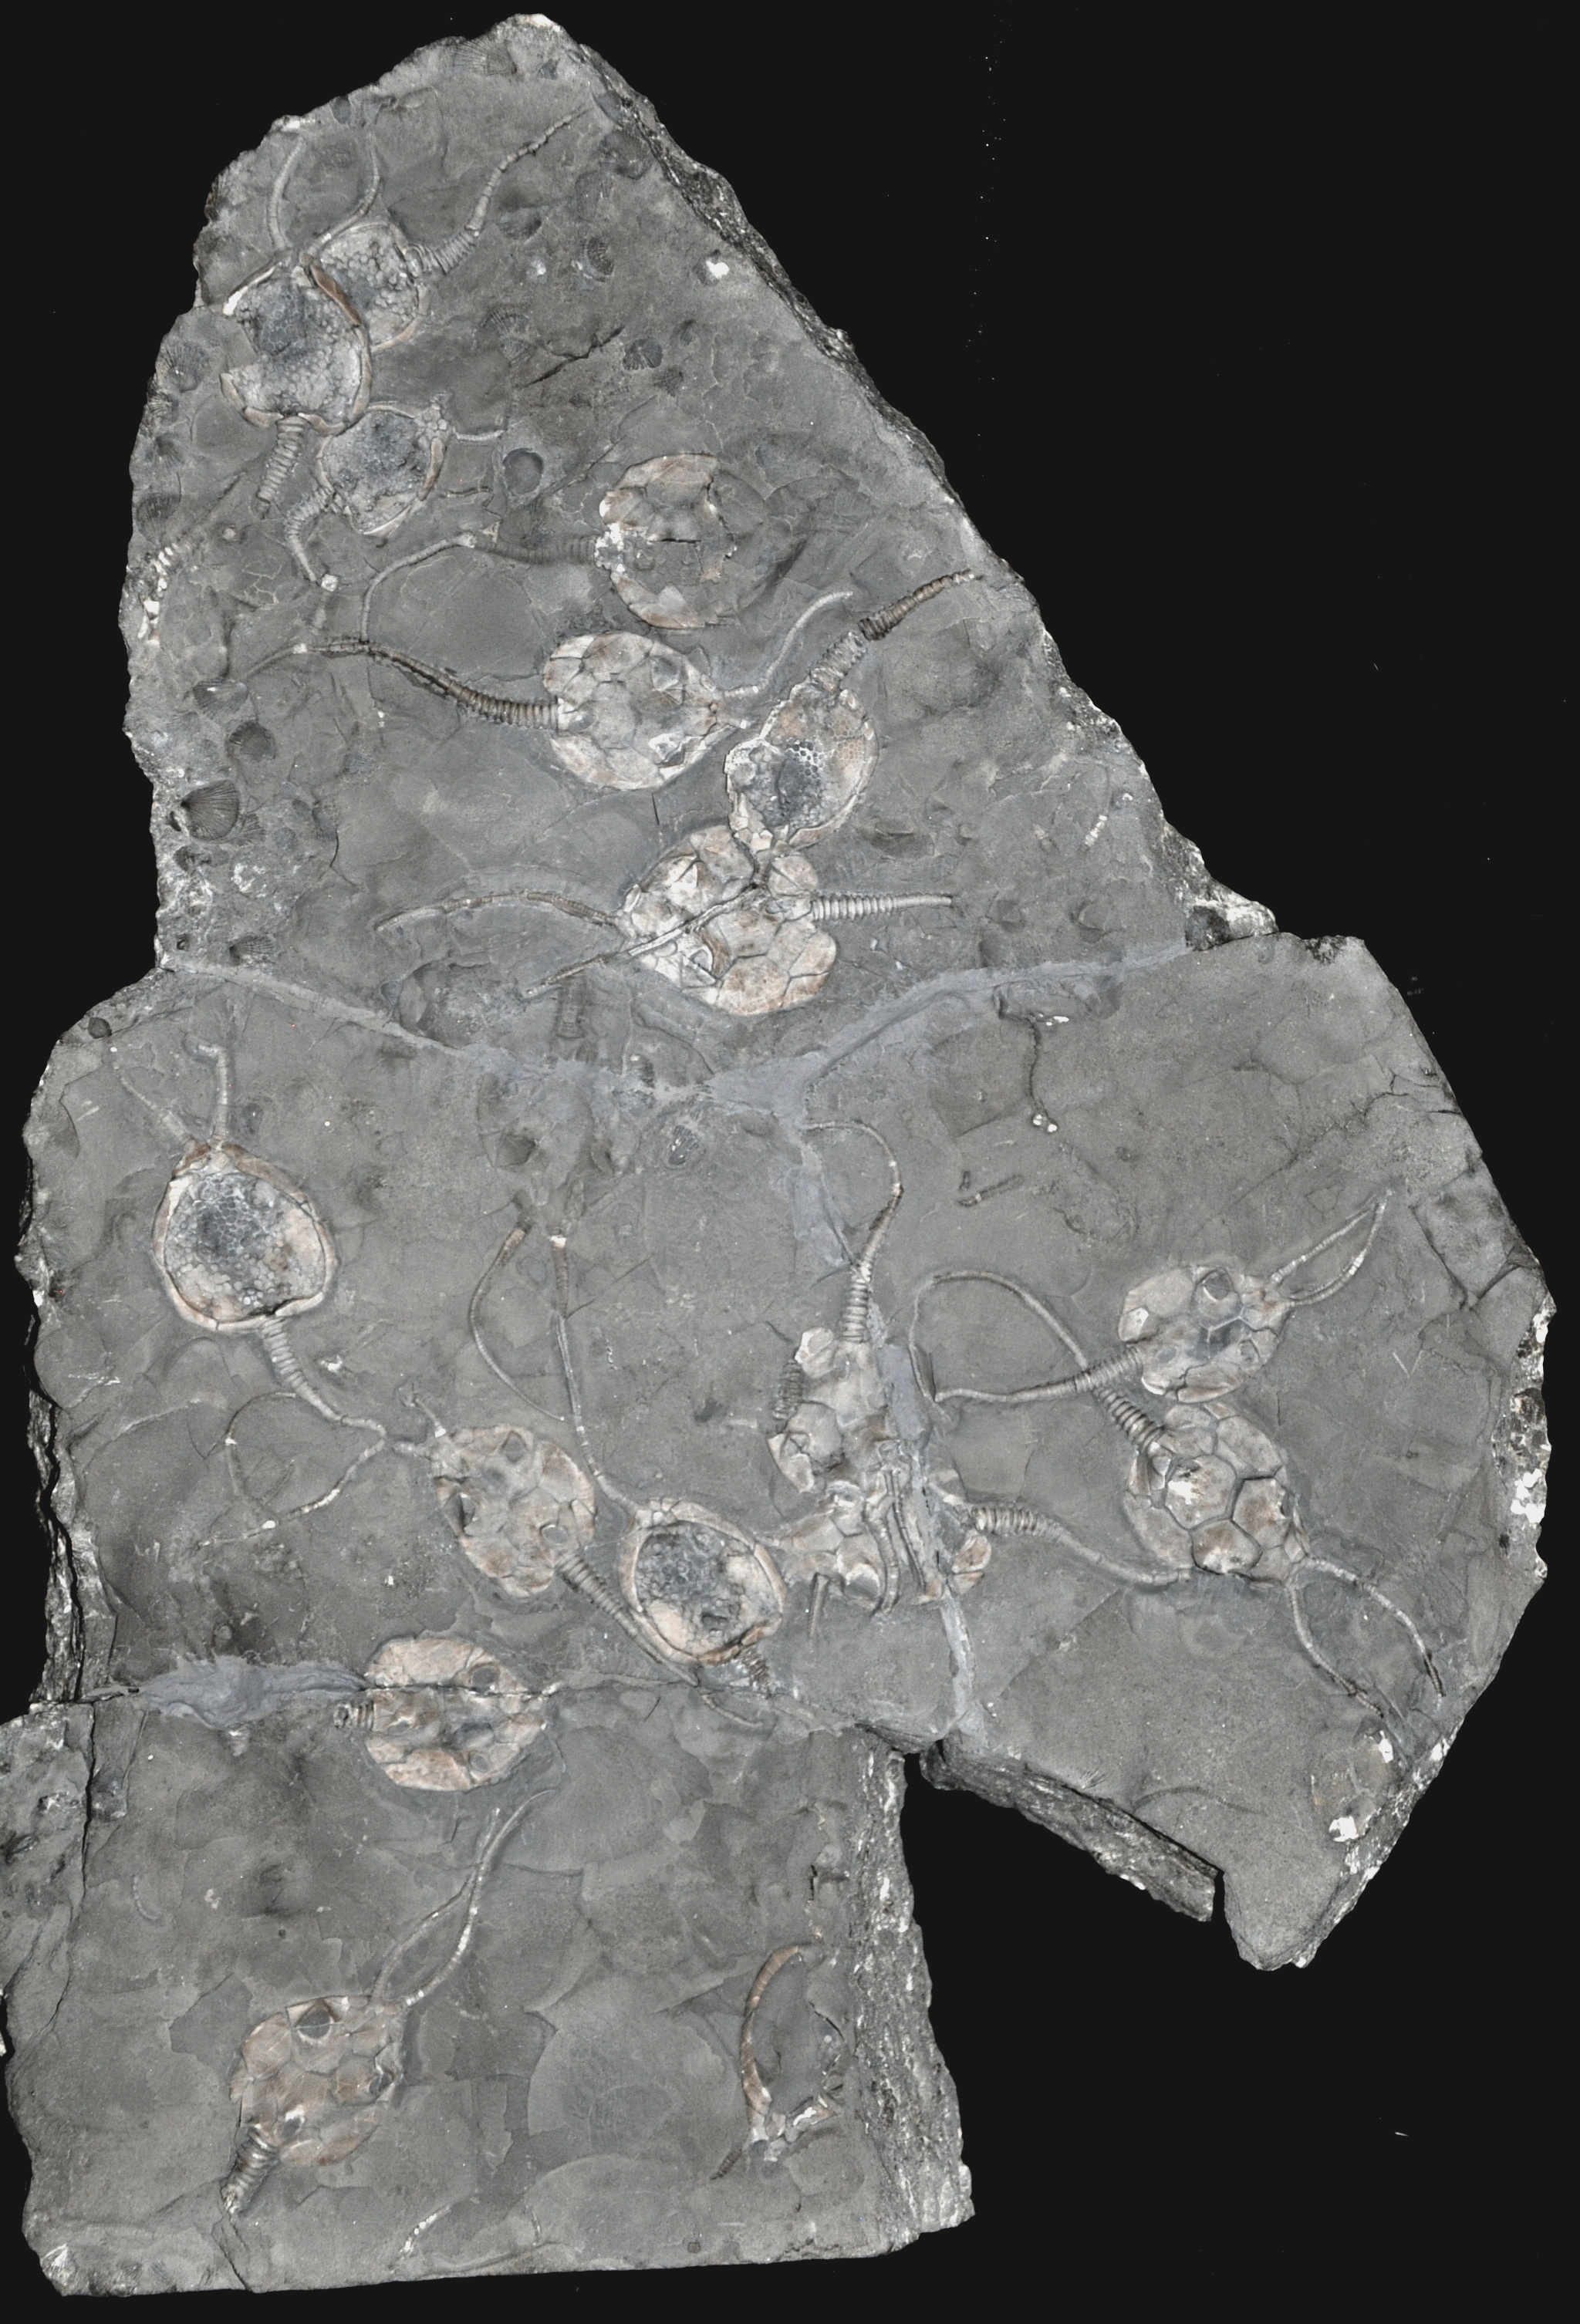
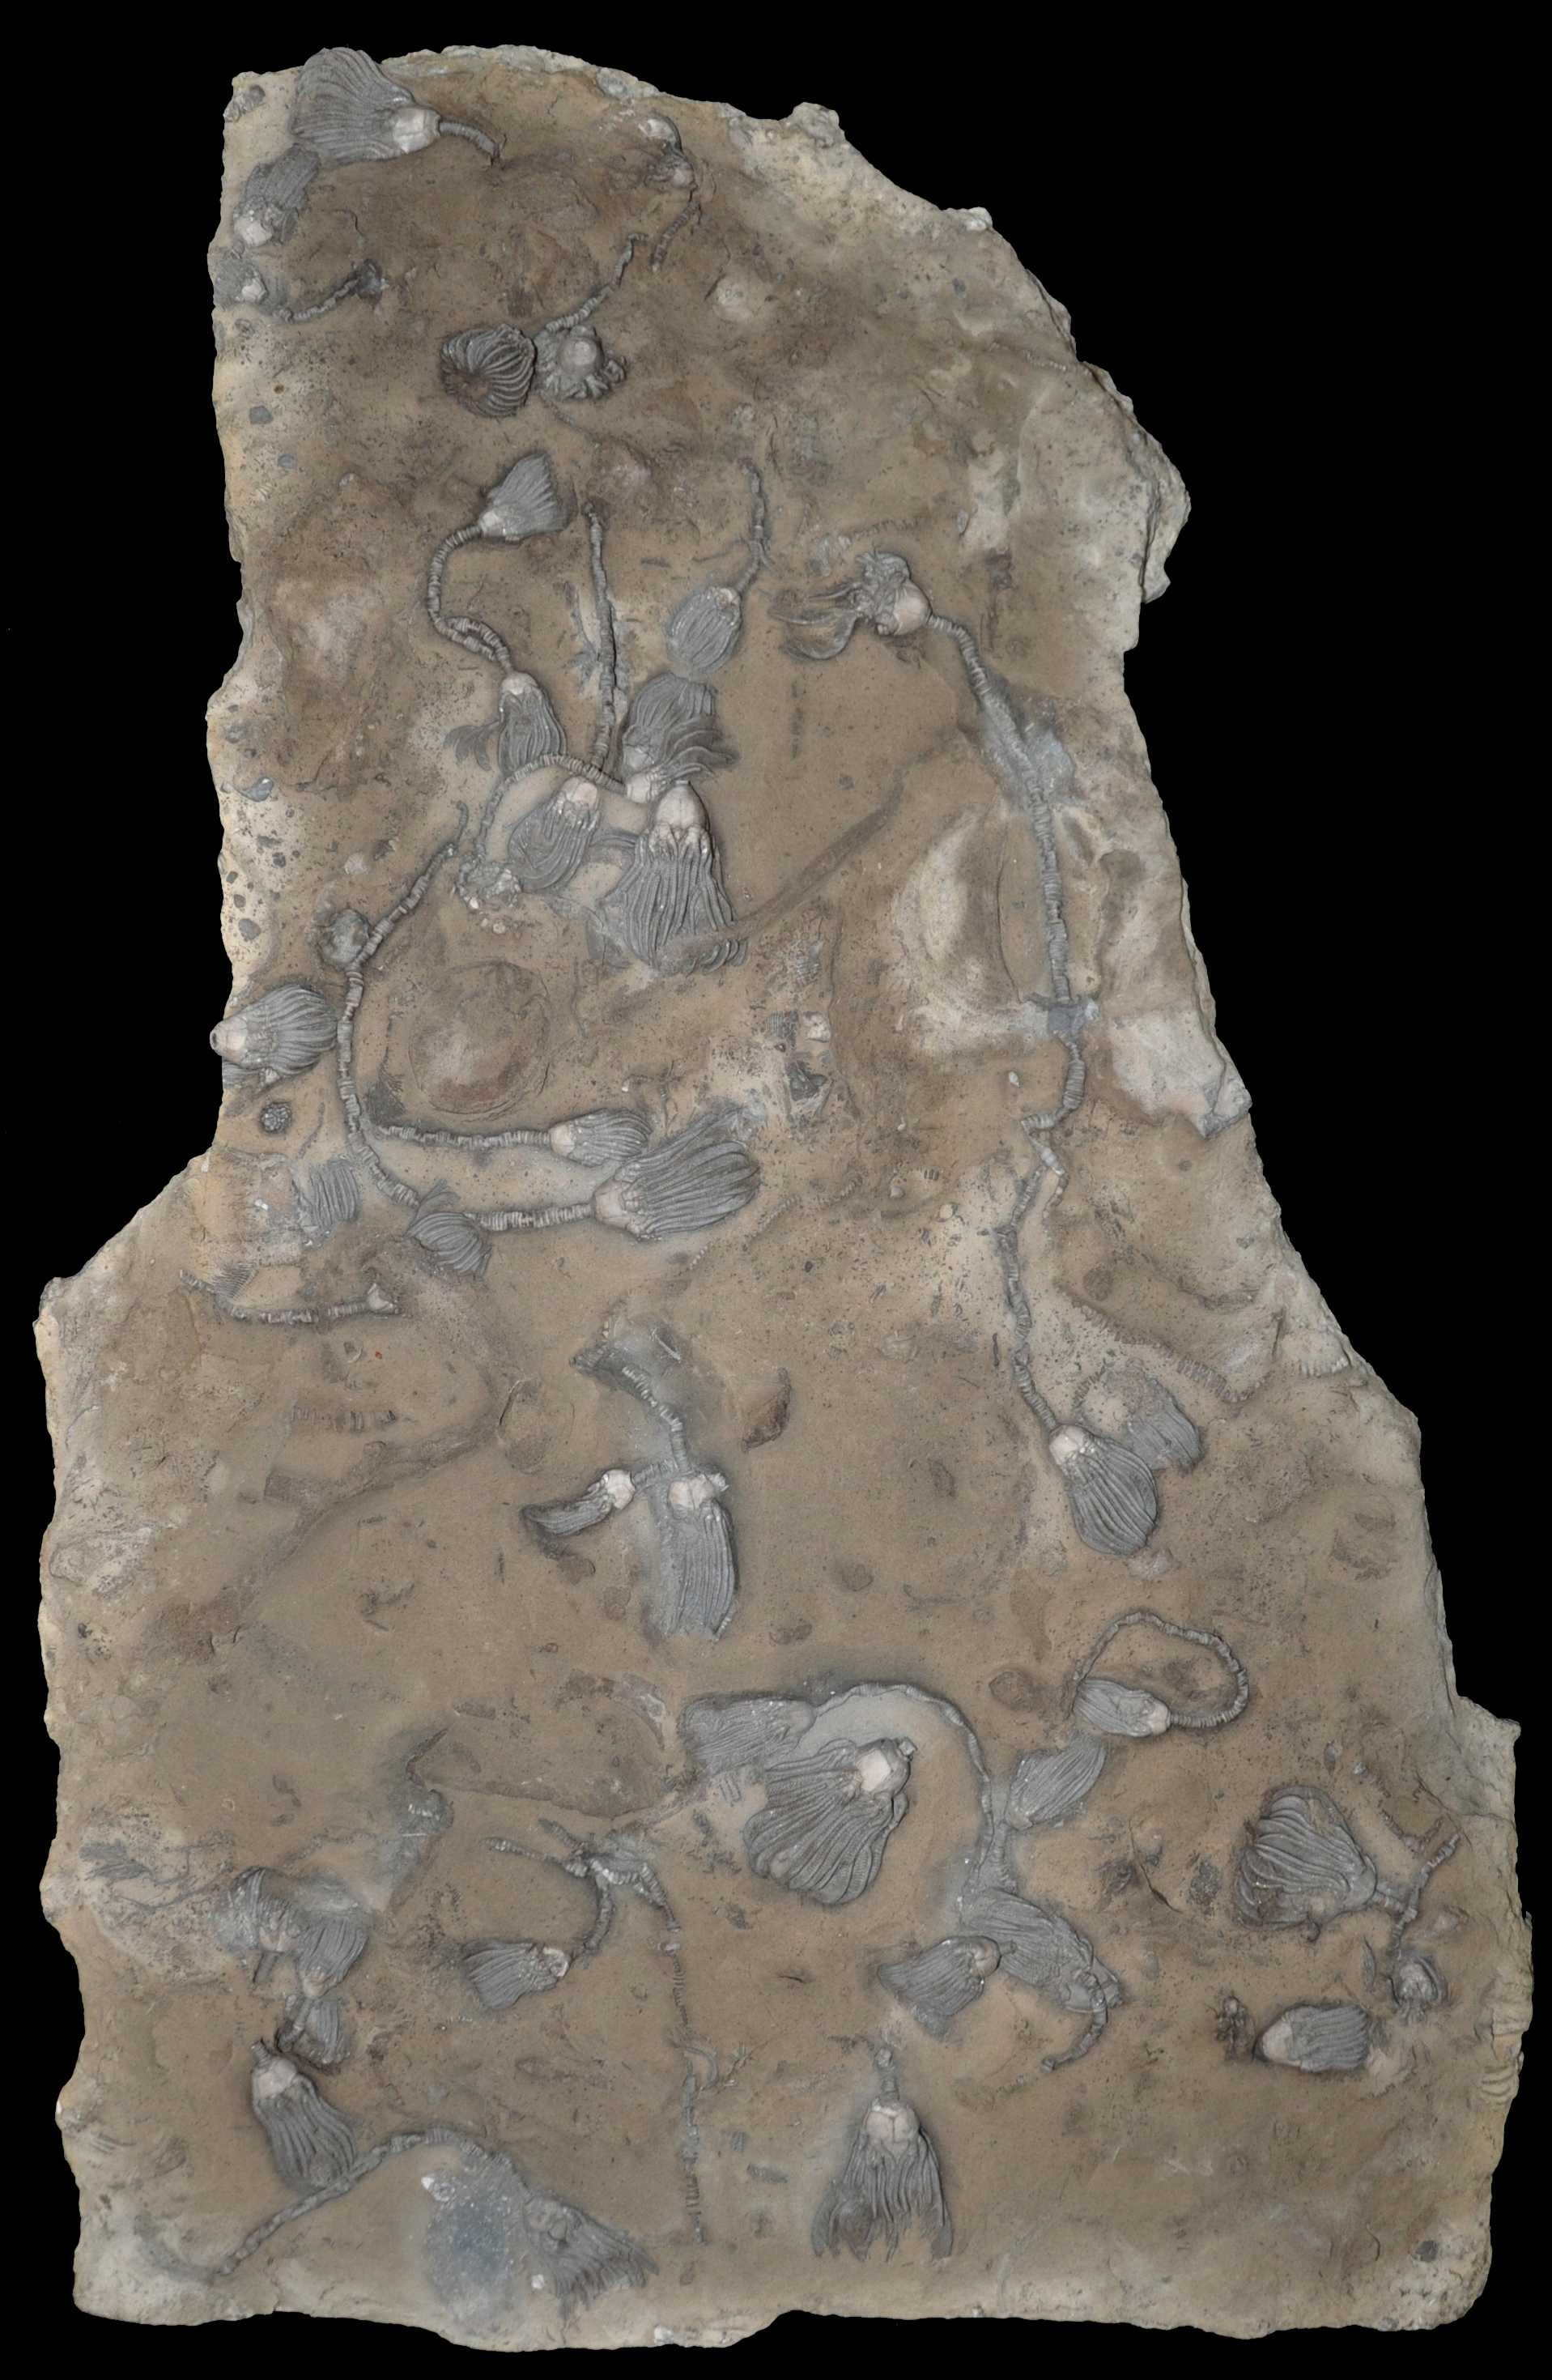
| Dizgocrinus plus other crinoids |
Prep work by J. Koniecki |
|
| |
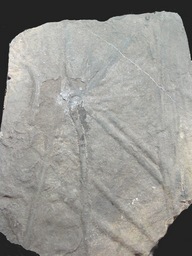
| Daedalocrinus and starfish |
Prep work by J. Koniecki |
|

| |
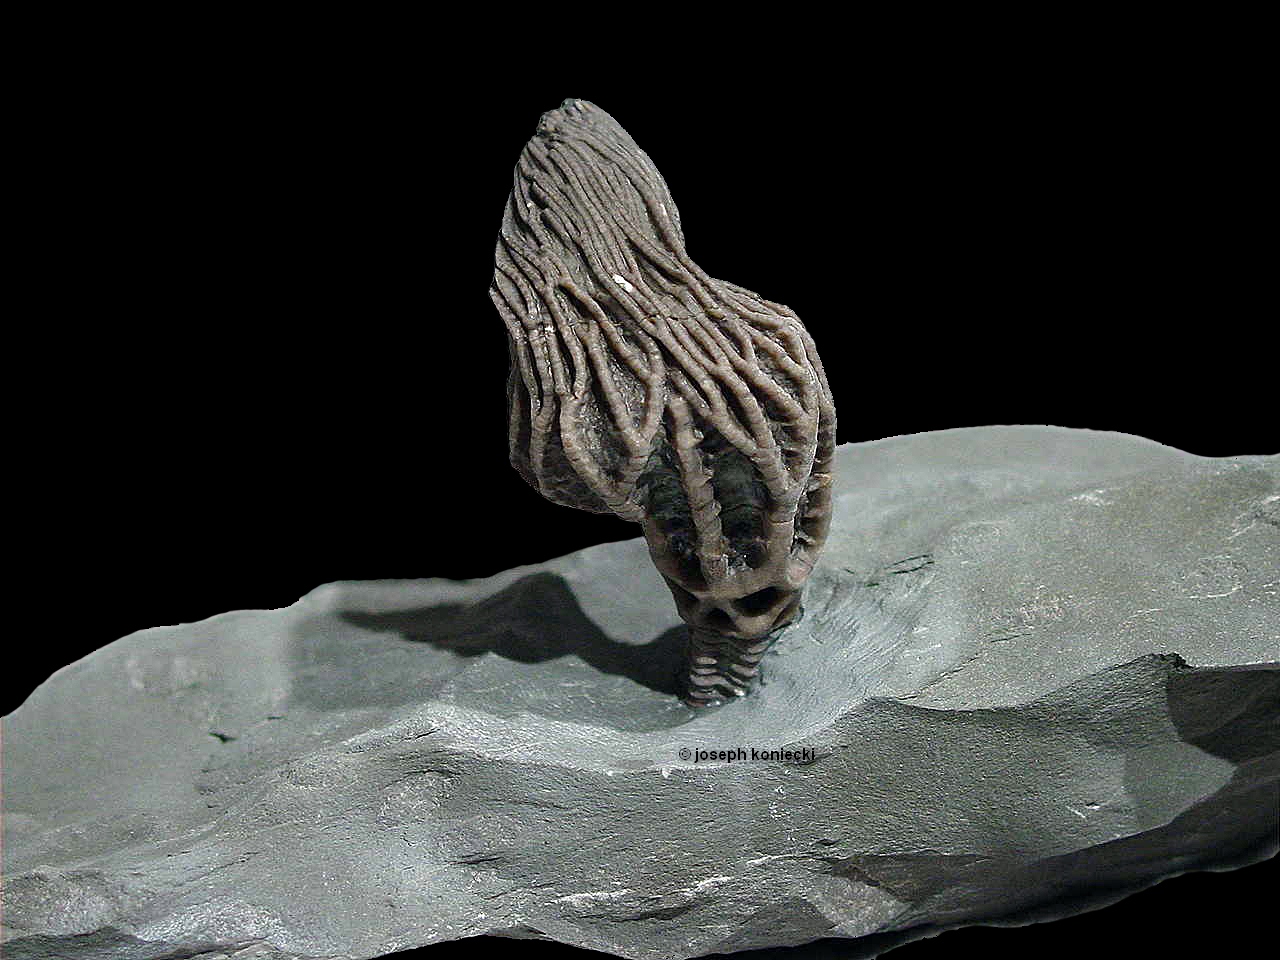
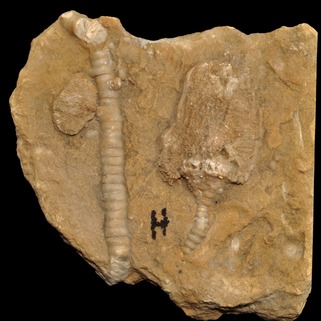
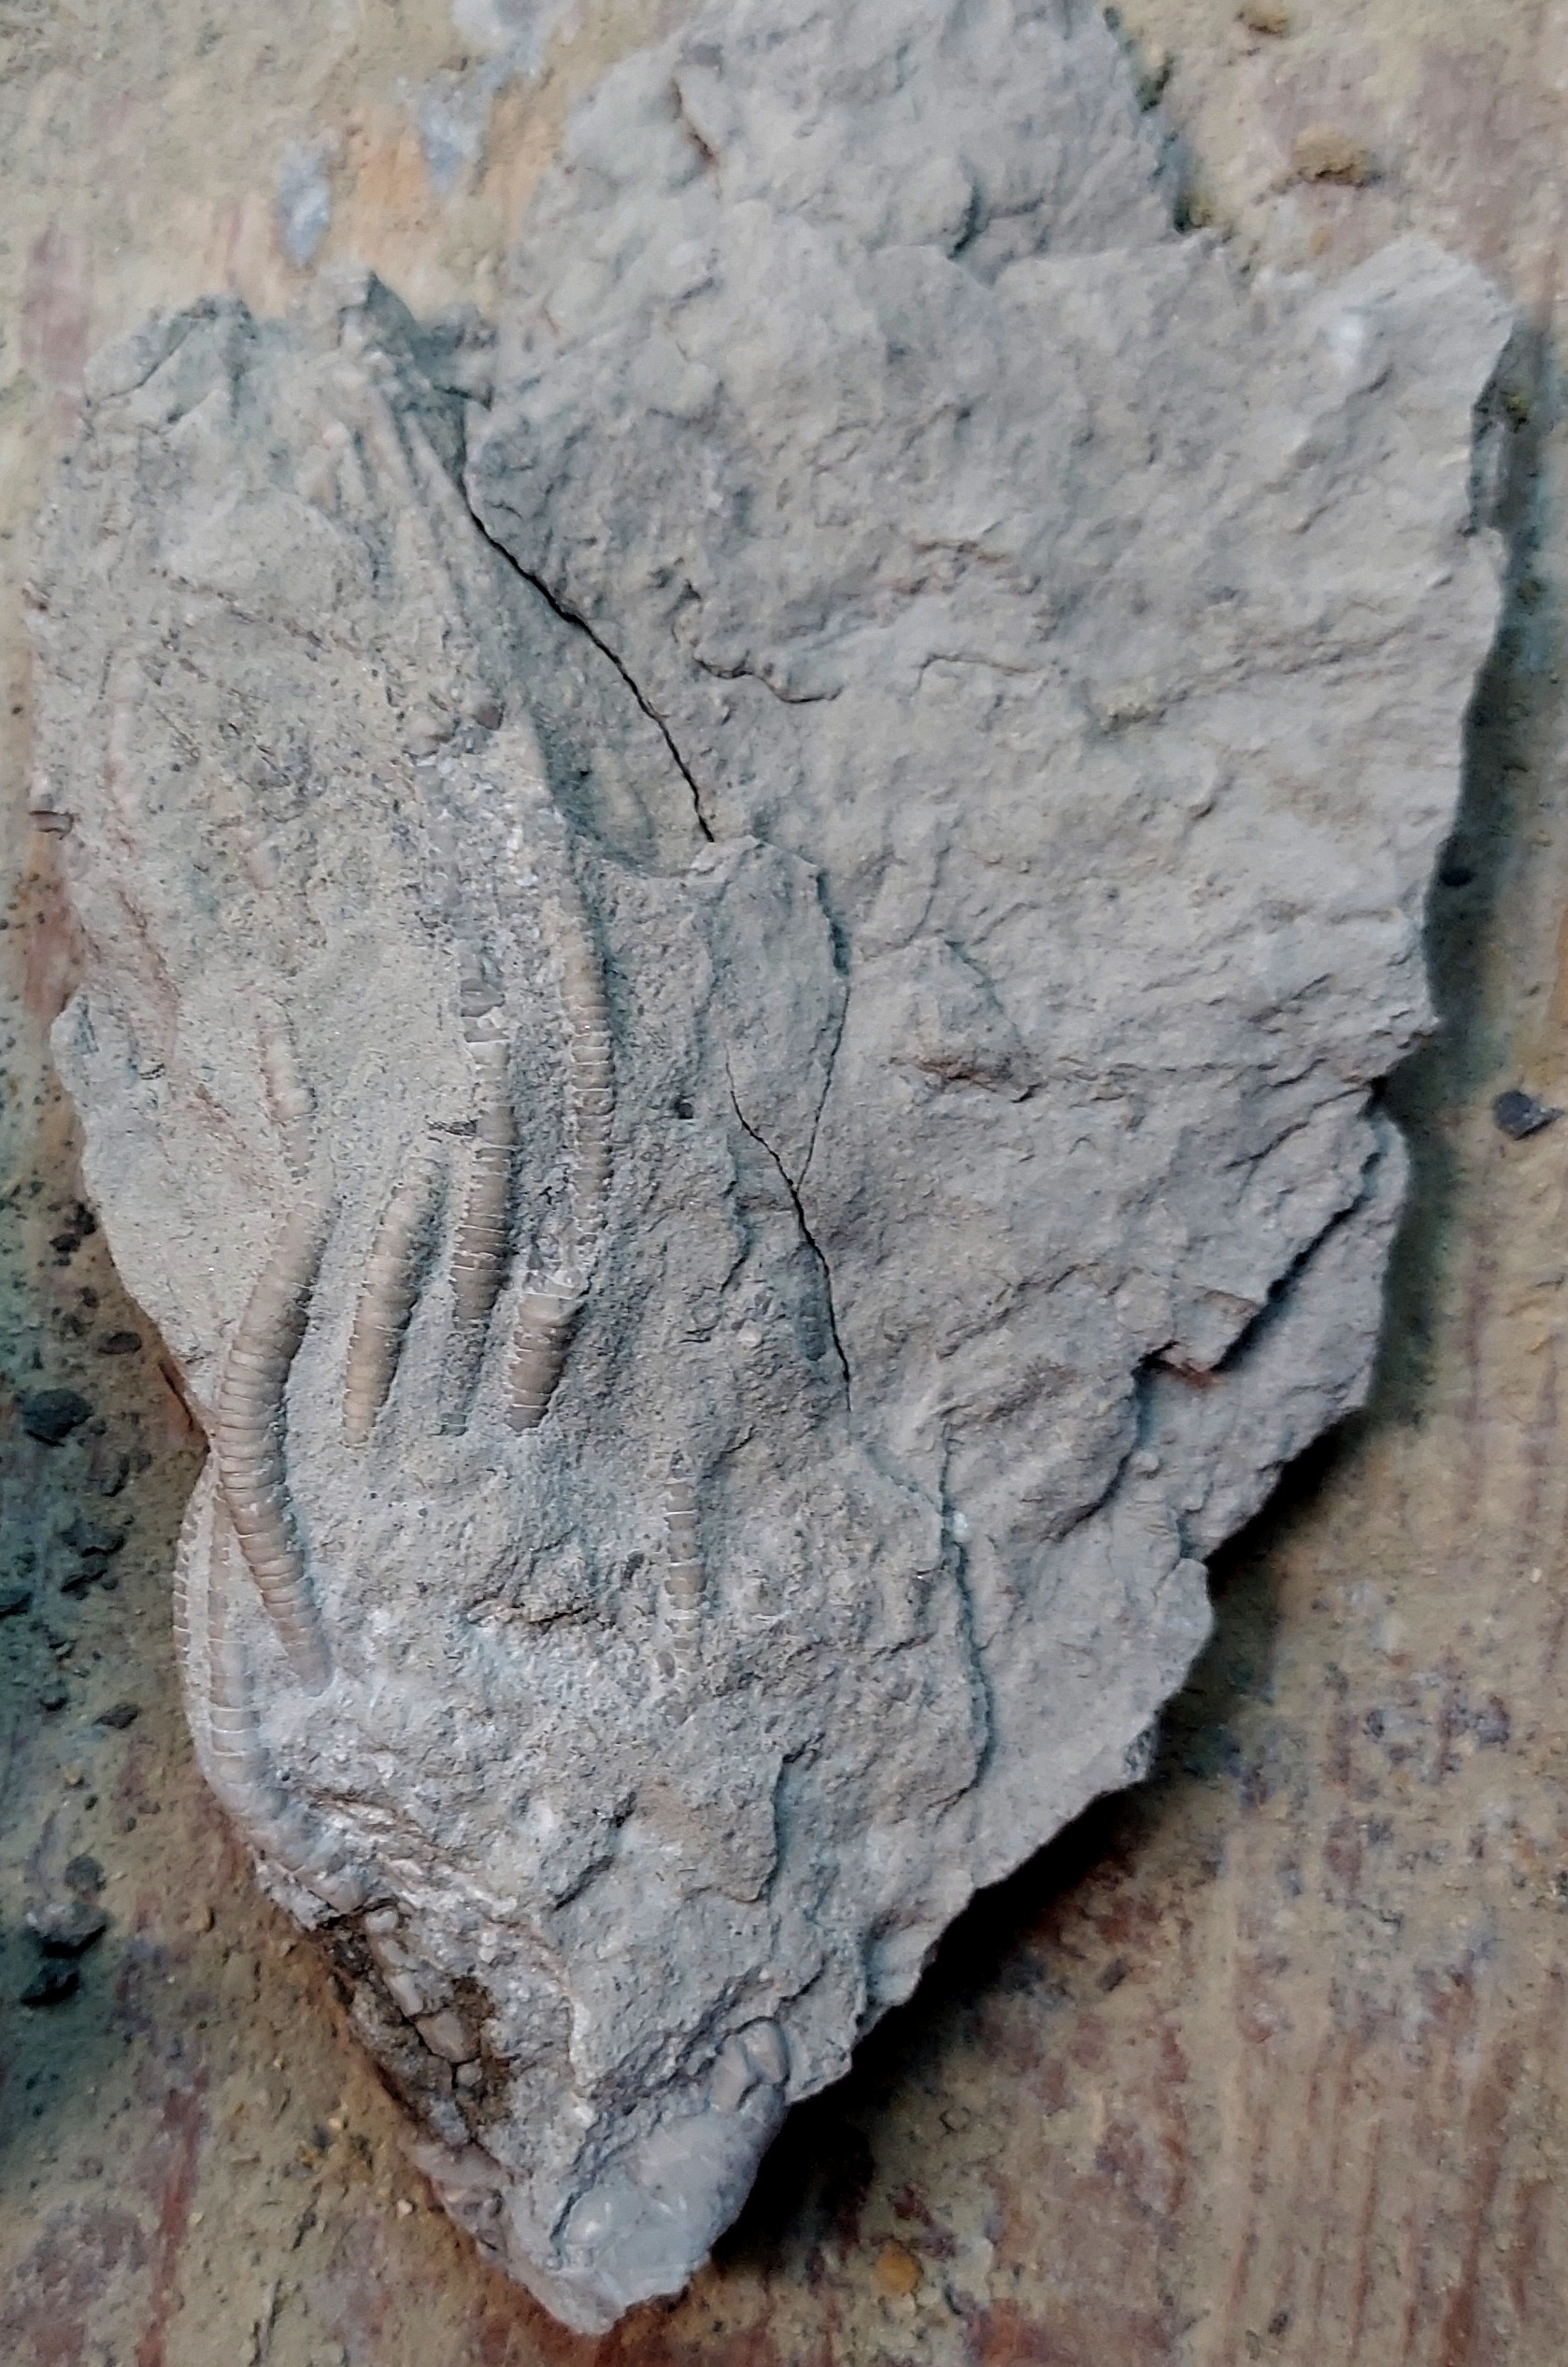
| Phacelocrinus |
Prep work by J. Koniecki |
|

| |
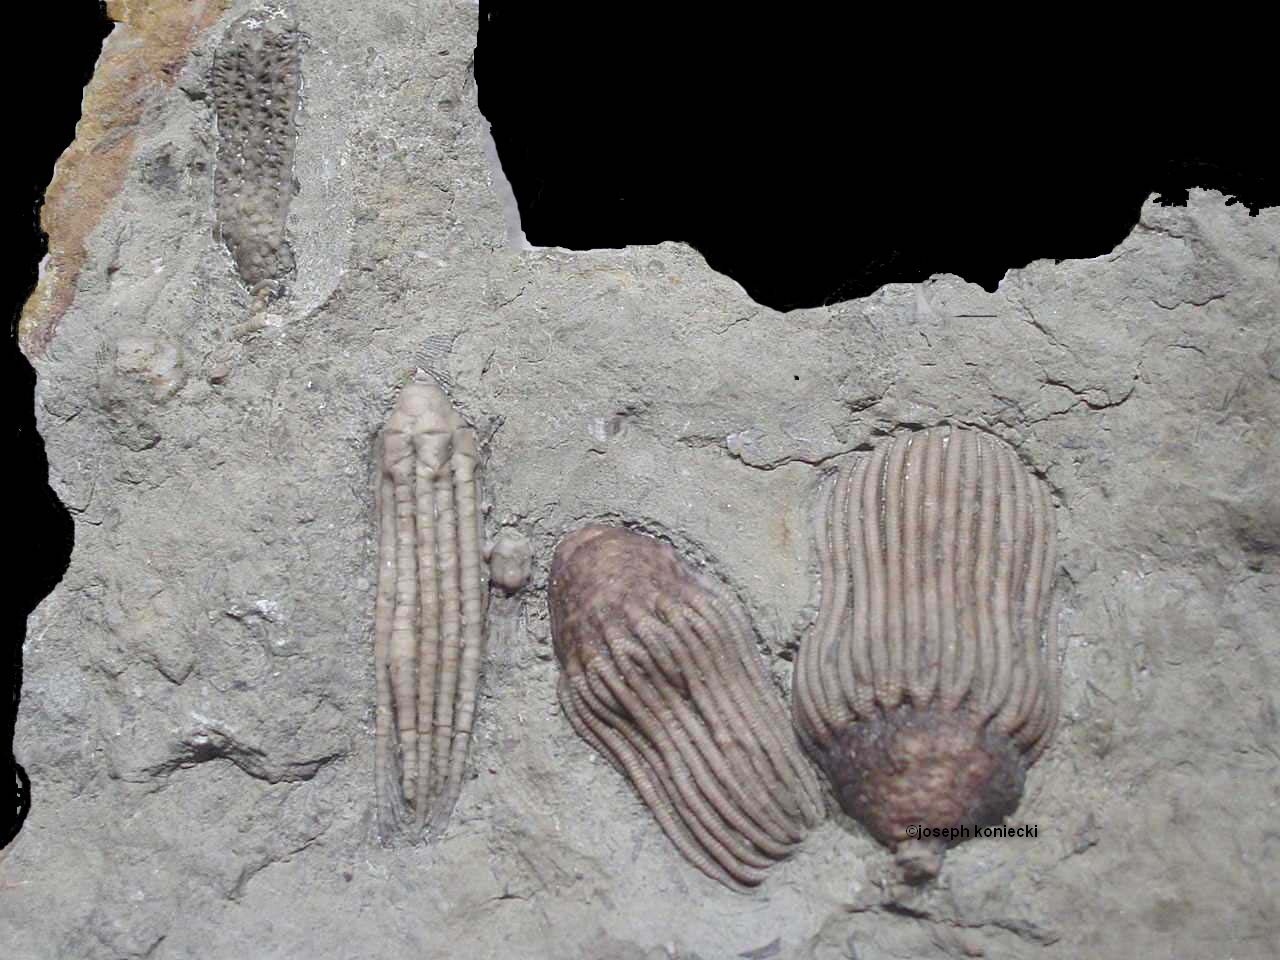
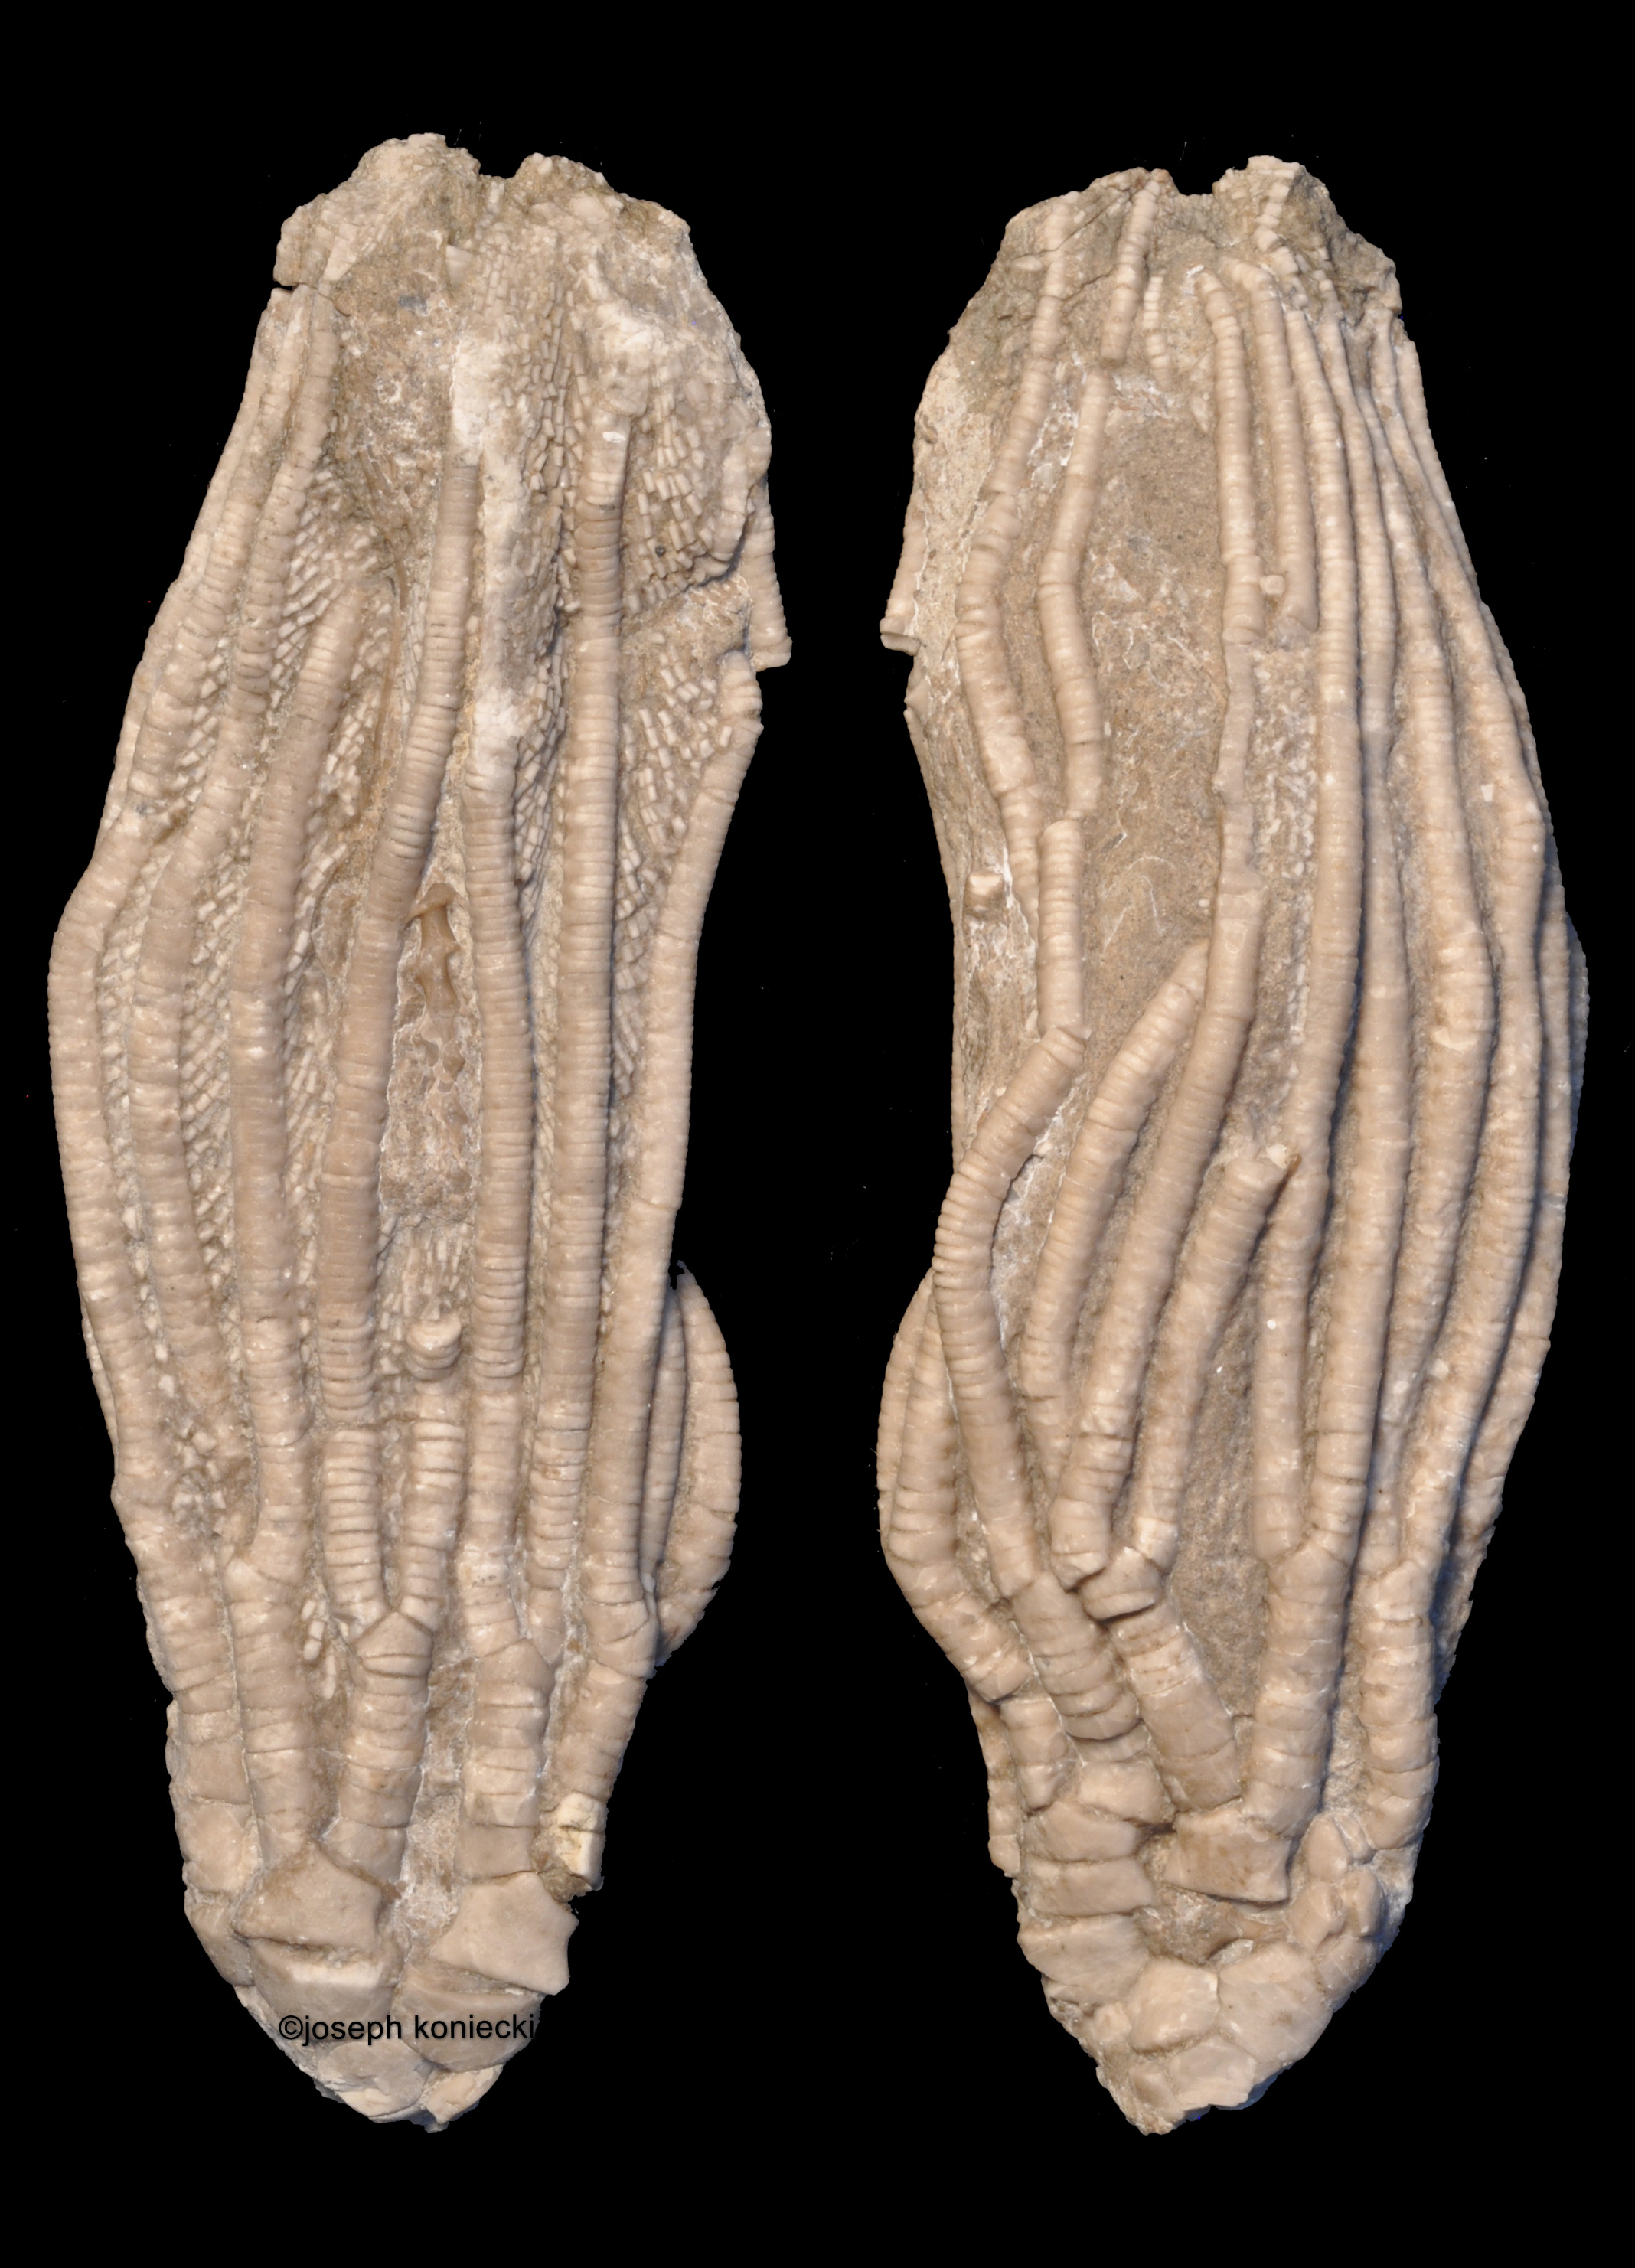
| Various Crinoids |
Prep work by J. Koniecki |
|
| |
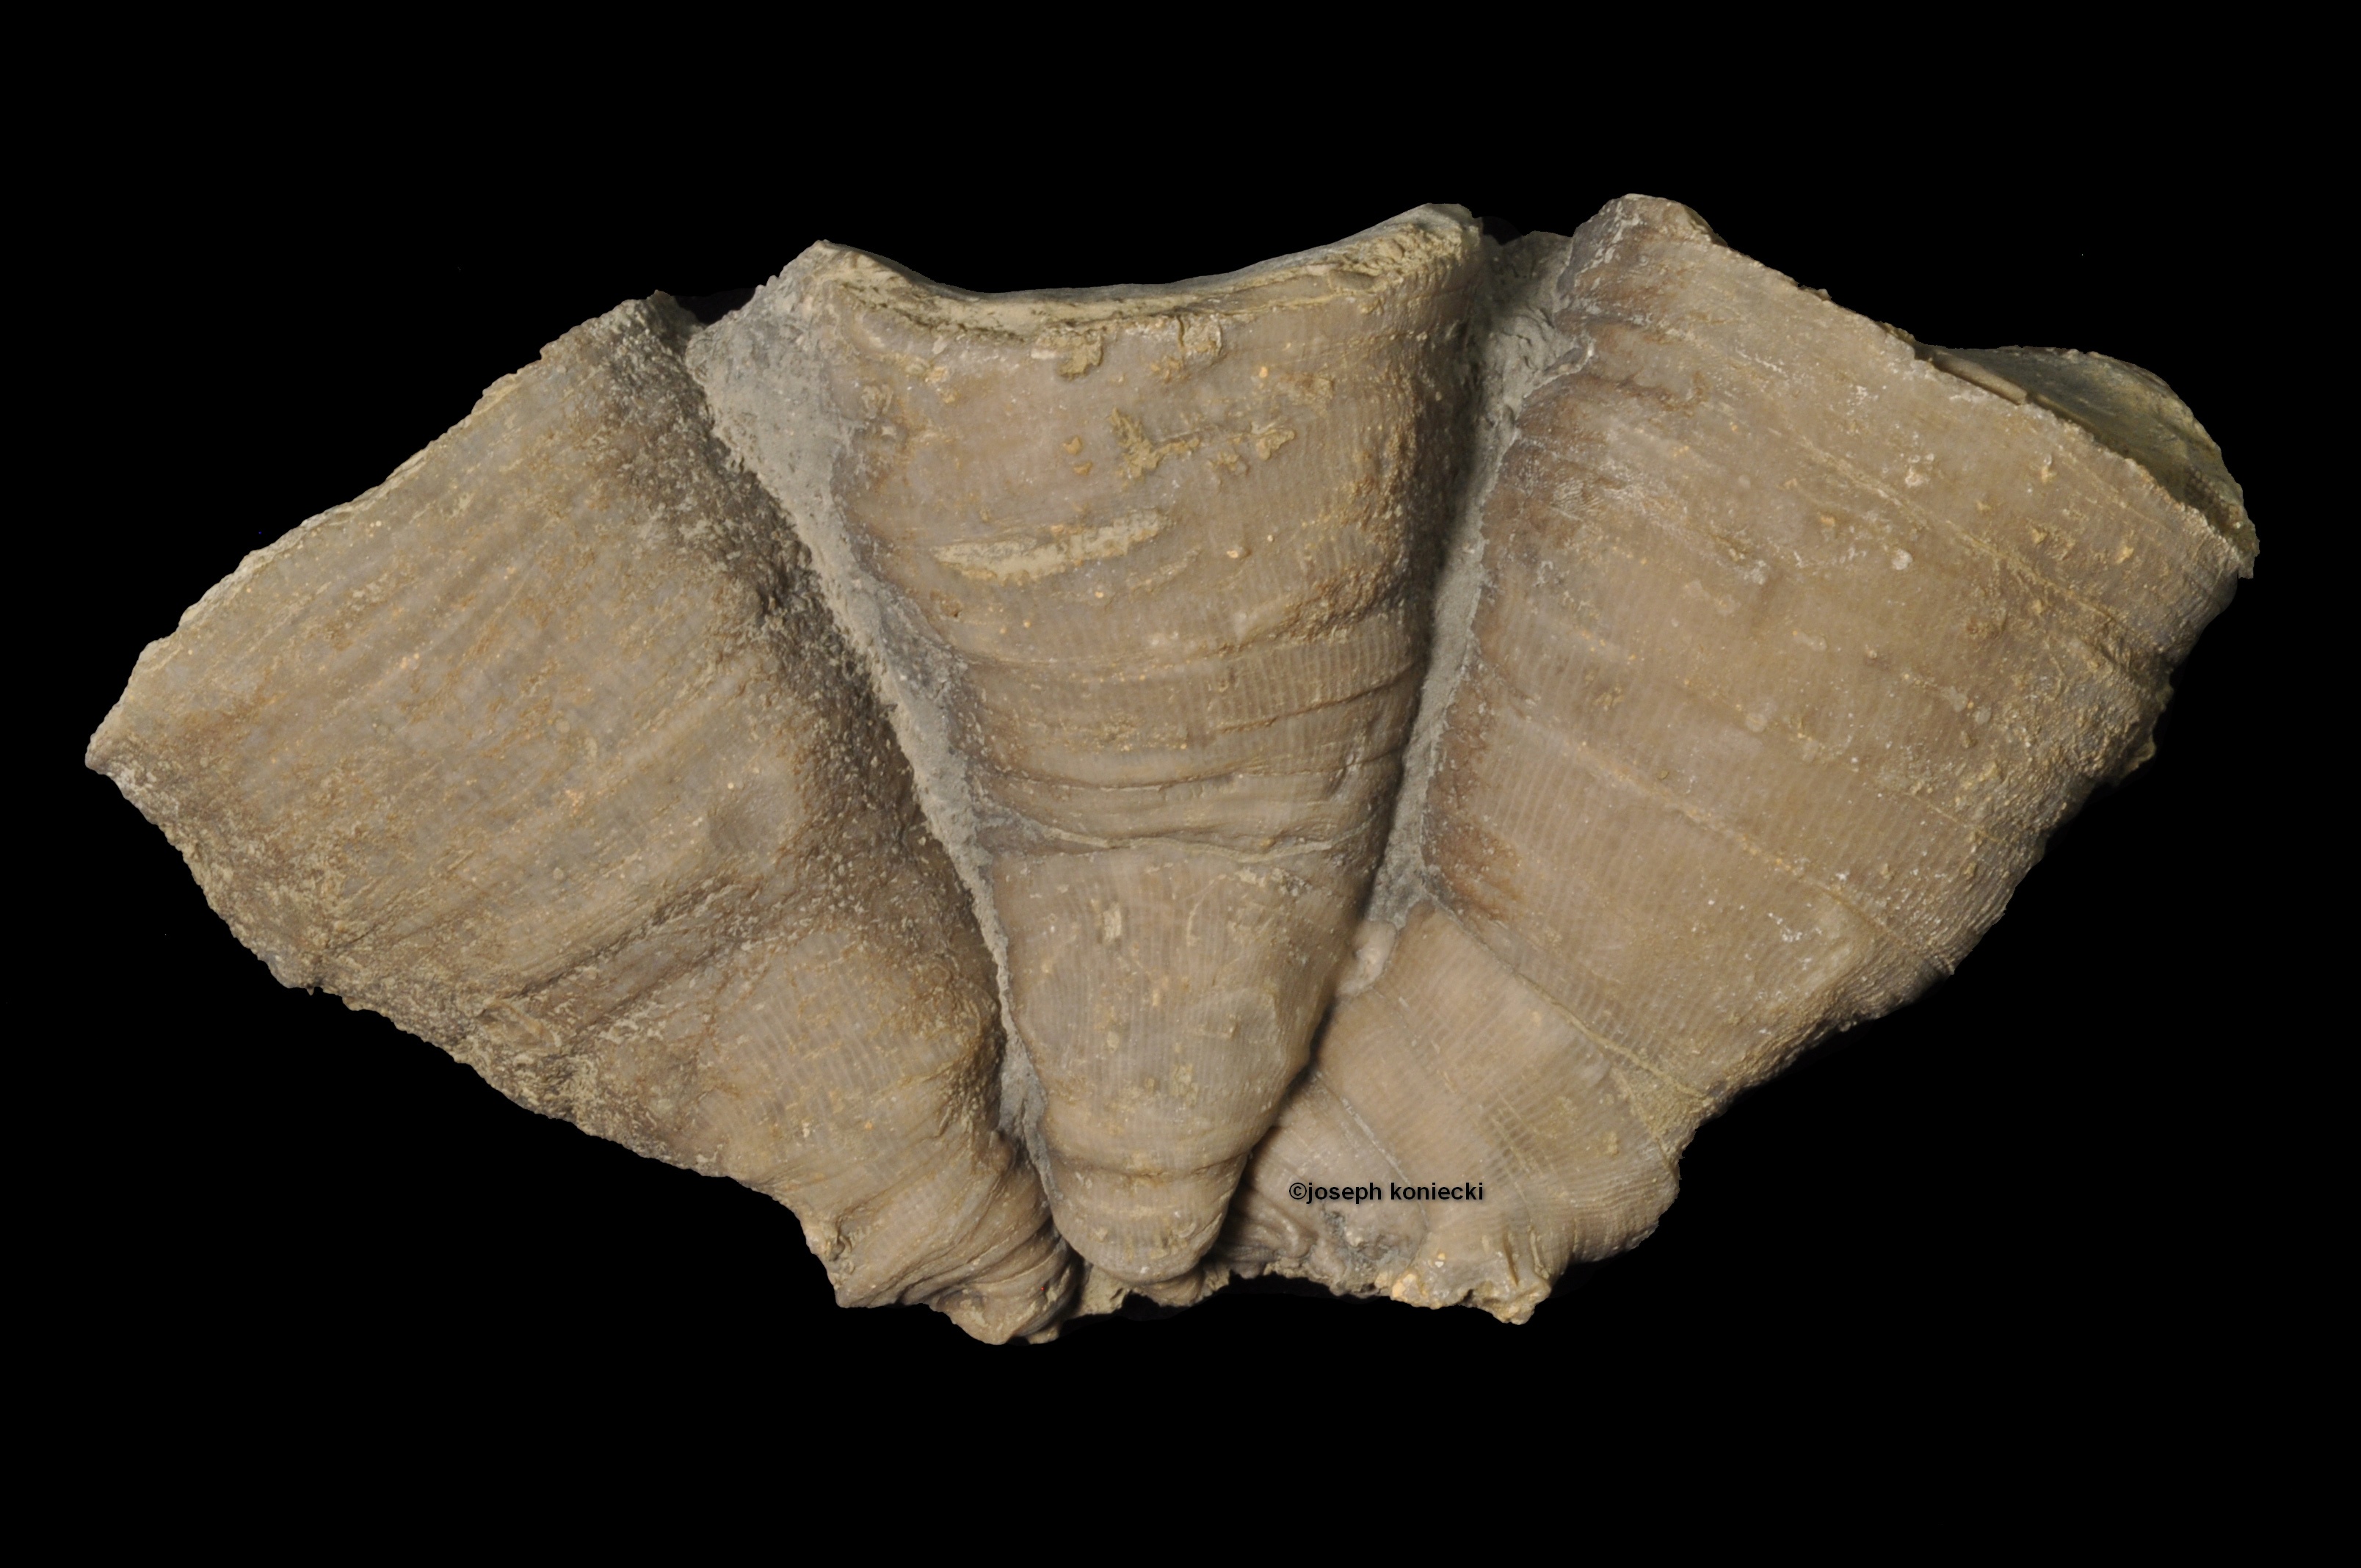
| Batocrinus |
Prep work by J. Koniecki |
|
| |
| Traumatocrinus |
Prep work by J. Koniecki |
|

| |
| Uperocrinus |
Prep work by J. Koniecki |
|

| |
| Zeacrinites |
Prep work by J. Koniecki |
|
| |
| Caryocrinites |
Prep work by J. Koniecki |
|

| |
| Arthroacantha |
Prep work by J. Koniecki |
|
| |
| Batocrinus |
Prep work by J. Koniecki |
|
| |
| Cactocrinus |
Prep work by J. Koniecki |
|

| |
| Prasopora |
Prep work by J. Koniecki |
|
| |
| Periglyptocrinus |
Prep work by J. Koniecki |
|
| |
| Dechenella |
Prep work by J. Koniecki |
|
| |
| Aulacophyllum |
Prep work by J. Koniecki |
|

| |
| Gennaeocrinus |
Prep work by J. Koniecki |
|

| |
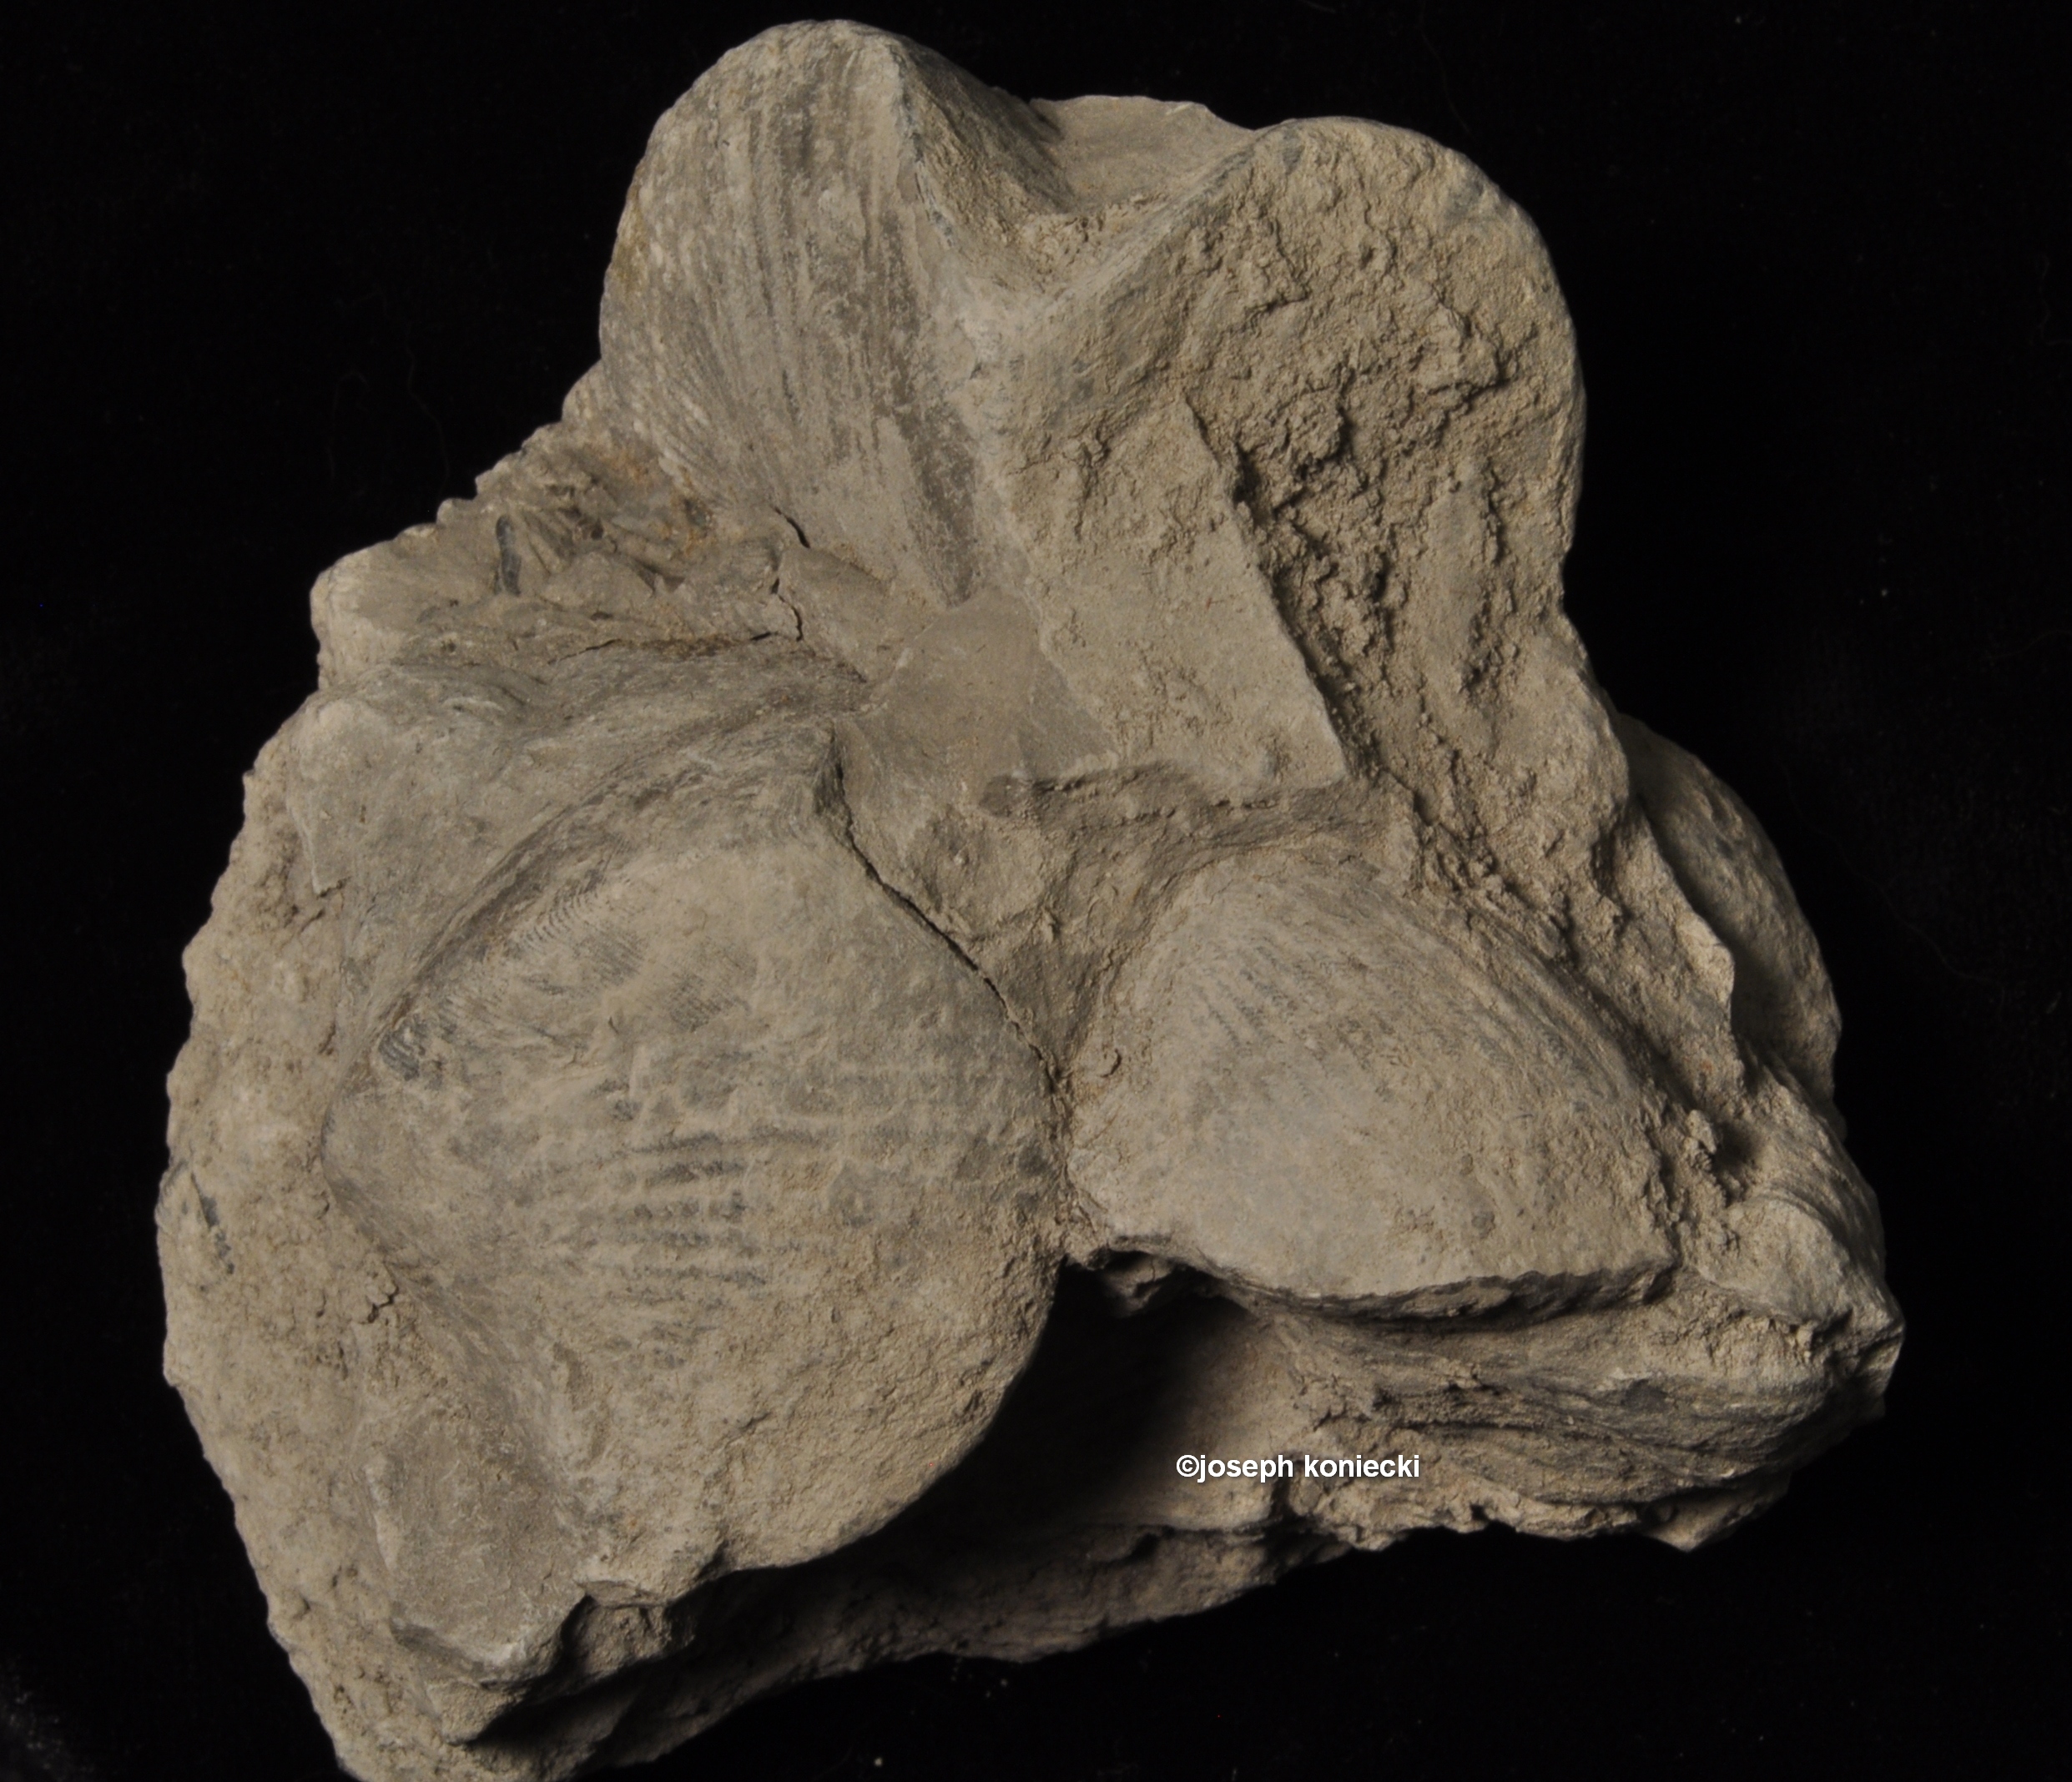
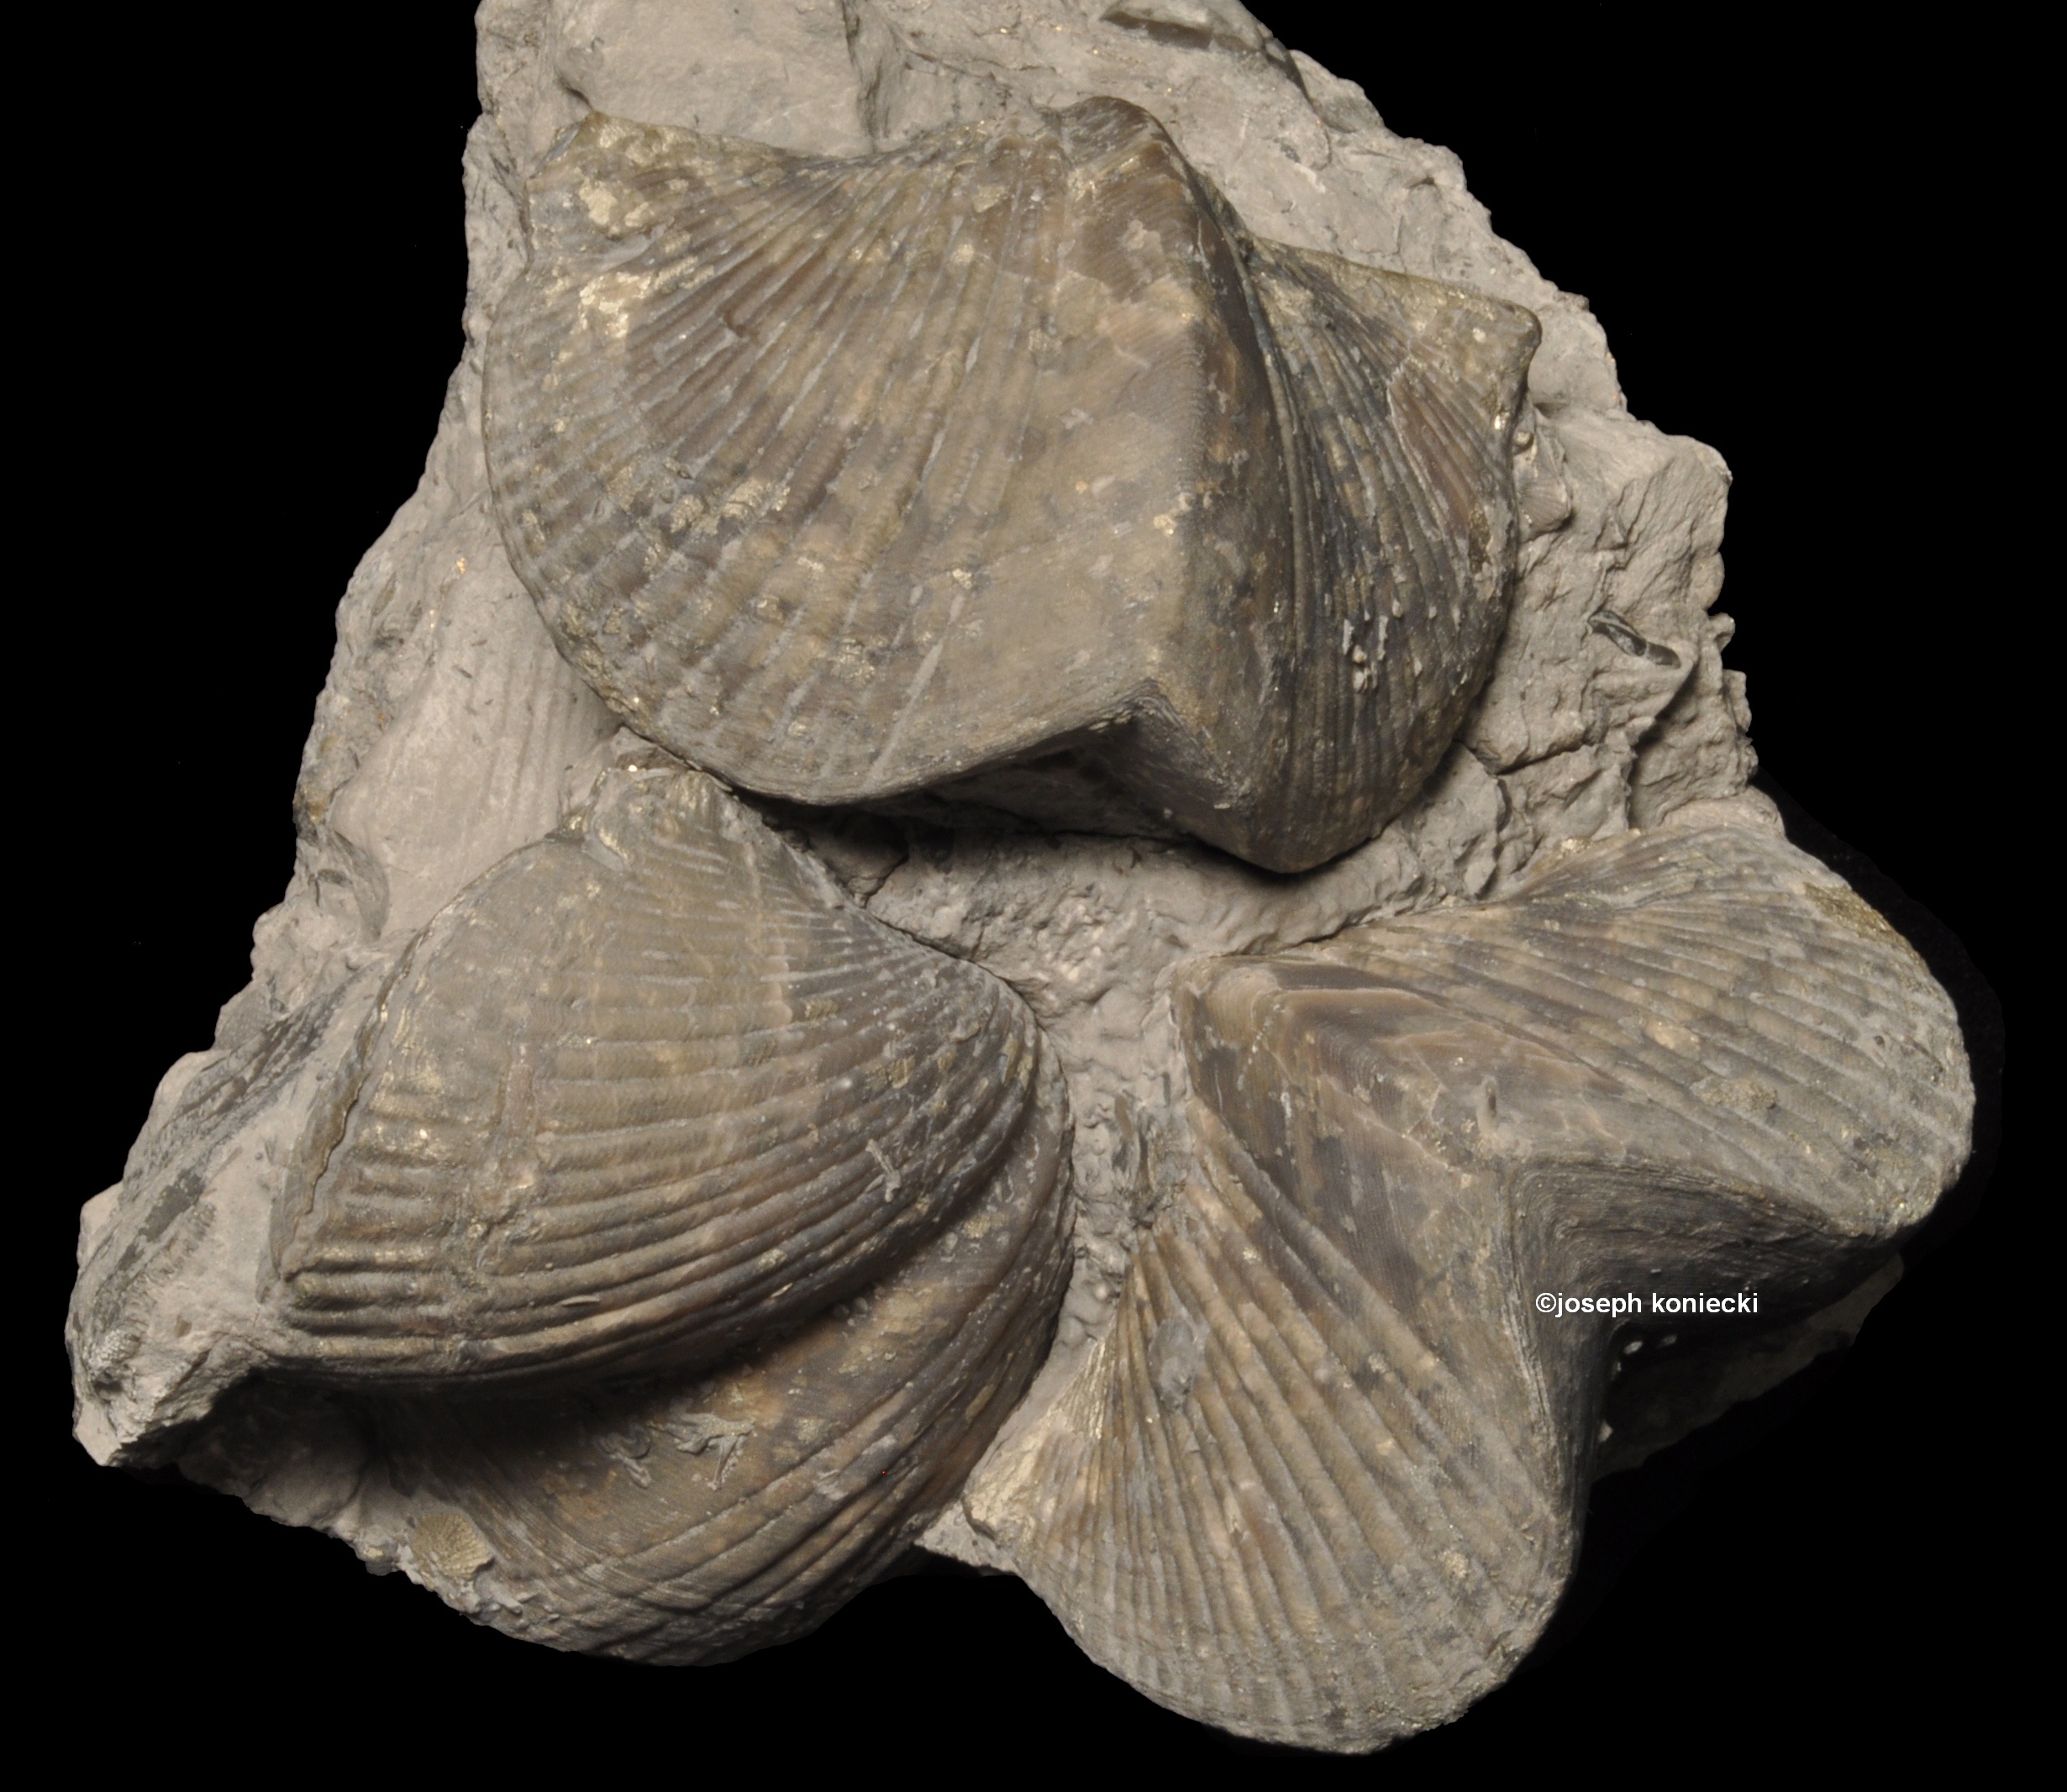
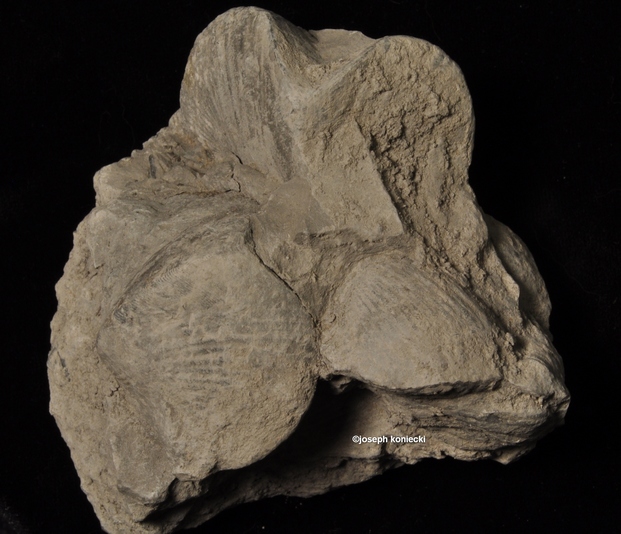
| Paraspirifer |
Prep work by J. Koniecki |
|
| |
| Hapsiphyllum |
Prep work by J. Koniecki |
|
 |
 |
| Iocrinus |
Prep work by J. Koniecki |

| |
| Hylodecrinus |
Prep work by J. Koniecki |
|
|
 |
 |
| Pleurocystites |
Prep work by J. Koniecki |

| |
| Acrocrinus |
Prep work by J. Koniecki |
|
|
 |
 |
| Zacanthoides |
Prep work by J. Koniecki |
| |
| Platycrinites |
Prep work by J. Koniecki |
|
|
 |
 |
| Aphelecrinus |
Prep work by J. Koniecki |
| |
| Heliophyllum |
Prep work by J. Koniecki |
|
|
|
| |
| |
| |
| | | | | | | | | | | | | | | | | | | | | | | | | | | |
Back to the top
Go to home page